Run Windows Azure Storage Tools AzCopy to Export Mailboxes
Overview of Microsoft Azure and AzCopy
Microsoft Azure is a Microsoft cloud computing platform . It provides cloud services via Microsoft managed data centers . Services offered are divided into two categories :
1. Platform as a service
Example : Operating system etc .
2. Infrastructure as a service .
Example : hardware, storage, servers etc
Azcopy is a command line tool used to move data in and from Microsoft Azure storage . Network upload Method use Azure and AzCopy tool to migrate mailbox to office 365 environment .
Key Features of AzCopy Tool :
1. It allow to selectively transfer the data . User can use wild cards , prefix .
2. Tool support concurrent and conditional copying .
3. Restart uninterrupted operations .
In this article I am describing how to use windows azure storage tools AzCopy to export mailboxes to office 365 .
Need To Use Microsoft Azure AzCopy Tool :
1. Using internet one can access software as service .
2. To meet the business requirements .
3. User pay for the service he uses according to the usage .
4. Able to work with automatically updated versions .
5. 24 x 7 accessibility of a service .
6. Reduction in hardware requirement .
7. Availability of data to the users from all devices .
8. Less chance of data loss .
How to Use AzCopy Tool To Migrate Mailbox Items
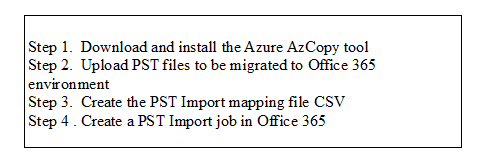
Step 1: Download and Install the Azure AzCopy tool
1. Click the link https://protection.office.com
2. Sign in using Office 365 credentials of an administrator account using work or school account .
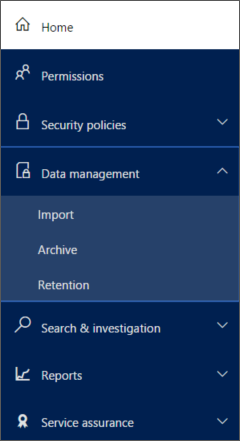
3. In the navigation pane on left side click tab Data management and then select Import .
4. Import page opens up then click option “ Import ” .
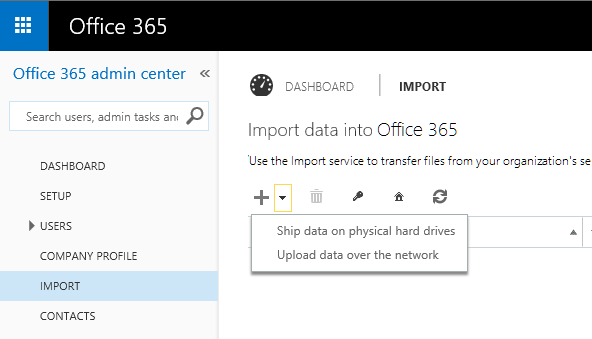
5. Click + and then select Upload data over network .
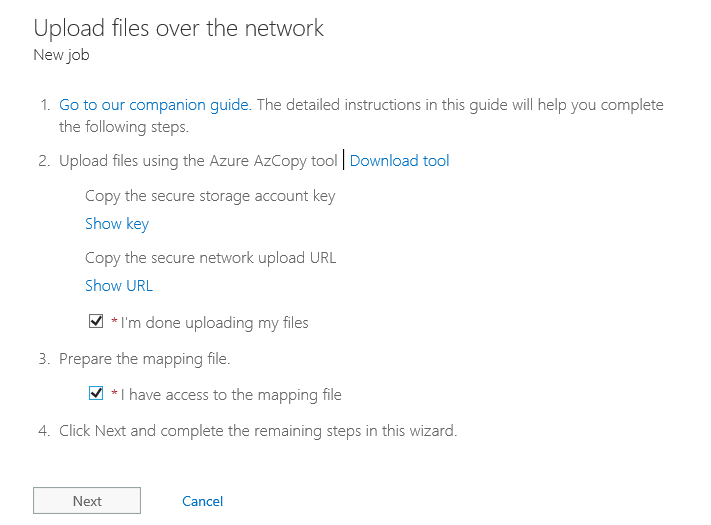
6. Upload files over network page gets displayed .
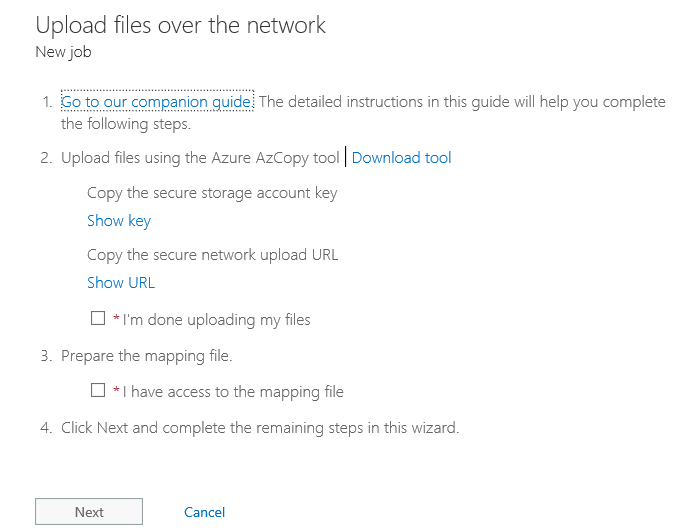
7. Click “Show URL“ to copy Shared Access Signature(SAS) URL
8. Copy the entire SAS URL .
9. For Azure AzCopy tool download
Click “Download tool” to download Azure AzCopy tool .
10. Click Run and install AzCopy tool .
Note : Install AzCopy in the default location ( %ProgramFiles( x86 ) %\ Microsoft SDKs\Azure AzCopy)for 64-bit windows and default location( %ProgramFiles (x86 )%\Microsoft SDKs\Azure\AzCopy) for 32-bit Windows .
11. Upload Files over the network page click option cancel after download gets completed .
Step 2: Upload PST files Into Microsoft Cloud
This tool uploads and stores them on Microsoft cloud . To complete this step, the PST files have to be located in a file share in your organisation. This is known as the source directory in the following procedure. Each time you run the AzCopy tool, you can specify a different source directory .
1. Open Command Prompt on local machine and transfer data with the AzCopy Command-Line Utility
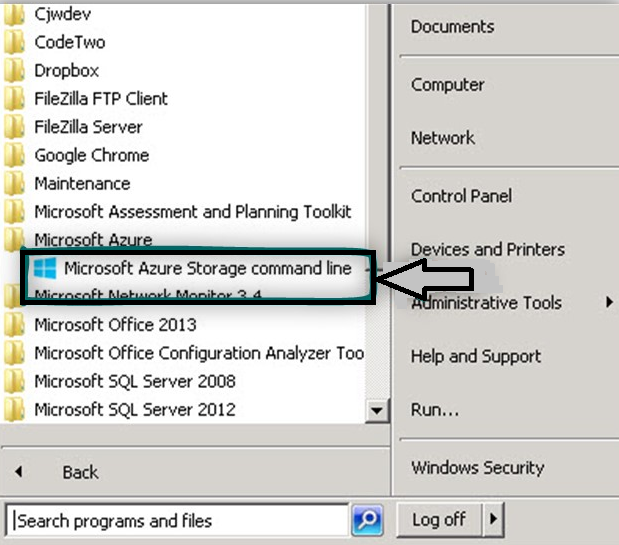
2. Go to Installed tool default location that is %ProgramFiles(x86)%\Microsoft SDKs\Azure\AzCopy in command prompt .
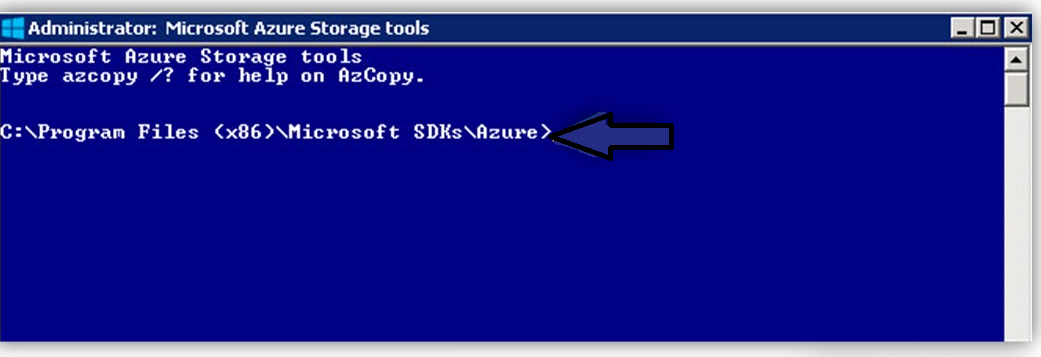
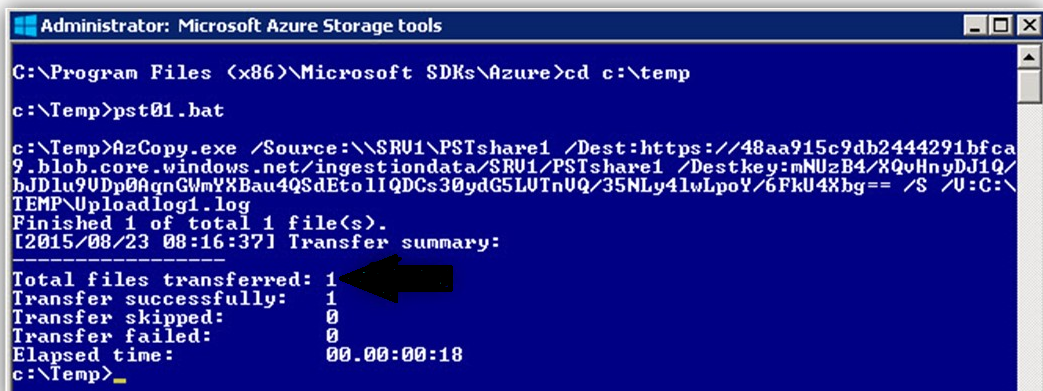
3. Run the AzCopy.exe command to upload PST files to be migrated to Office 365 .
AzCopy.exe /Source: /Dest: /V:
Description of commands used by Windows Azure storage Tools AzCopy :
/Source :\\ <Path of PST files>
Specifies the source location of PST files .
/Dest: “SAS url”
Specifies SAS url
/V:
Specifies output verbose status messages into a log file .
Note : Verbose status messages display detailed status messages .
4. After command execution , status message is displayed to user showing the total number of files that were successfully uploaded to office 365 .
Step 3: Create the PST Import Mapping File
1. Click http://go.microsoft.com/fwlink/p/?LinkId=544717
Download a copy of the PST Import mapping file
2. Open and save the CSV file to local machine using Notepad or excel. The following example shows a completed PST Import mapping file

3. CSV (comma separated value ) files must have following parameters :
| Parameter | Description | Value |
|
Workload |
Specifies the Office 365 service . To export PST files to user mailboxes in office 365 environment , here we use Exchange . |
Exchange |
| FilePath
|
Specifies the folder location in the Azure storage location where user imported PST files to be converted in step 2. |
Blank or PSTFiles |
| Name |
Specifies the name of PST file that is to be migrated to the user mailbox . |
sb.pst |
|
Mailbox |
Specifies the email address of the mailbox that the PST file will be imported to. Here user is migrating to office 365 environment . |
admin12@365infom.com |
|
IsArchive |
Specifies whether or not to migrate the PST file to the user’s cloud based archive mailbox . User can select any of the two options as per requirement : FALSE : Exports the PST file to the user’s primary mailbox that is office 365 mailbox here . TRUE: Imports the PST file to the cloud based user’s archive mailbox . |
FALSE or TRUE |
| TargetRootFolder |
Specifies the mailbox folder where PST file is migrated to.
|
/Inbox |
Step 4 : Create a PST Import job
1. Click the link https://protection.office.com
2. Sign in using Office 365 credentials of an administrator account using work or school account .
3. In the navigation pane on left side click tab Data management and then select Import .
4. Import page opens up then click option “ Import ” .
5. Click + and then select Upload data over network .
6. Upload files over network page gets displayed .
7. On Upload files over the network page, click options “I’m done uploading my files” and “I have access to the mapping file” check boxes , and click Next .
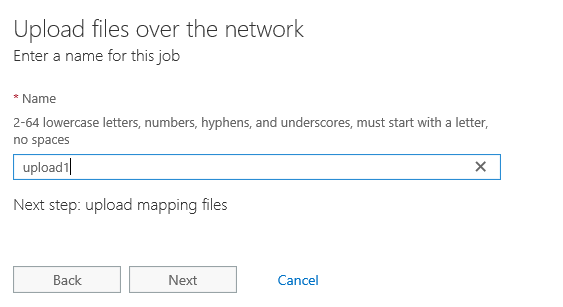
8. Type name for the PST Import job , and then click Next .
9. Click the + sign and browse the location of CSV mapping file created in step 3
10. Name of the CSV file appears in the list , select it and then click “Validate” to check CSV file for errors .
11. Read the terms and conditions document , and then click the check box.
12. Click Finish to submit the PST Import job.
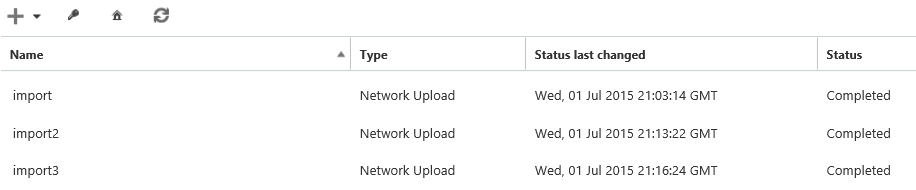
13. Click on import from navigation pane on left side to view of the status of imported data .
.
Drawbacks of Manual Method :
1. Time consuming
2. Lengthy Technique
3. Difficult to understand for a non – technical person .
Manual Method using windows azure storage tools AzCopy has drawbacks as discussed above .To overcome the drawbacks I would advice to use PST File to Office 365 tool to migrate mailbox to office 365 environment .
Tool offers features such as :
1. User friendly interface .
2. Support bulk migration of PST files
3. Support a Reliable data transfer to a different environment .
4. Transfer attachments , emails and contacts to office 365 environment .
5. Download free Demo version of utility .