Working ScreenShots of Product
Entire working process of Software is explained by using the simple screenshots of product. Follow all the simple instructions as given below:
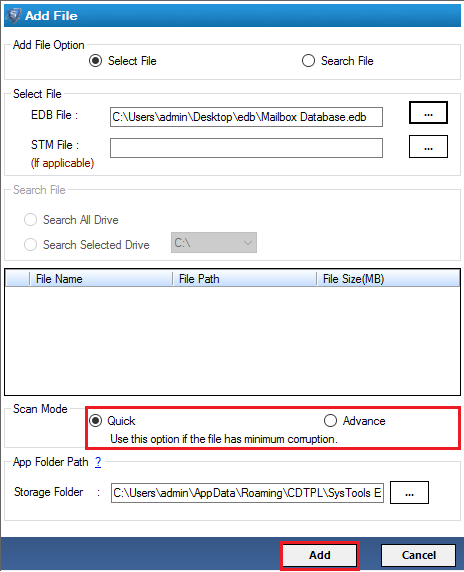
- Download and Launch the Tool. Click on Add File.

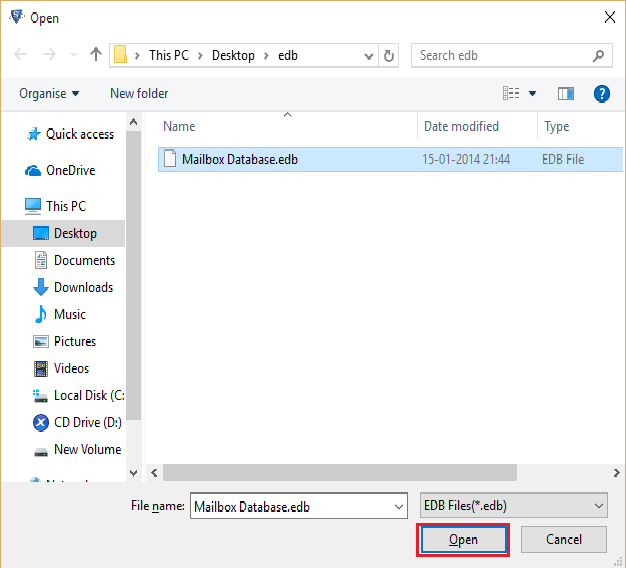
- Click on Select File and browse EDB file in your system.

- Click on open to add selected file.
- Click on Search File option.
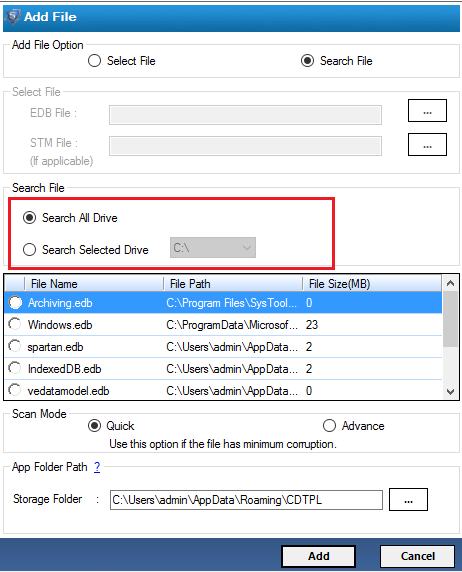
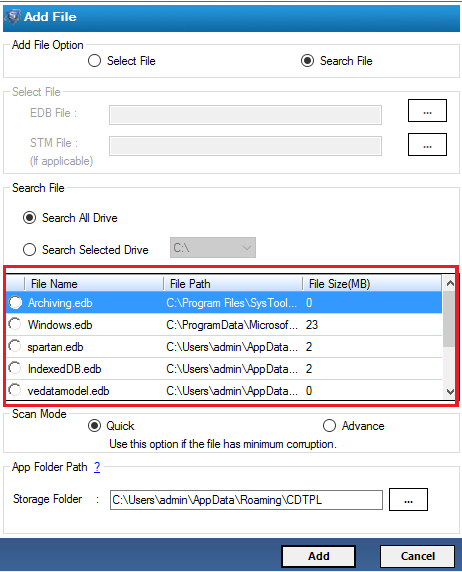
- All EDB files from the searched drive will be listed here.
- Select the scan mode: Quick scan for less damaged file and Advance scan for severely damaged file.
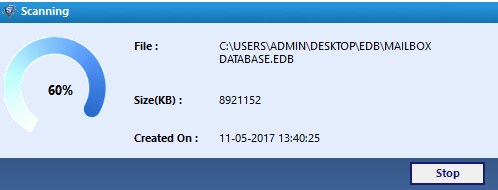
- The scanning process will be started.
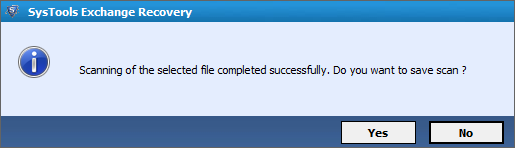
- Click on save to save the scanned file.
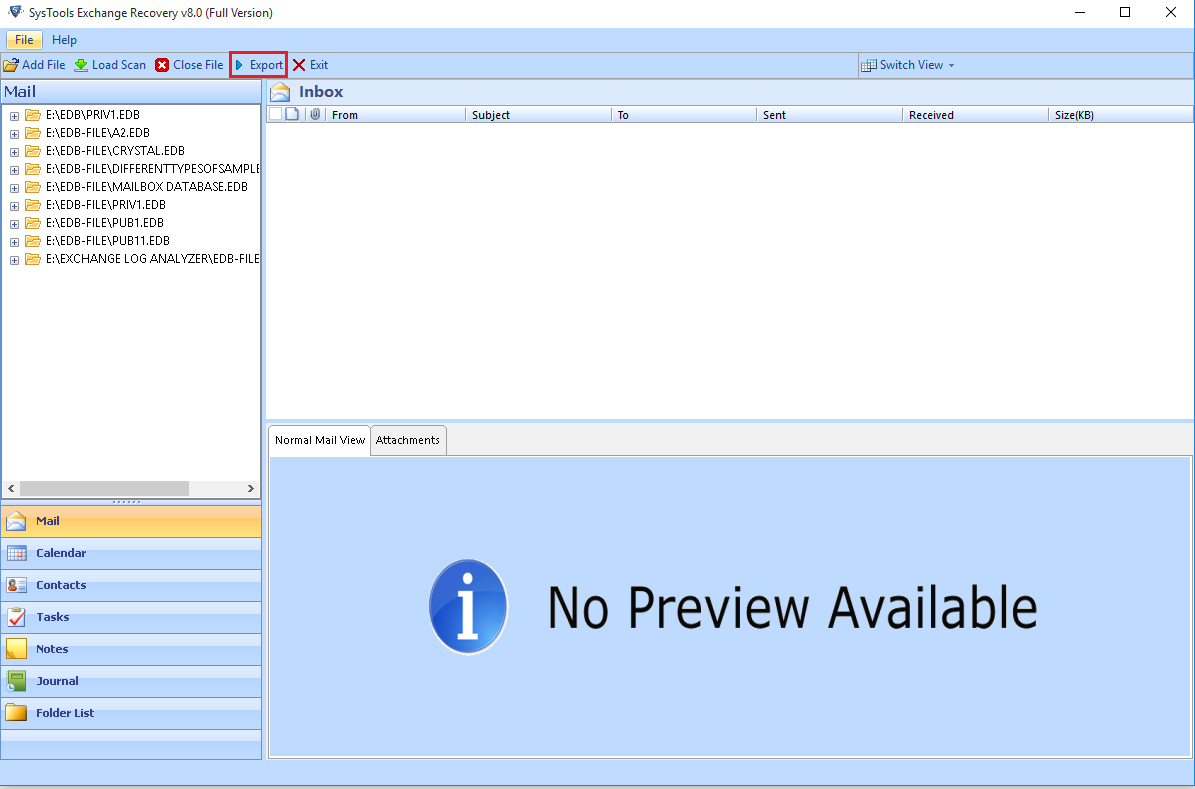
- After scanning of file, the software will give the preview of each items of EDB files.
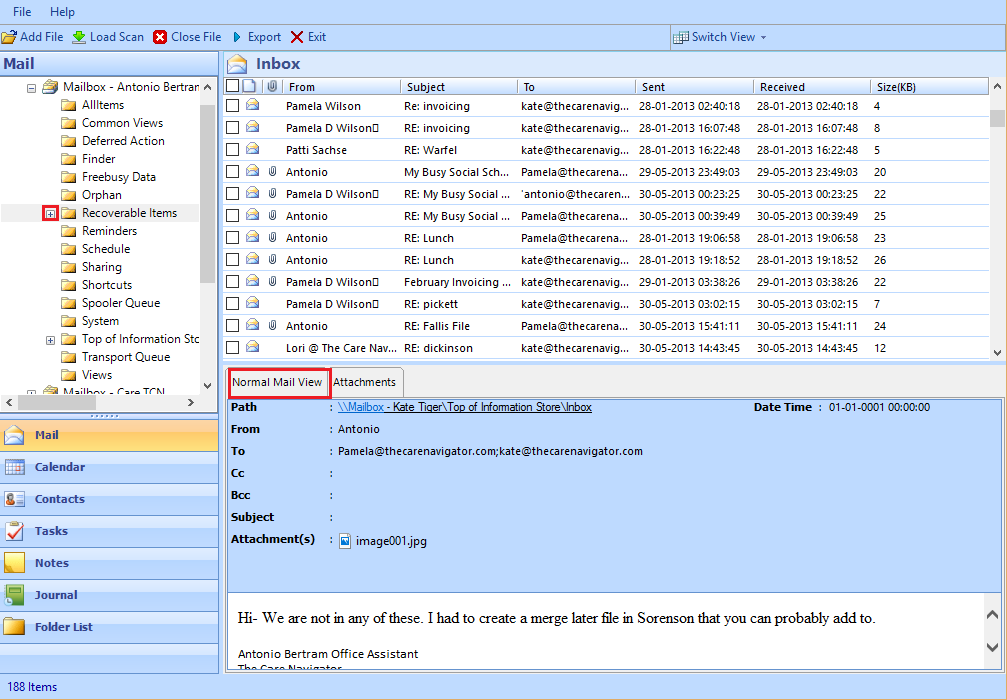
- Click on Export.
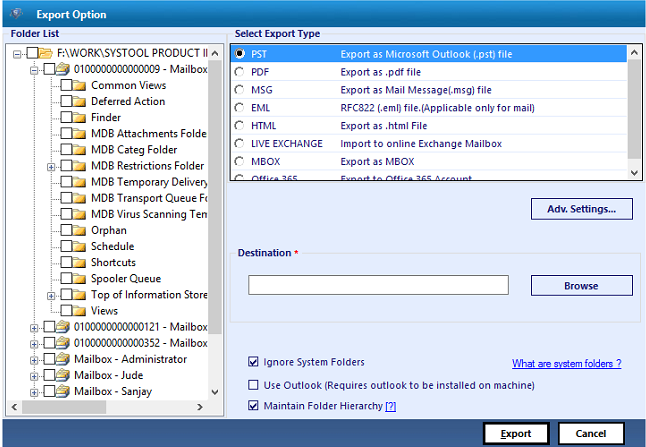
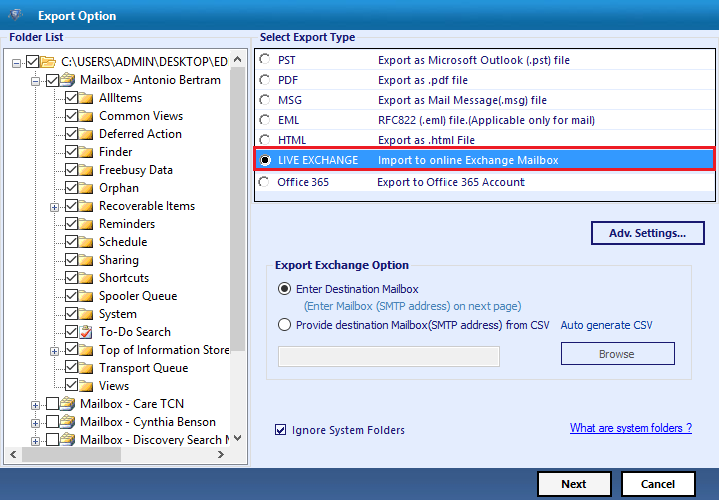
- There will be six export type: Choose any one of them. Click Advance settings.
- For Live Exchange settings, click Exchange settings & provide the Admin credentials and Choose the Exchange Server versions. Click save.
- In general setting option, set the filter and item category to be exported.
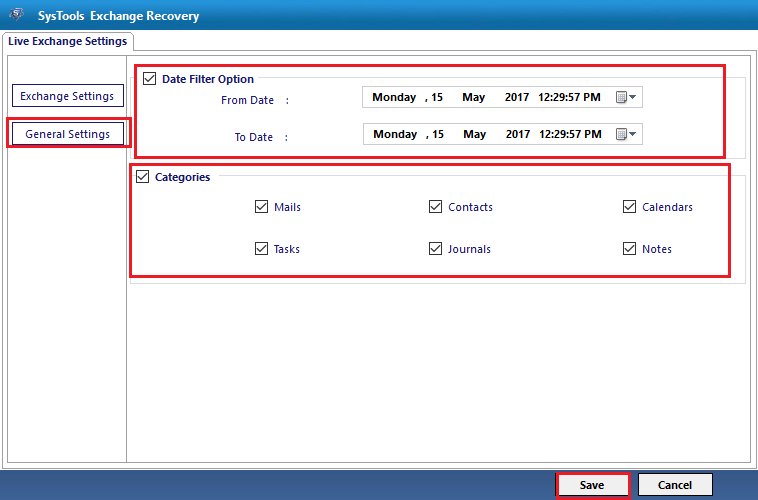
- Click on save to save all the settings done above.
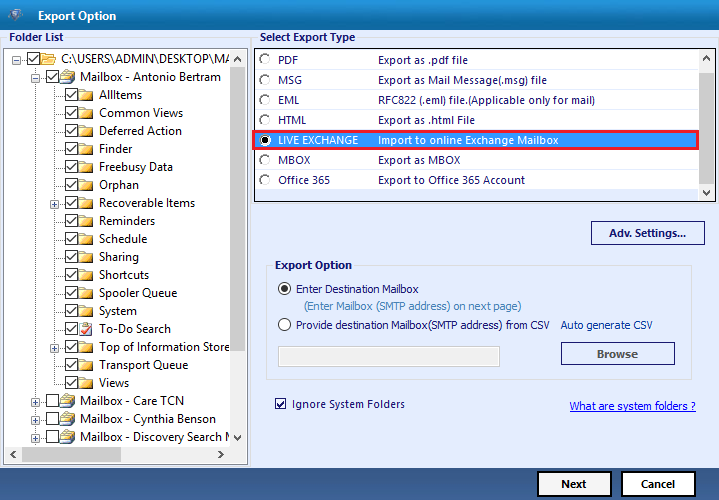
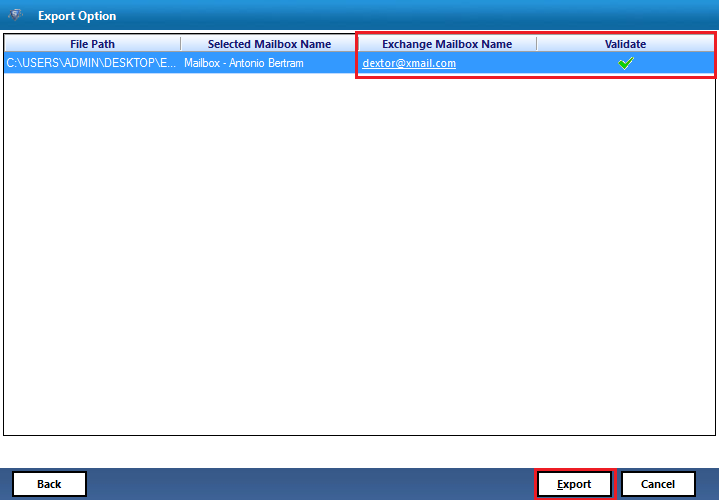
- Select the Export type Live Exchange
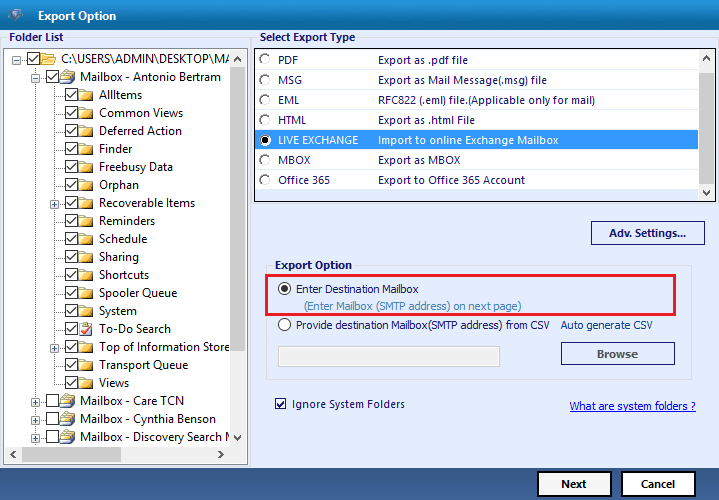
- Enter the destination location to save the exported file.
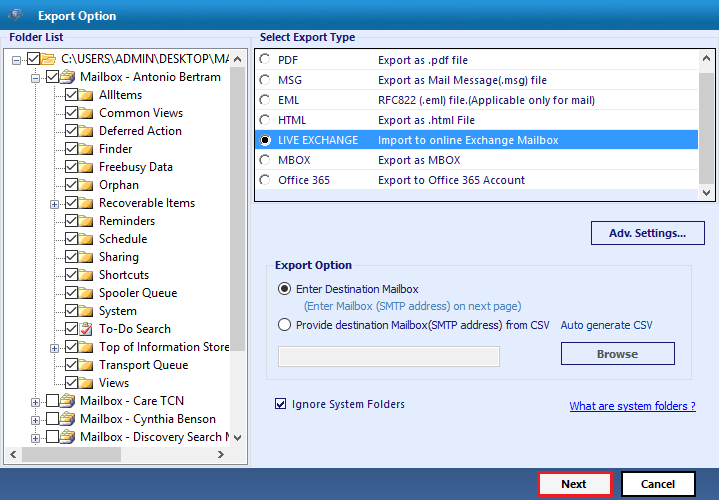
- Click on Next.
- The credentials of Exchange mailbox will get validated now.
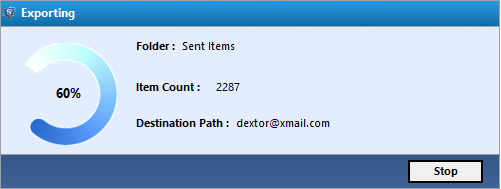
- The process of Export will get started.
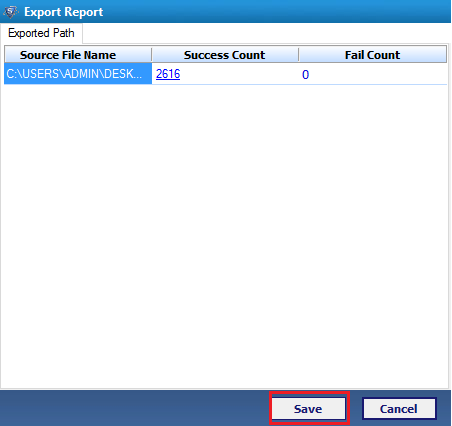
- The software will generate the Export Report. You can save this report on your local system.