Stepwise Follow Product Working Guide
Follow these steps sequentially and read the given instructions to know about the functionality of product
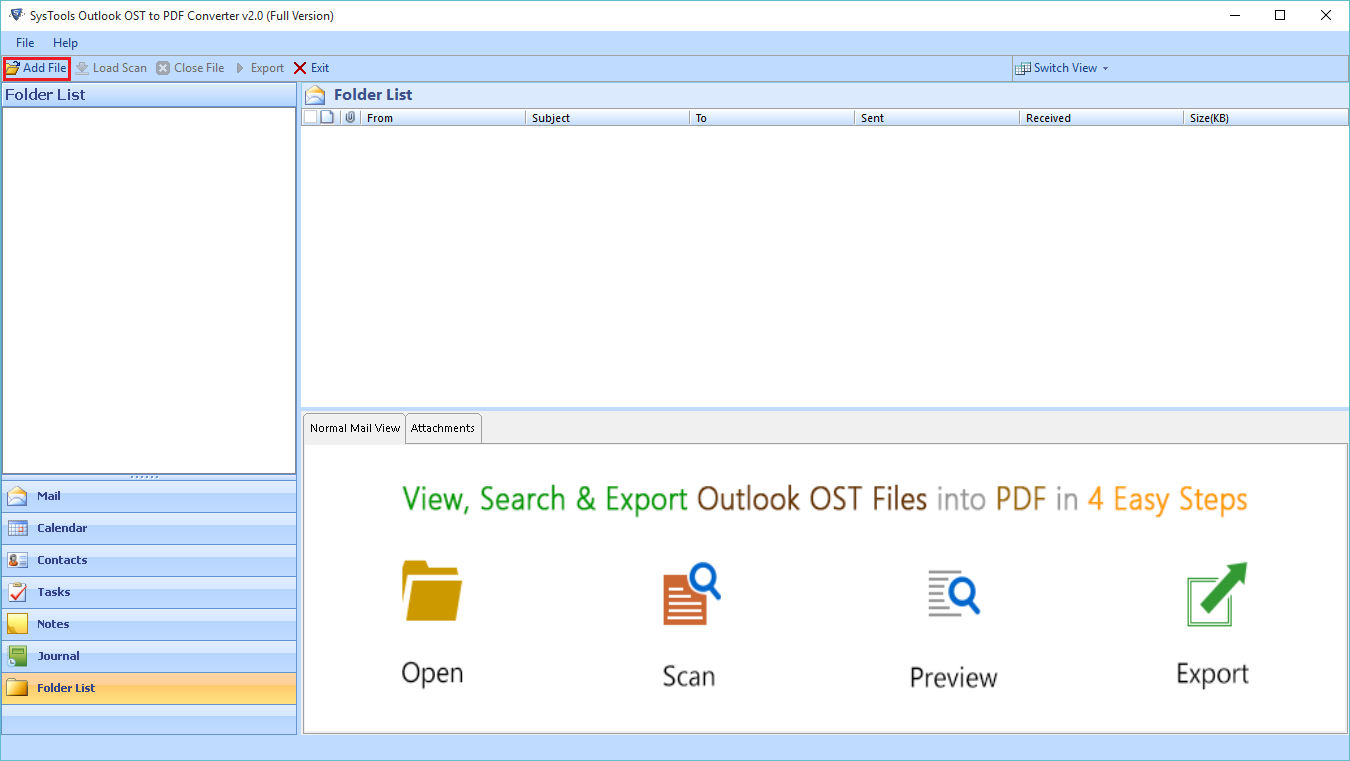
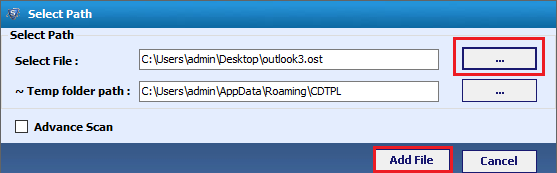
- Initially Download Demo or Purchase Full edition of Product and then Start the procedure at the first screen click on Add file option.
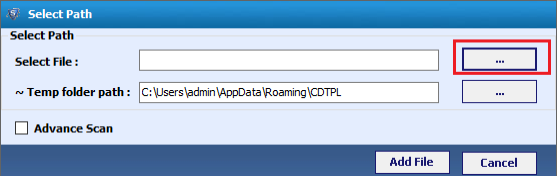
- After clicking on Add file button click on select file option to browse the files.
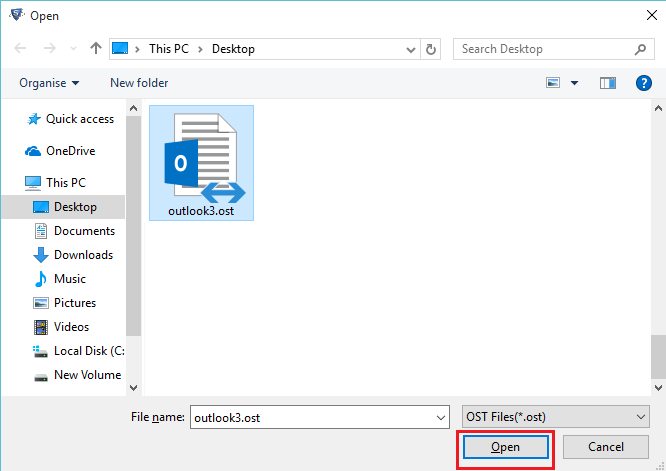
- Now select the OST file that is to be repaired on the next window.
- Next screen the path will be show click on Add file button.
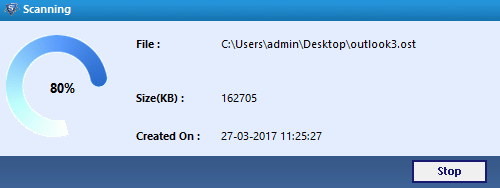
- Now Process will start as given below screen
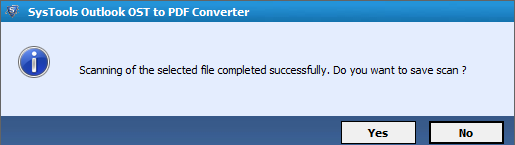
- Once the process is completed, the software will show the confirmation “scanning of the selected file completed successfully.”
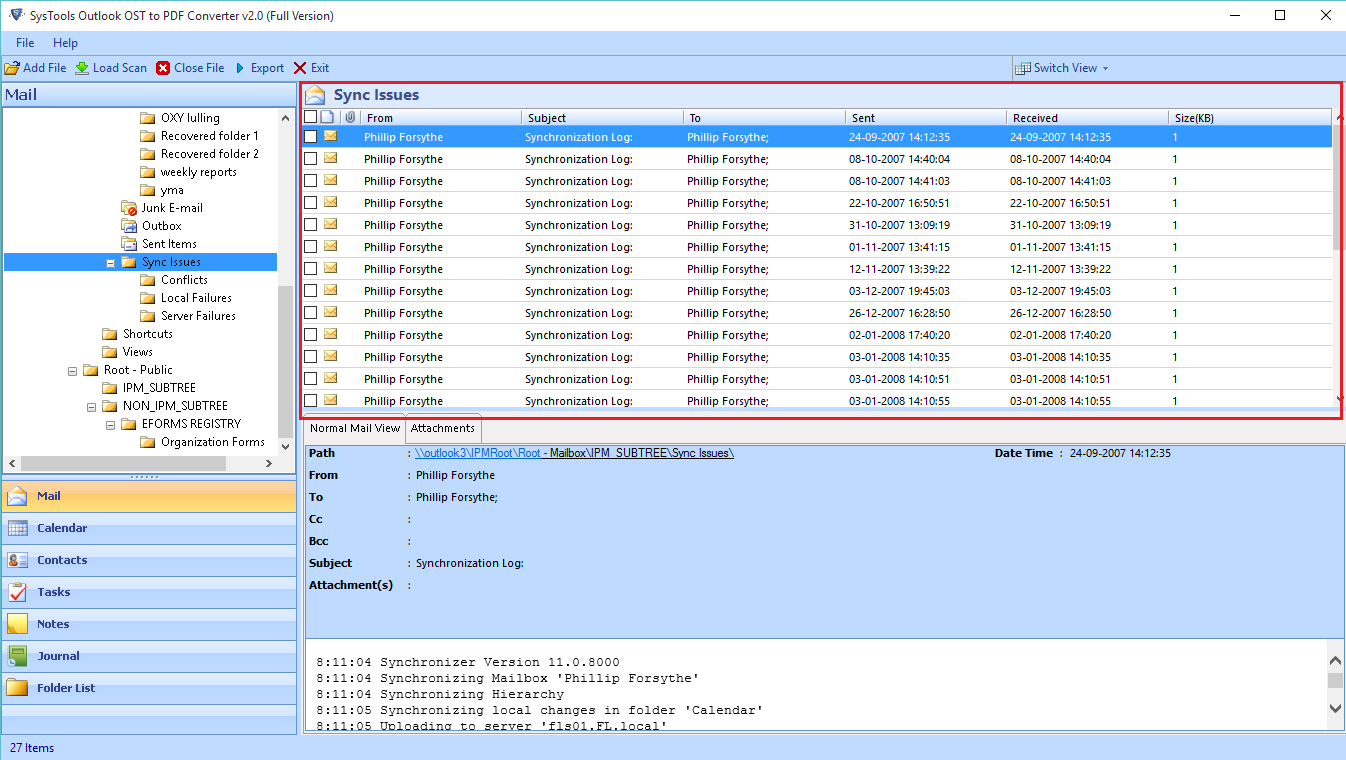
- Software displays all files/folder located in OST file in the same structure as shown below;
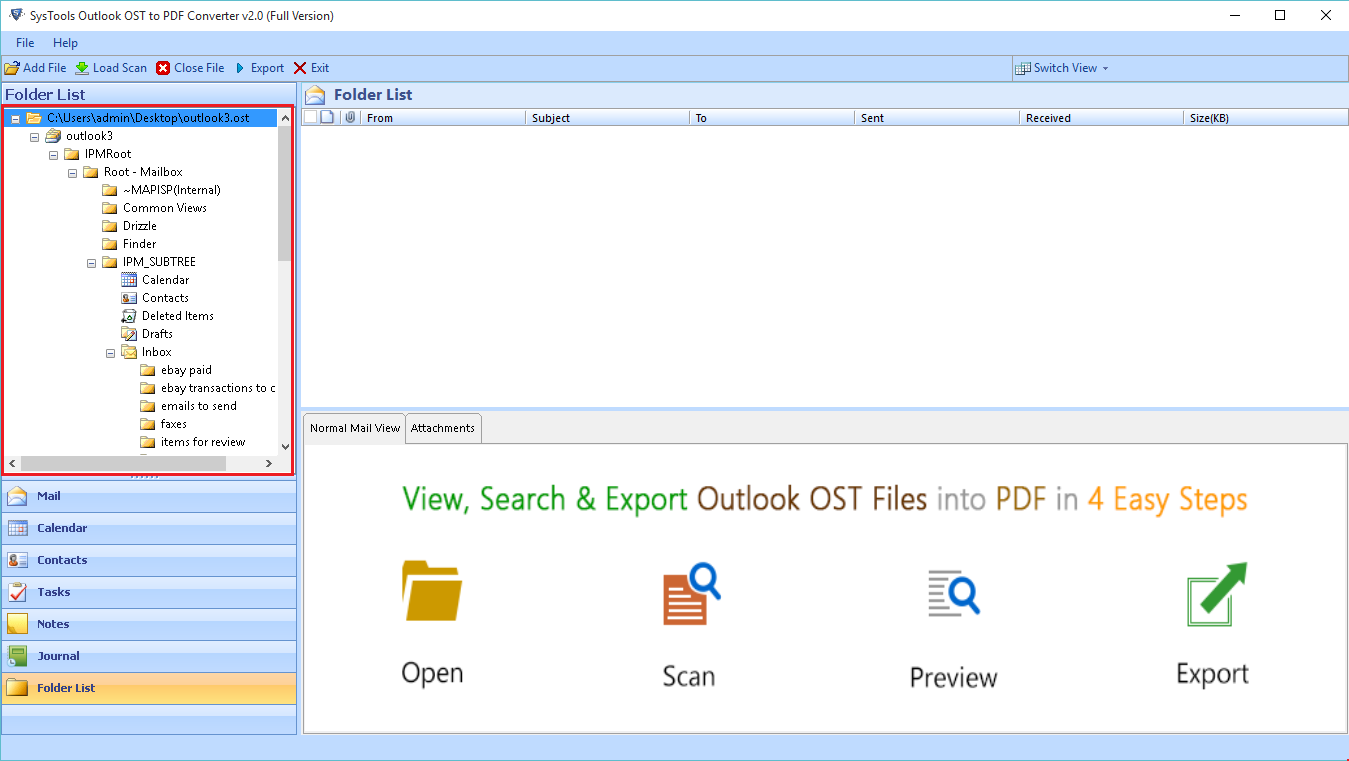
- Navigate to different categories on the OST file content:
Accessing mails click on Mails to view all mails
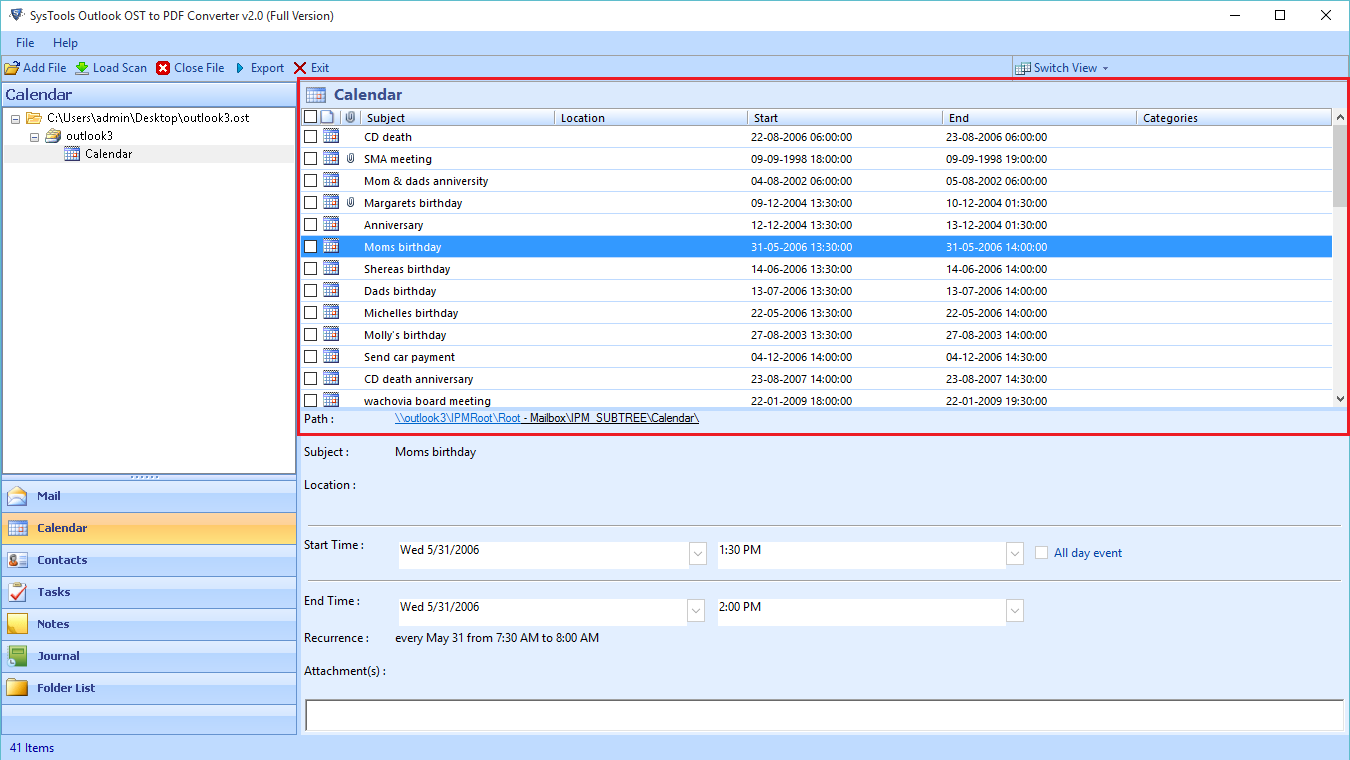
- Same as calendars click to view all calendars file.
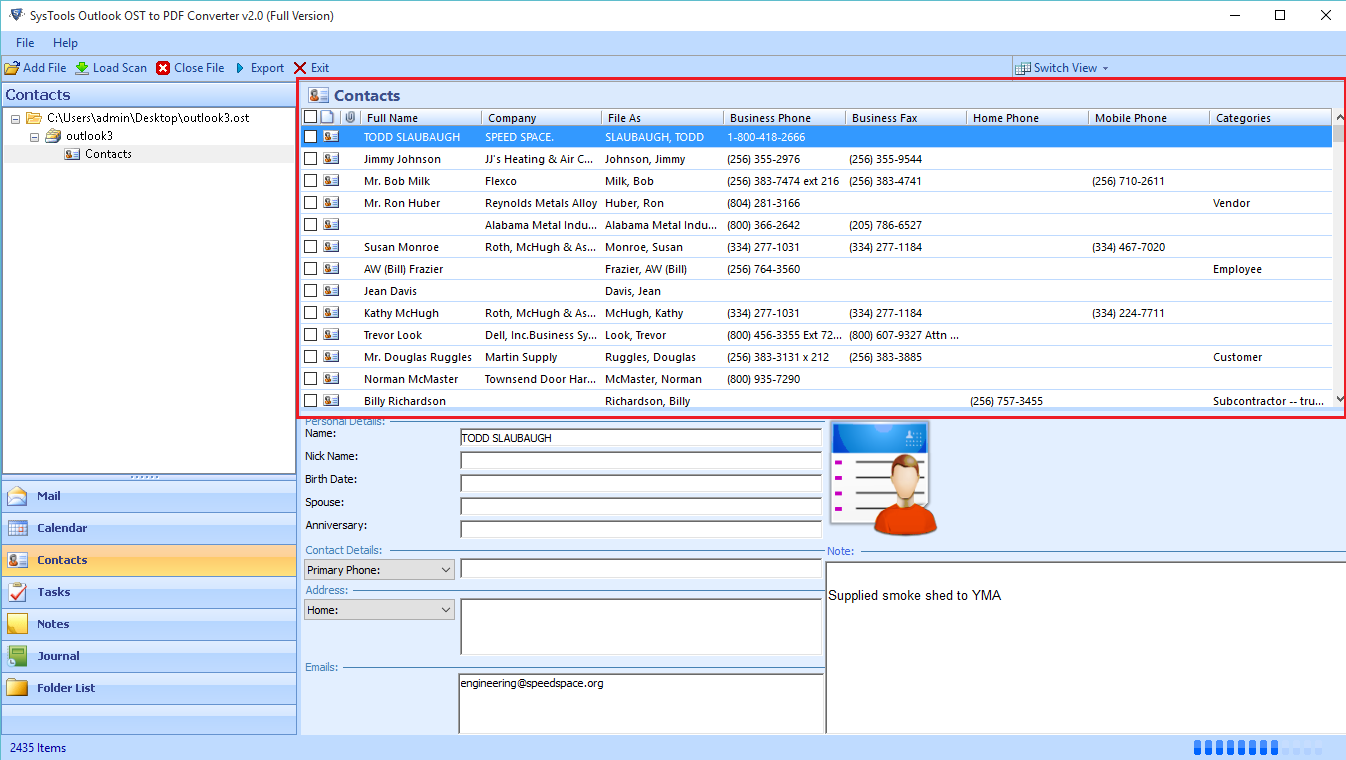
- You can view all the contacts
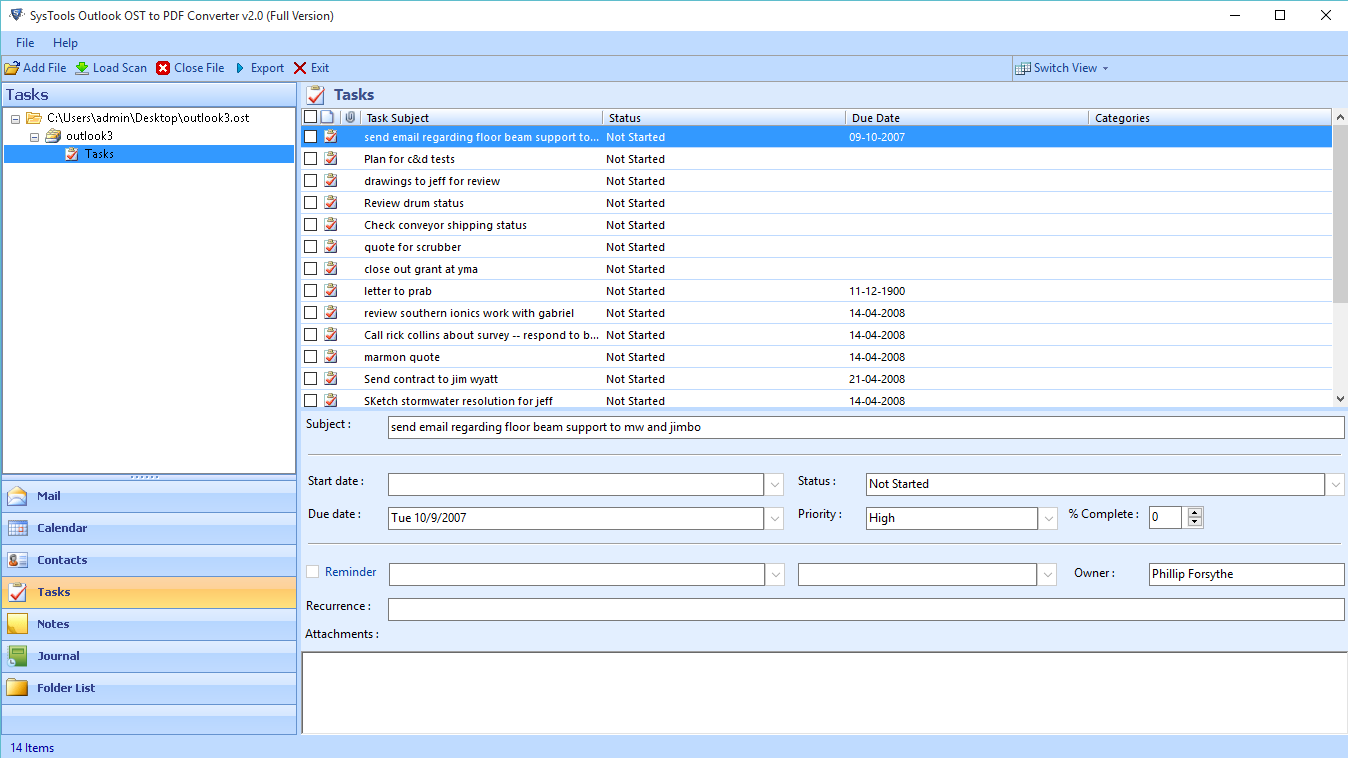
- For Task you can permit users to view all saved tasks within OST file
- Start the export process select any specific email and right click to export the mail
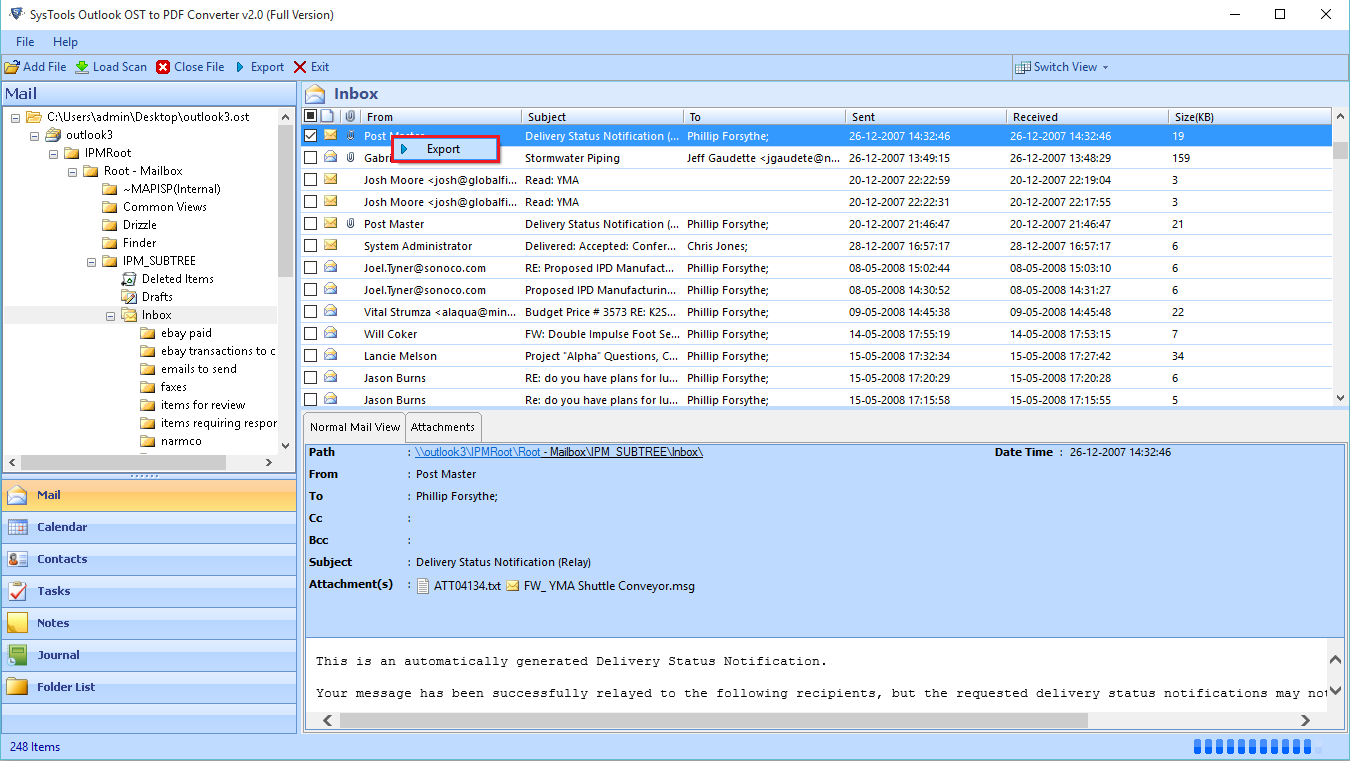
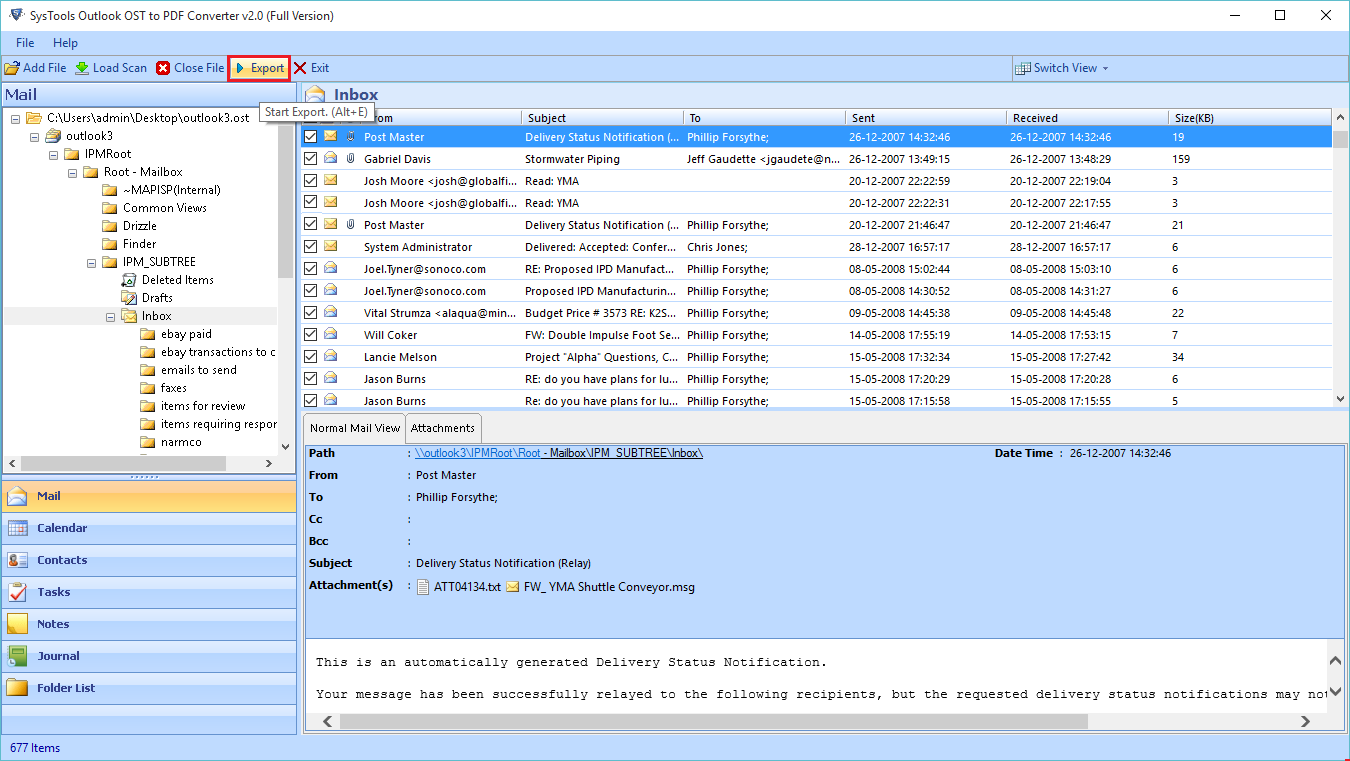
- Select the particular item which you want to be export using this export button
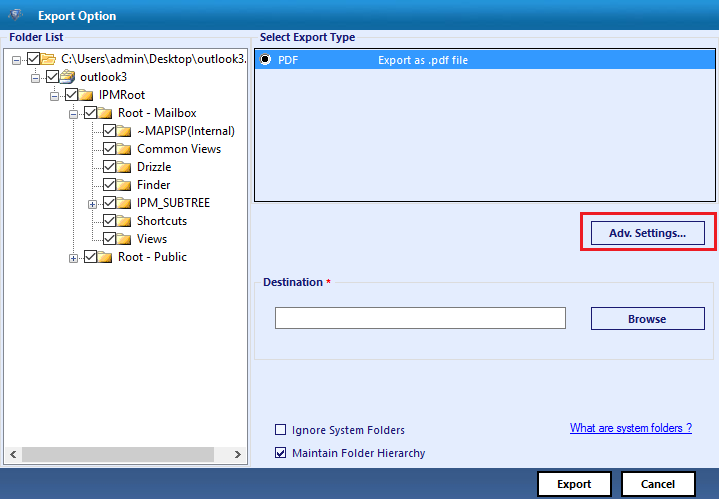
- Above window click on Adv. Setting option to specify the advance settings
- There are three options provided which are:
1.General Settings:
In General settings can be configured: Naming Convention, Categories, Date filter option
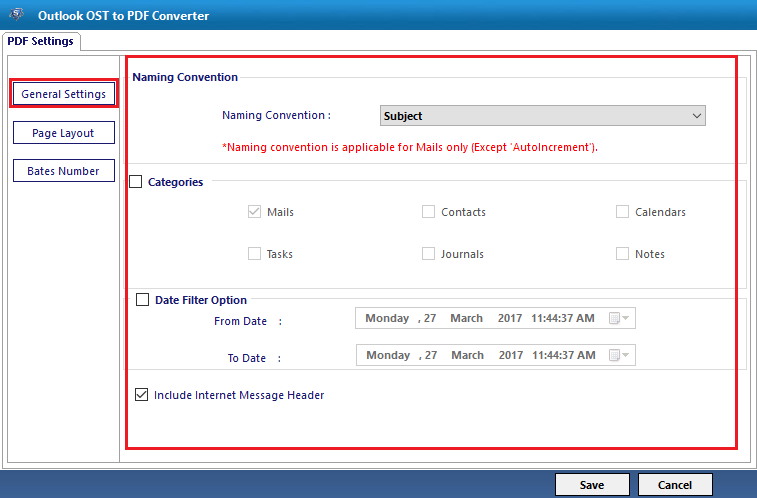
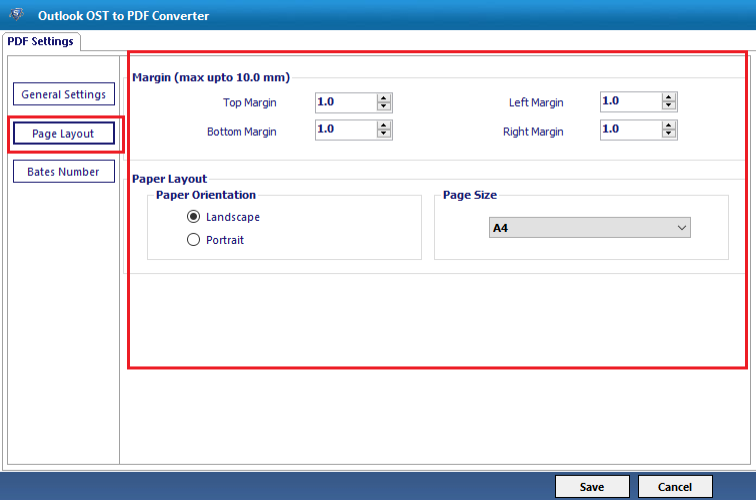
- 2. Page Layout: In this Got the facility to set page merging, Page orientation and page size.
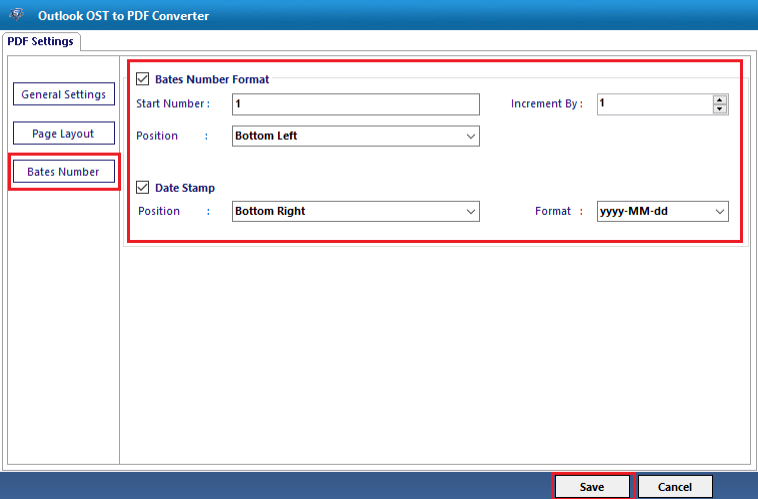
- 3. Bates Number: It Provide the facility to implement page numbers as per page required position, click on Save button.
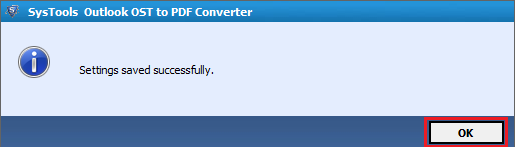
- The confirmation message will appear “setting saved successfully”
- Click on the browse button to specify desired location. Now you will be the direct back to the window.
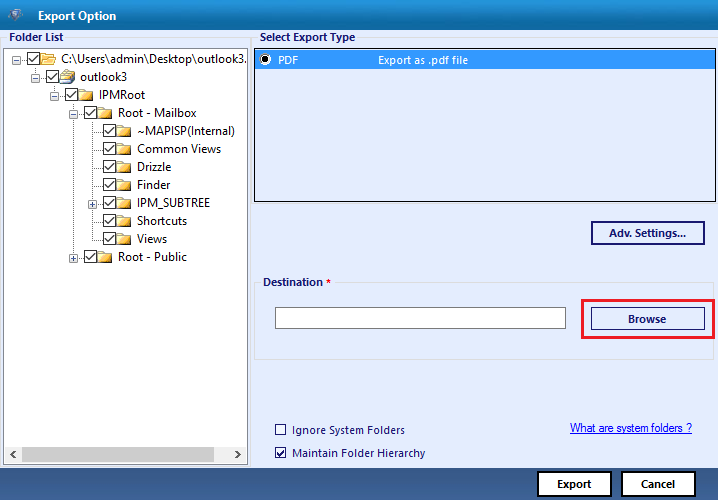
- Selected file will be shown below in the export window will be shown below.
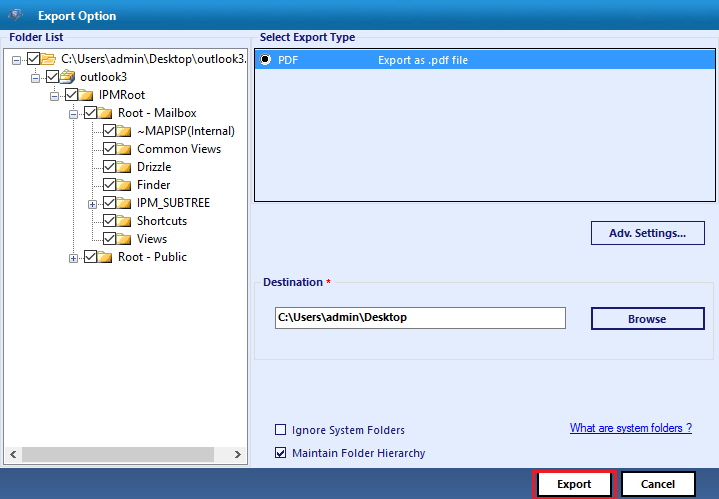
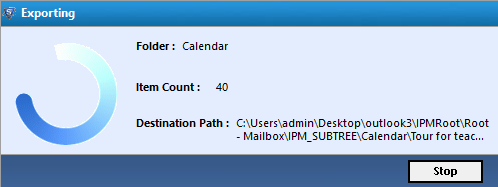
- Now start the export process and status will be shown below:
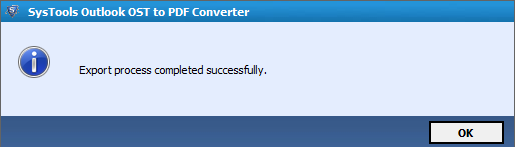
- Now a screen will be appear the successful completion message
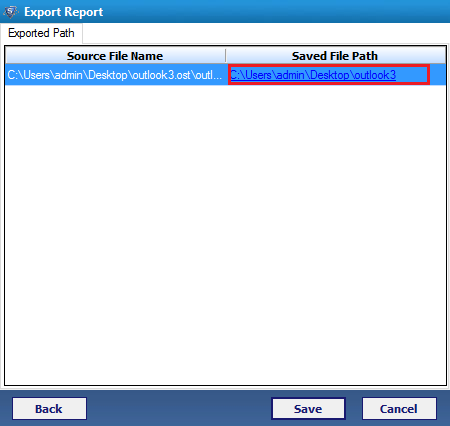
- A path will be show as the converted OST file
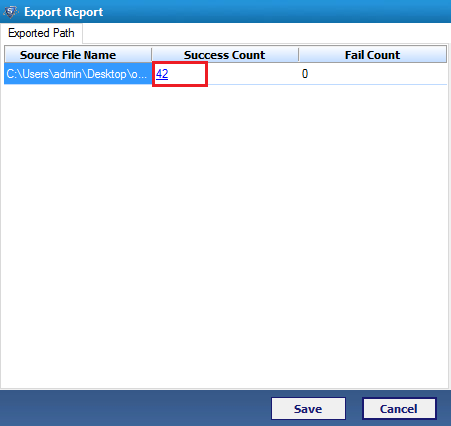
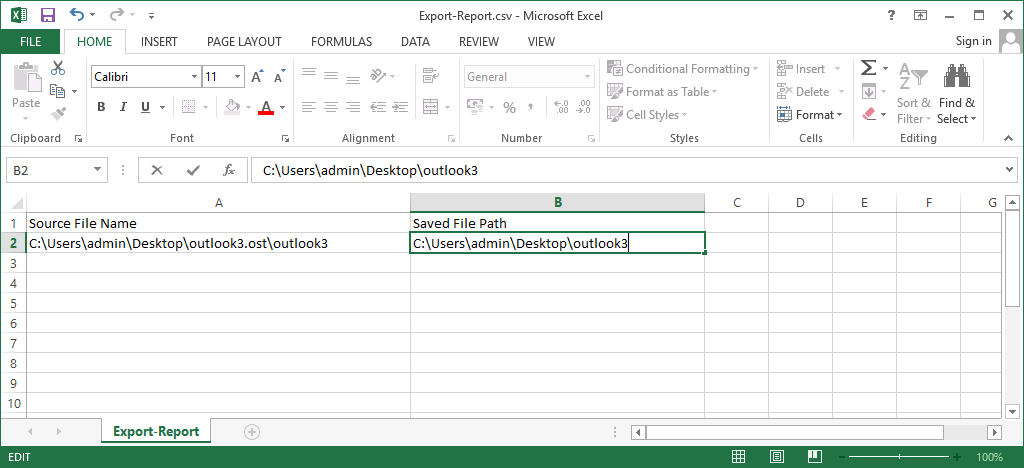
- To save the export report click on Save Button option
- Click on OK Button
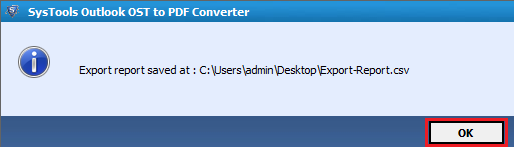
- At the end a report will be generated by navigating its location.