Working Steps of Product
- After installation, run the software and perform the conversion process step by step.
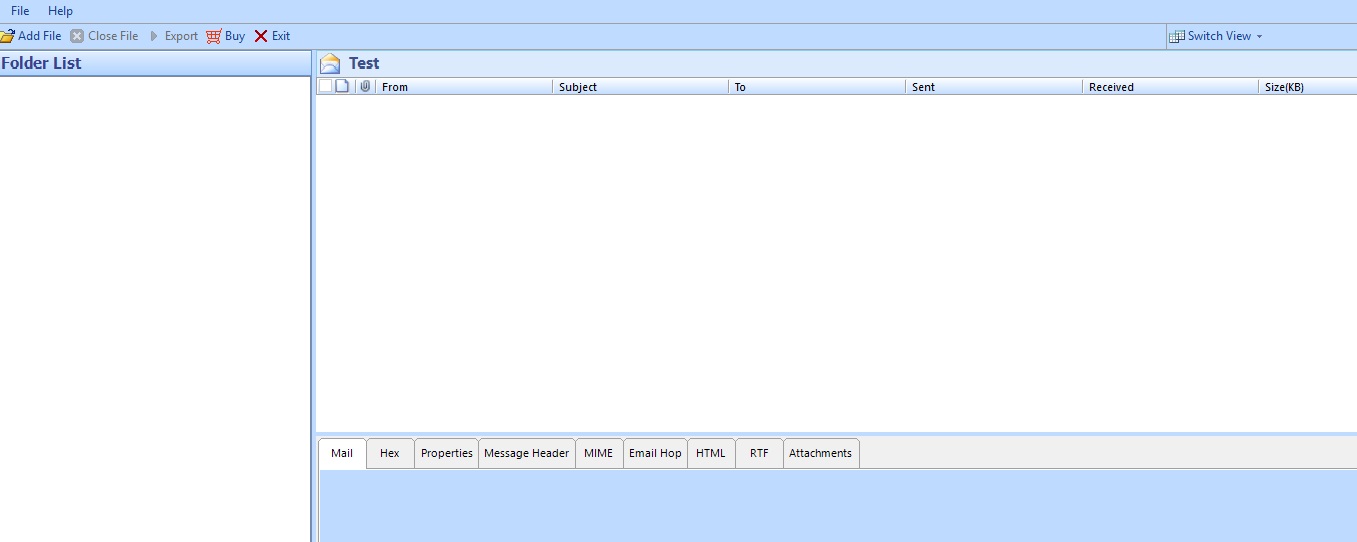
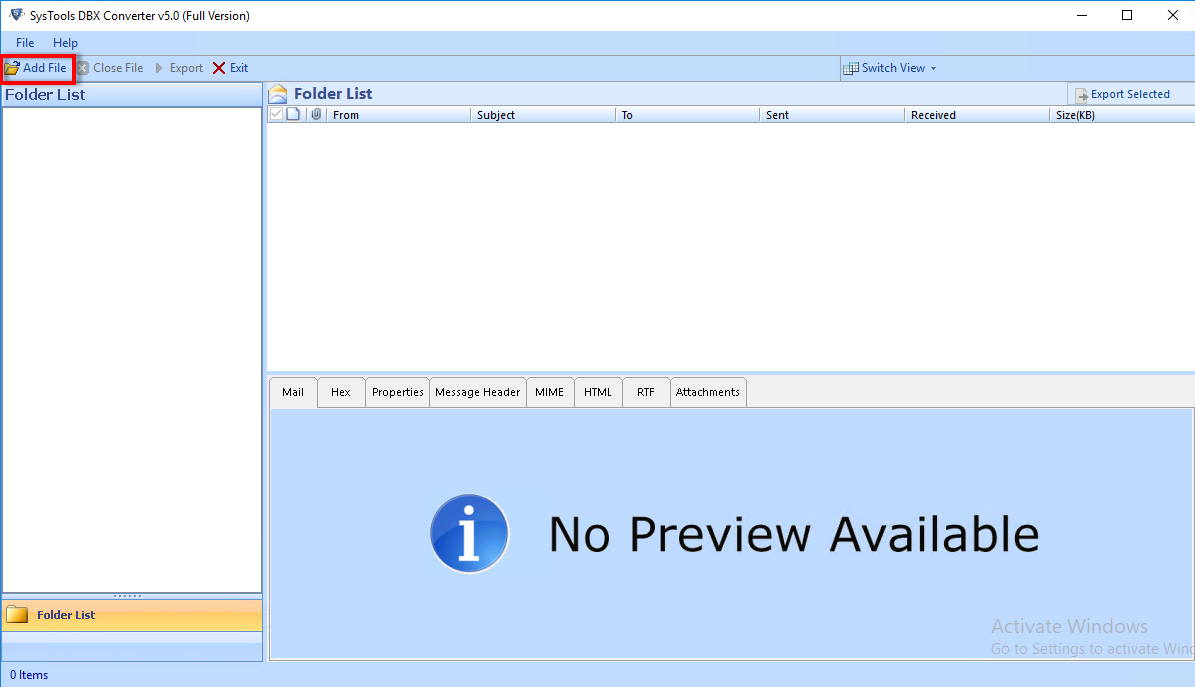
- Click Add File option from the menu bar and select DBX files. A dialogue box will be opened.
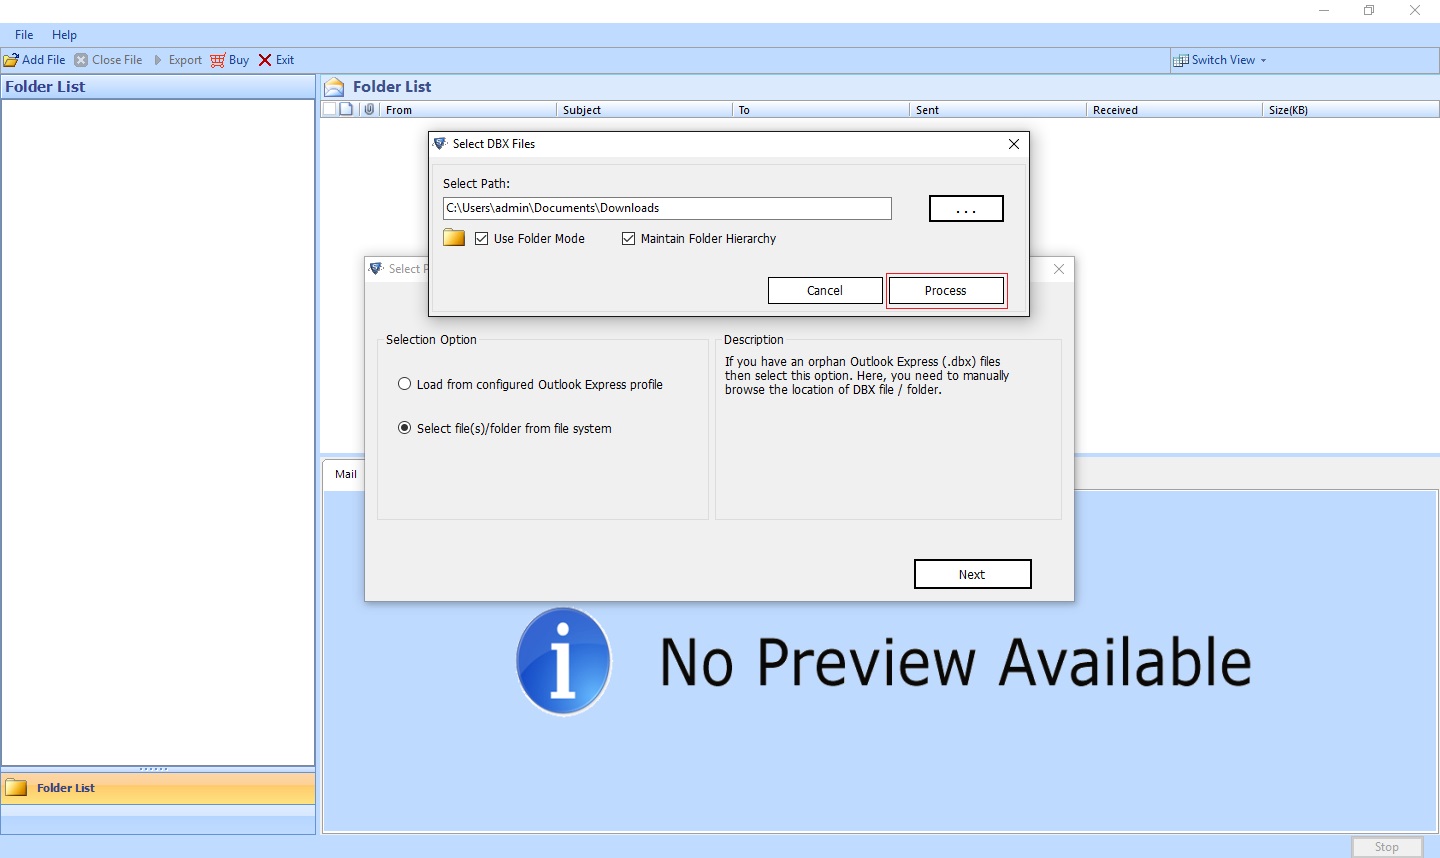
- User can choose any of the two DBX Files browsing options :
1. Load From Configured Outlook Express Profile: Automatically detect DBX files with the help of configured Outlook Express profile.
2. Select file(s)/folder from file system: Browse filed manually as per requirement .
Select any one option as displayed in screen shot below and then click on Next button.

- After Selecting the file path click process button.
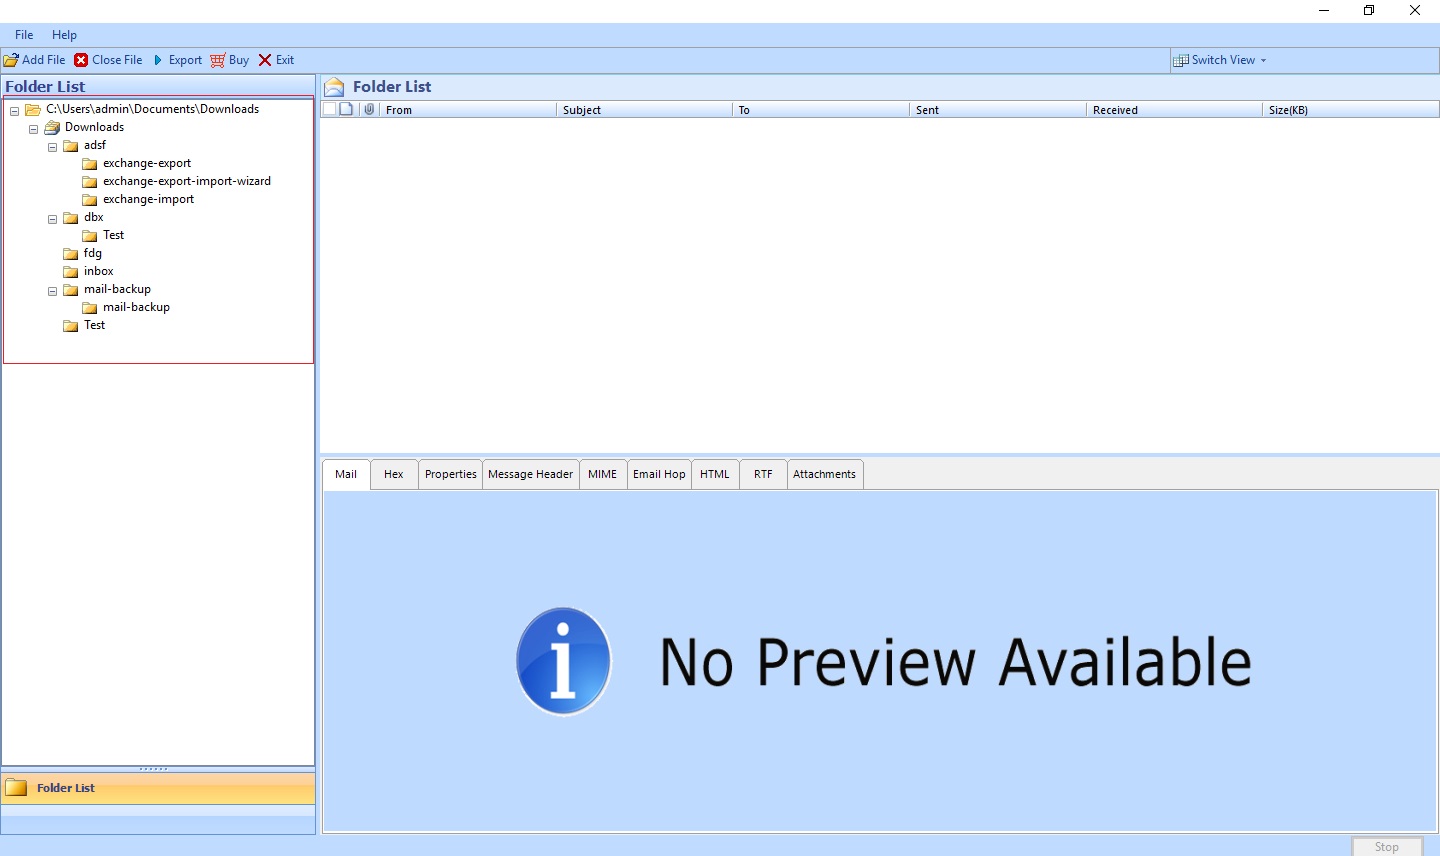
- All the DBX files and folders will be listed in left panel screen. Click on DBX files to view the emails.
- As Scanning of data gets complete, user can take view of data in different way like horizontal or vertical view.
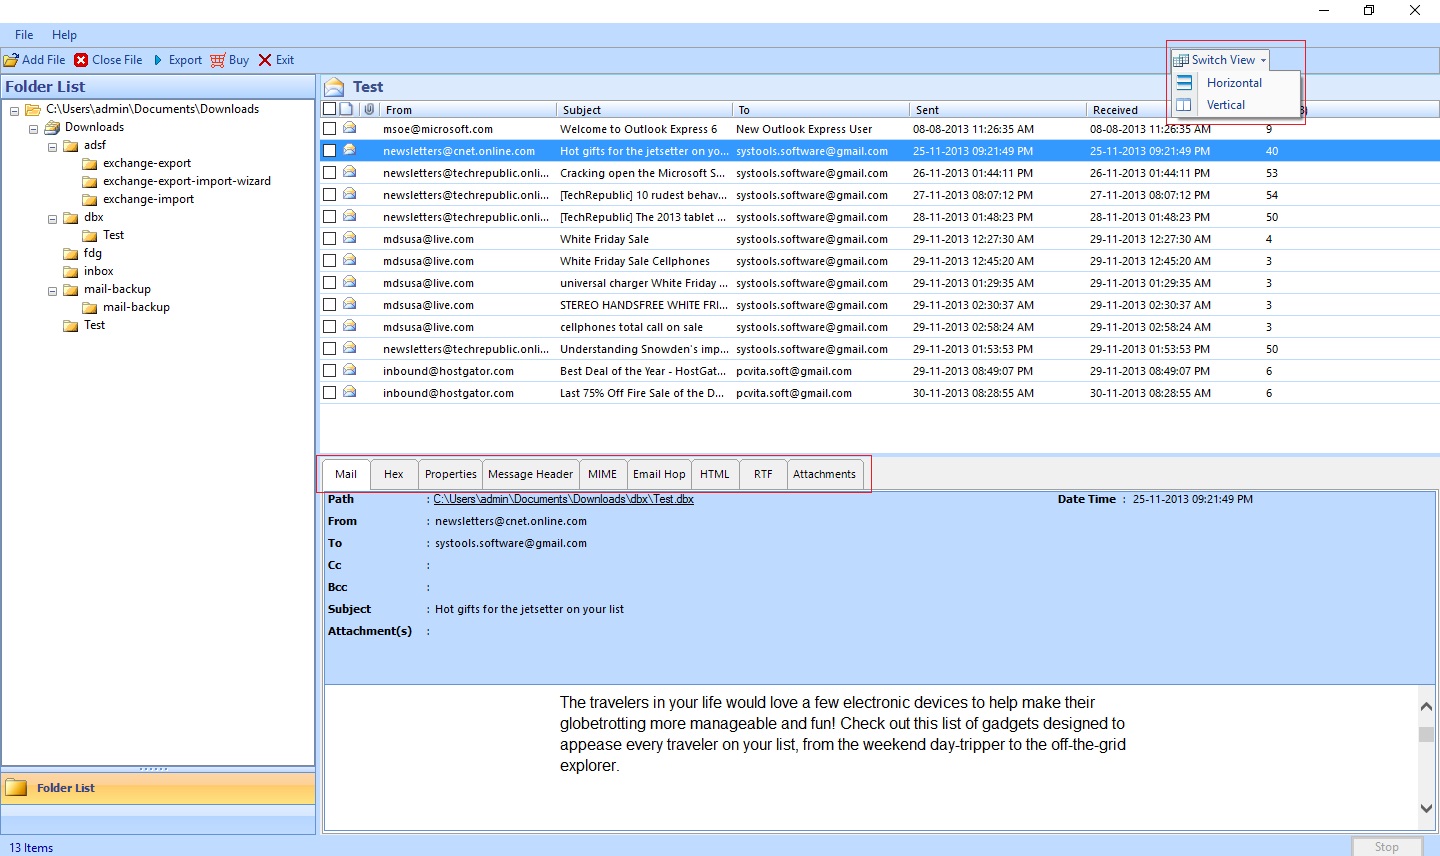
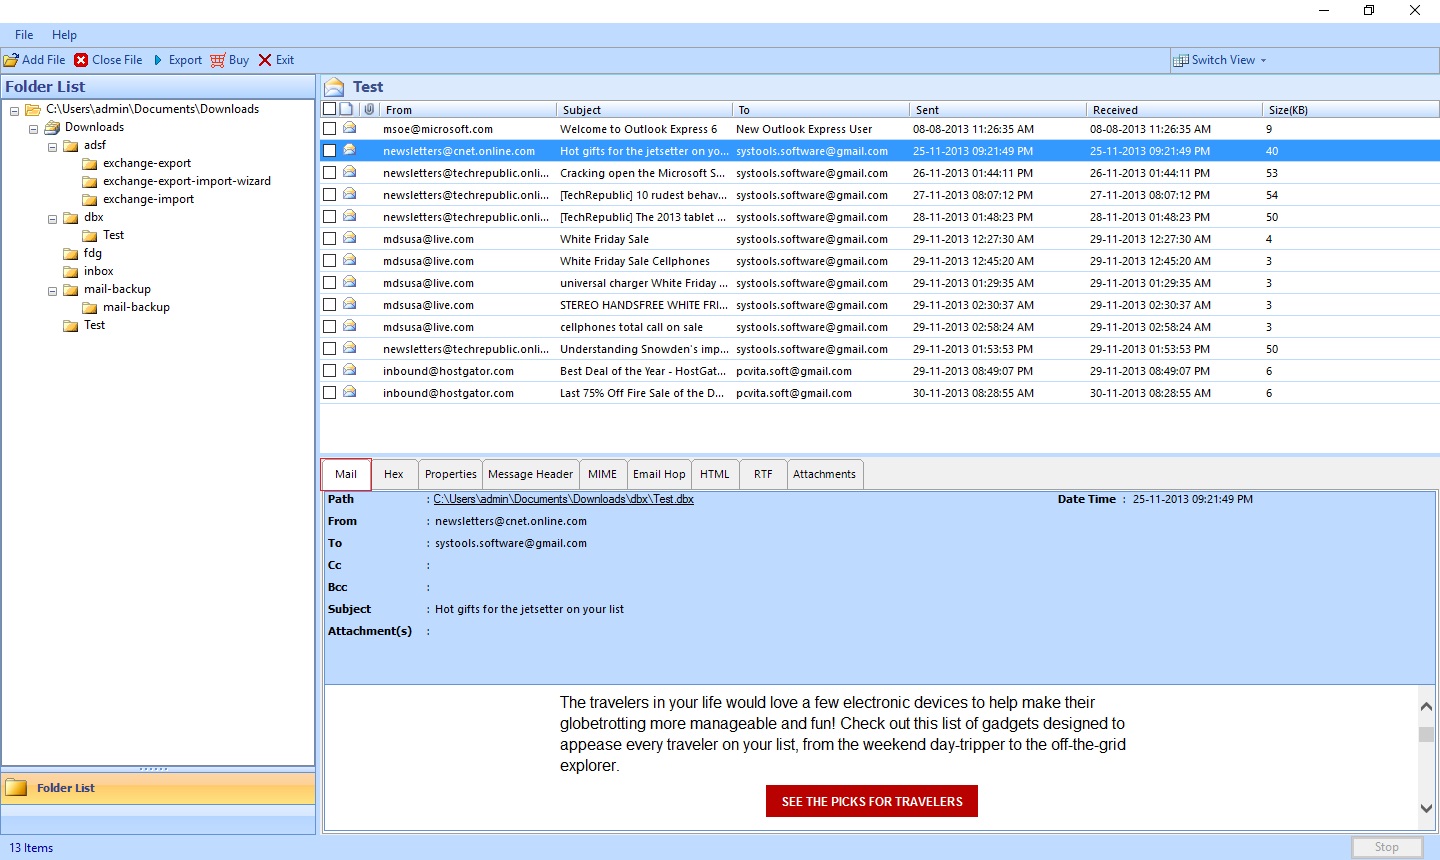
- Preview emails in different viewing modes by clicking Mail tab as shown in screen below.various viewing modes can be choosen like Hex view, Properties View etc.
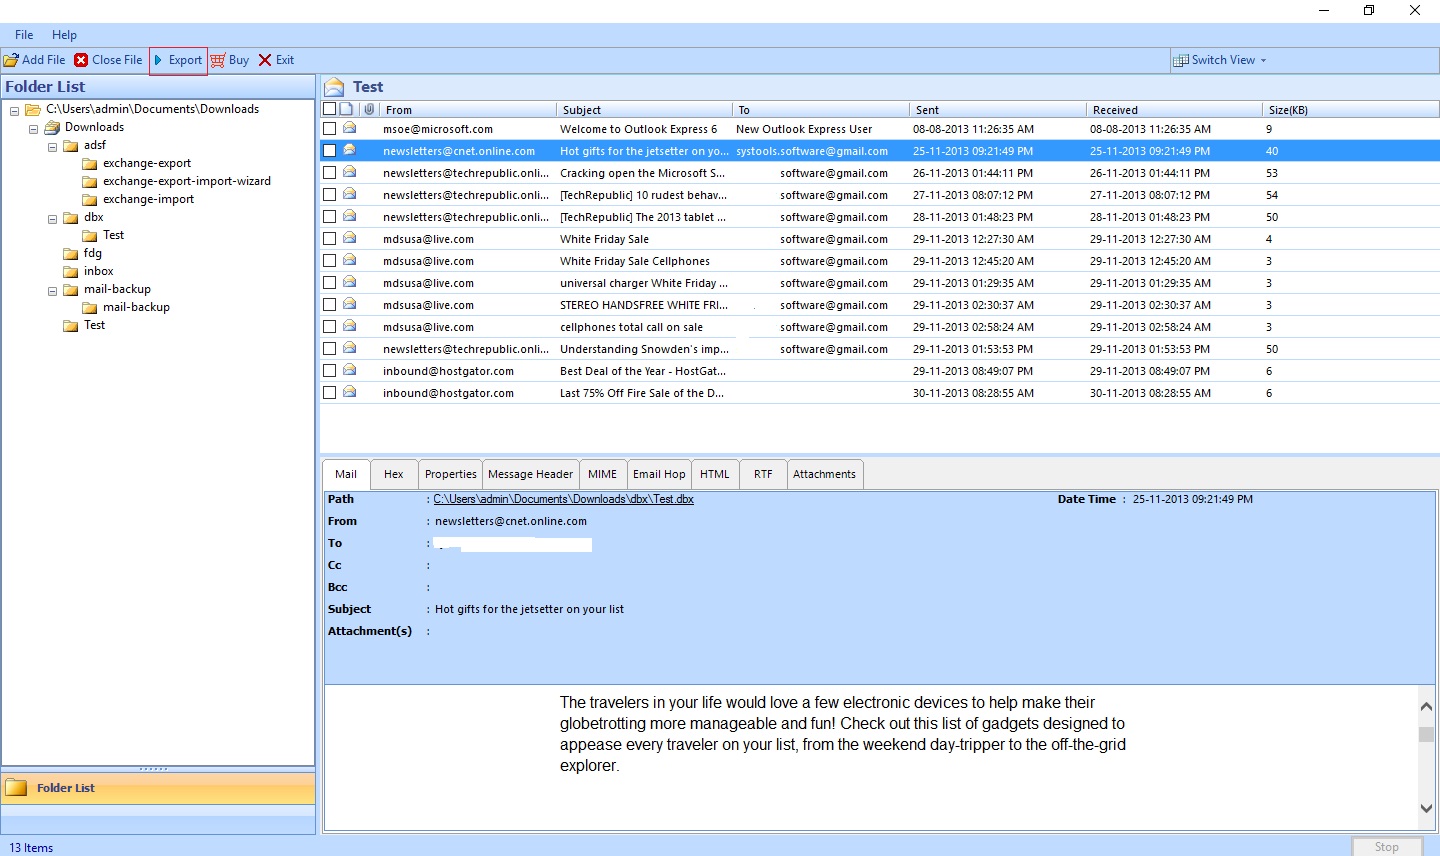
- Select DBX files/folders user want to export as per requirement and click Export Button as shown in screen below .
- Two options will get displayed on screen :
1. Export All Folders
2. Export Selected Folders
User can select any of the option as per requirement .
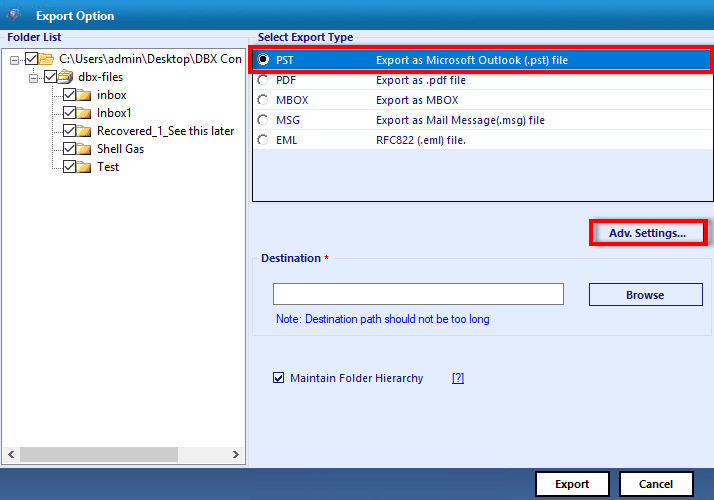
- Select the file format to export the file from options available PST,EML,MSG or MBOX.

- Choose any of the naming convention option to save the EML or MSG files.By default naming convention is subject. Choose the location to save converted file or make a New Folder to save files and click export button .

- Export Process finishes then alert message gets displayed. Click Ok.
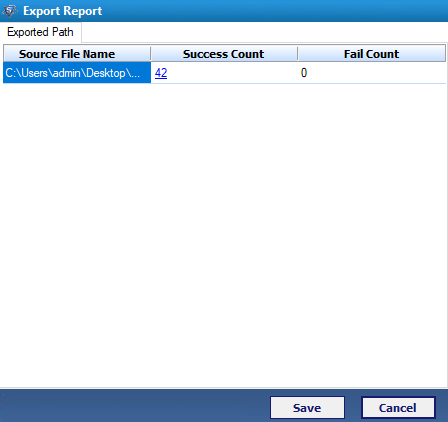
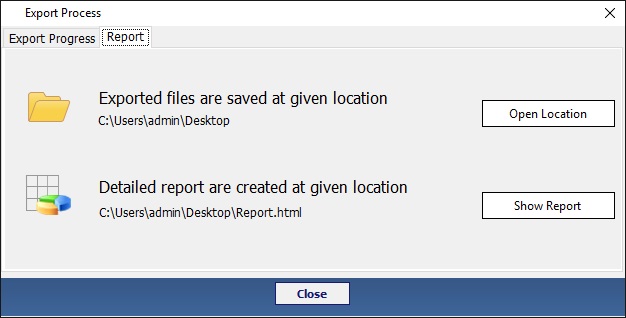
- Export report is generated by the software. User can choose any of the two options :
1. Open Location : To go to location of converted PST file .
2. Show Report : Users can view the report of conversion process .
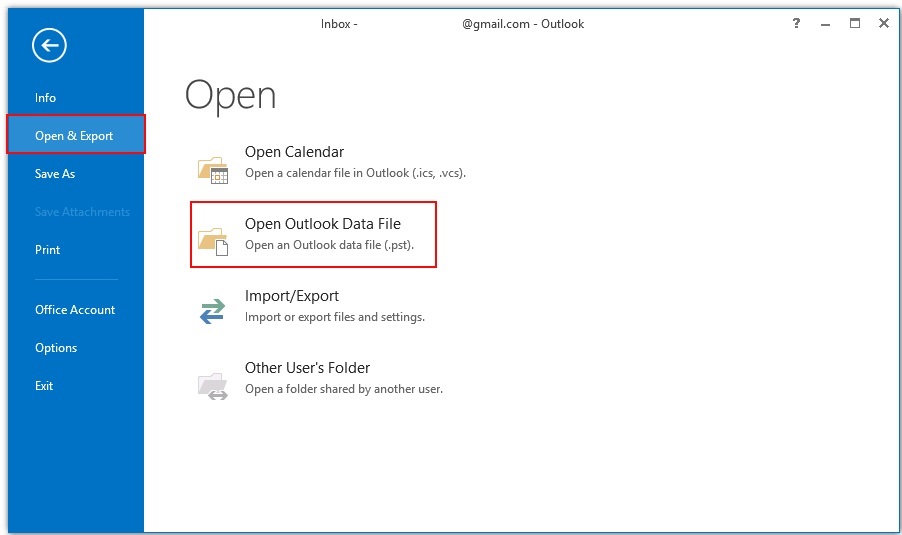
- Open the converted file in Outlook .
Open Outlook » Click File » Open & Export » Click Open Outlook Data File .Browse the converted Outlook Data File , select it and click to open it in Outlook .
- View the converted PST file data.