Follow the Sequential Working Steps
Whole working methodology of product is clarified by utilizing the basic screenshots. Follow all the basic directions while running the Software.
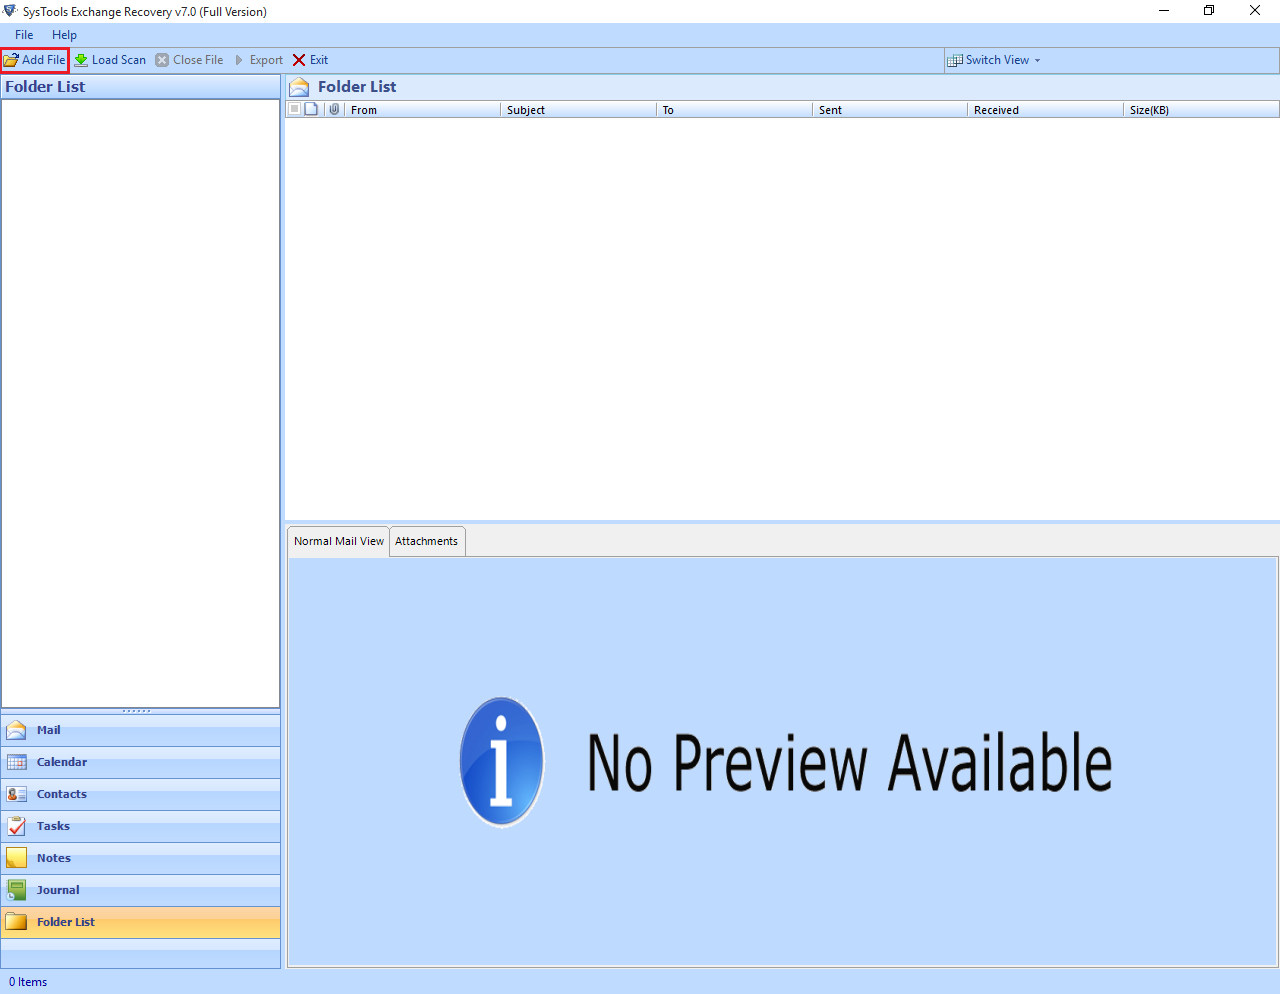
- Initially start with software installation process and choose the app form Start Menu. Software loads the same windows as the screen shown below.
- In first step load the EDB file by clicking on Add file button at top left side of software screen. Give the appropriate location in text menu by browsing the EDB and STM file. Click on Add file button after loading the both files.
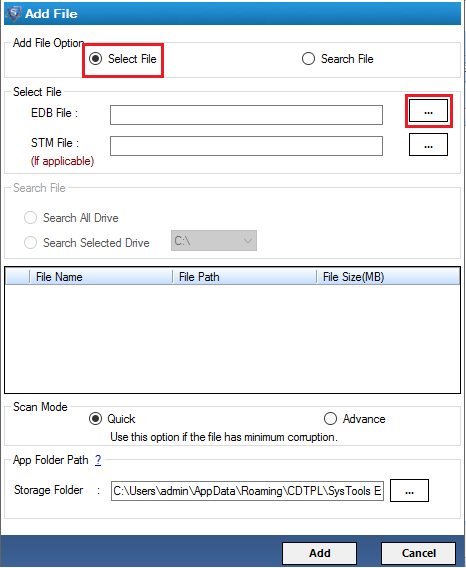
- Select the Add file option as given below:
Select File: Choose the Select file option and browse the EDB file by clicking on “...” icon to navigate pub.edb or priv.edb
- Search File: Now you have to select the search file option there are given two more options to searching .edb file
Search All Drive
Search Selected Drive
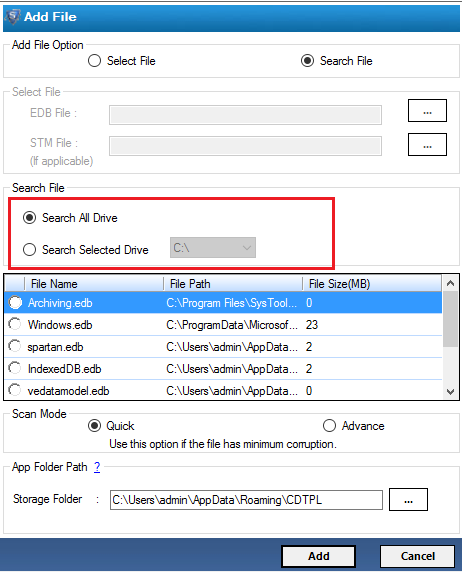
- Choose .edb file and click on Add option for scanning process
- Now software provide two scanning mode either select Quick and Advance.
Quick Scan: It provide quickly recovery of mailboxes as well as folders from EDB files
Advance Scan: If you are not able to view the data after quick mode or if .edb file is more corrupted then use the advanced scan mode.
Click on Add button to Proceed further
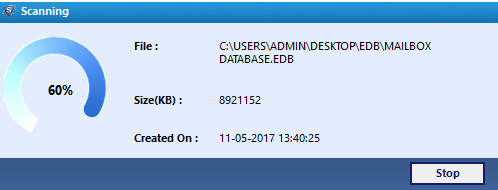
- Now you can view the complete scanning process
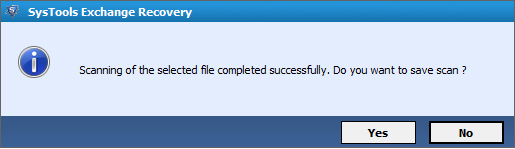
- After the completion of scanning process a window will pop up for confirmation of the successful scanning process. Click on Yes Button if you want to save the scan result.
- Now click on + icon to expend the mailbox items and also click on specific folder to the list of mails
Normal mail view shows email body with normal preview and also shows header information.
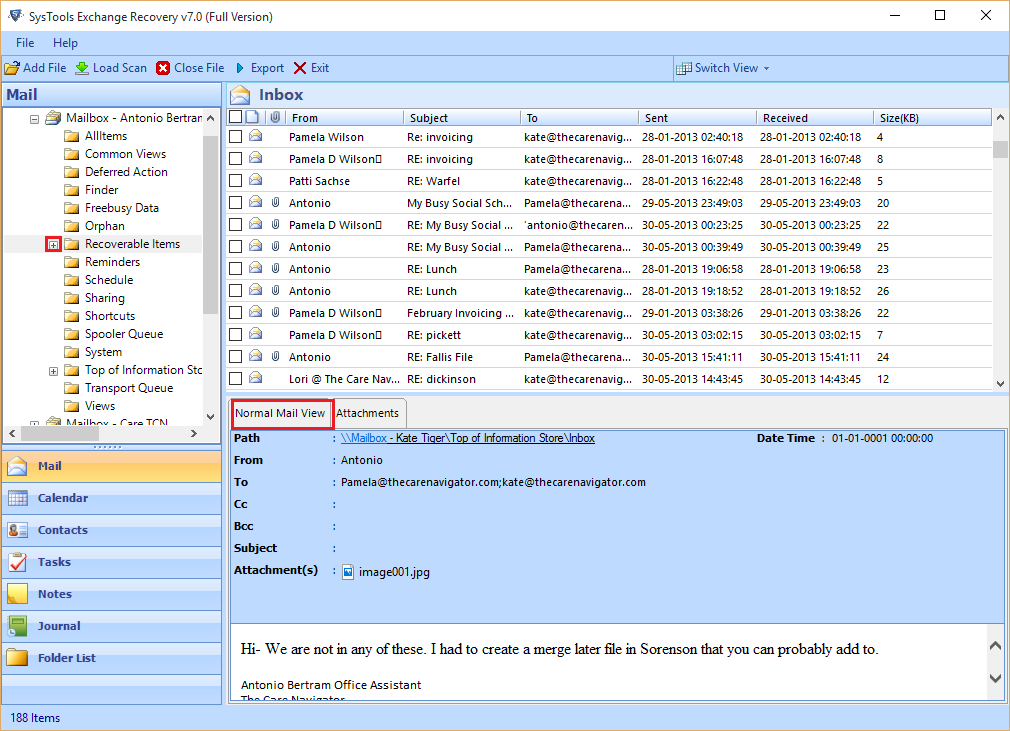
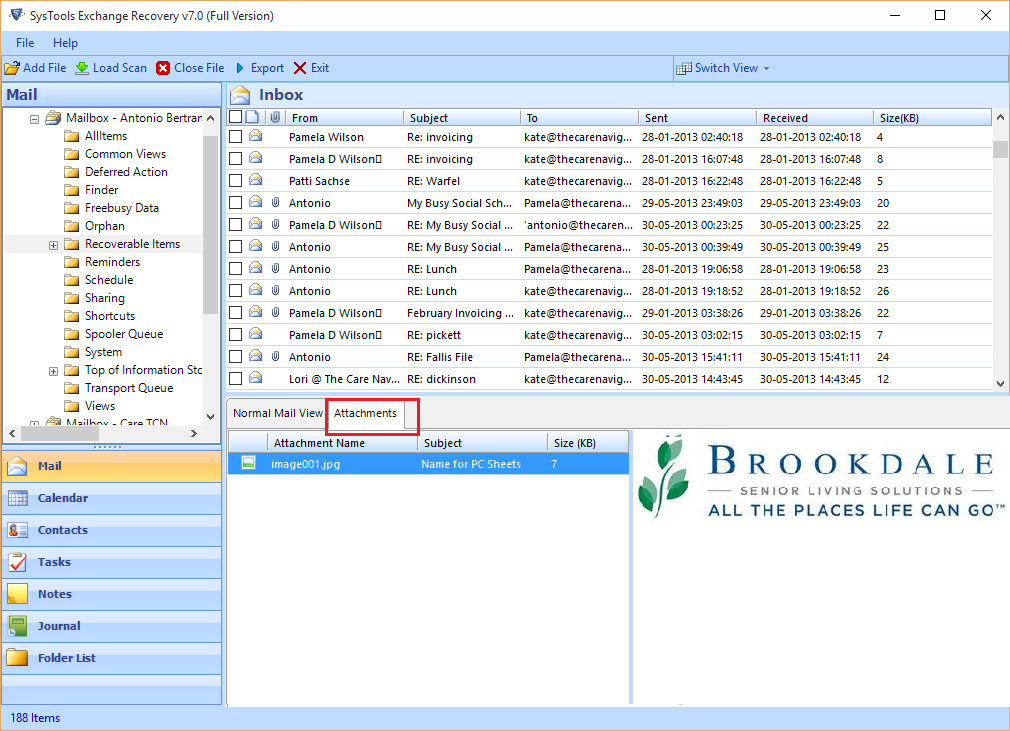
- The attachment tab shows a preview of corresponding attachments
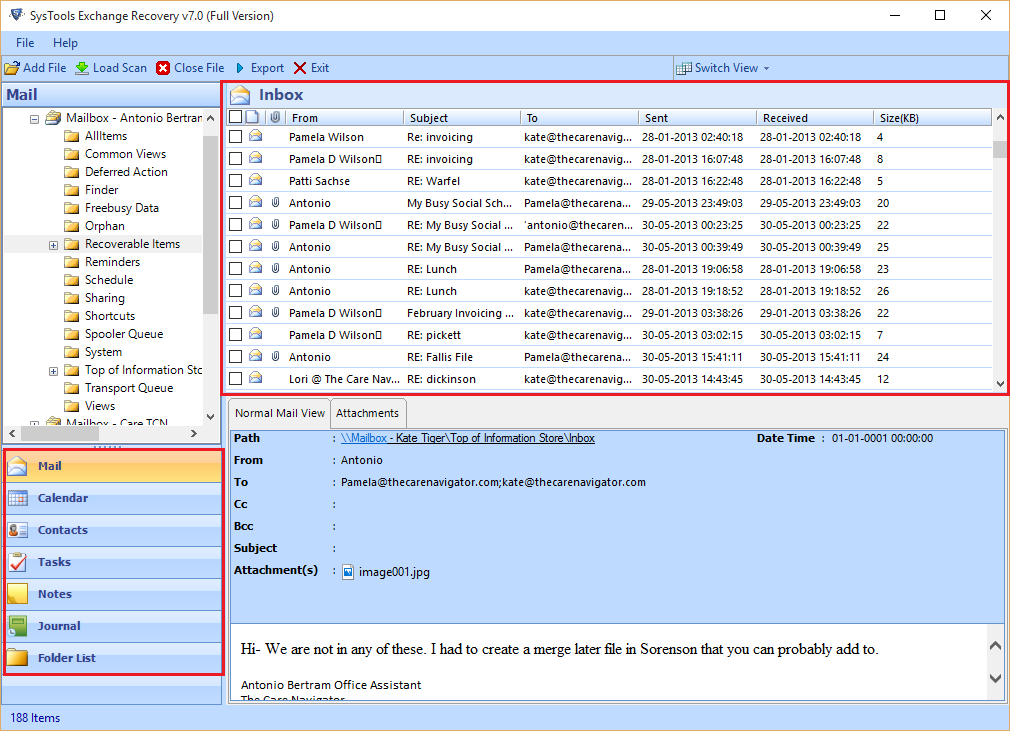
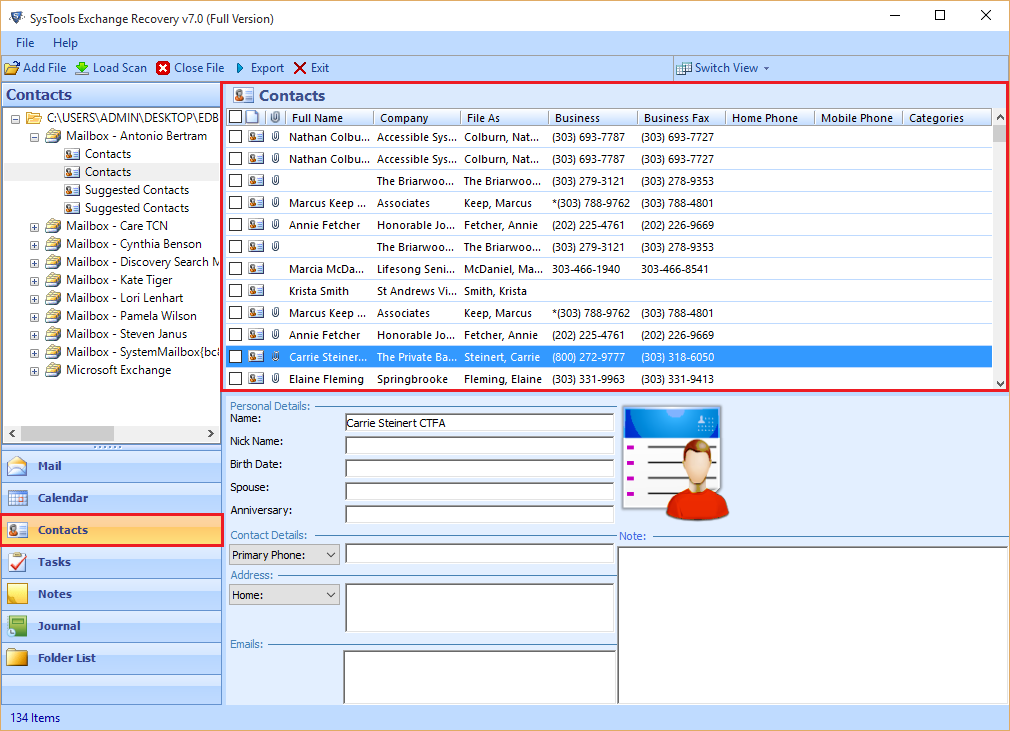
- You can view all the folders and mailbox items. Multiple tabs are: Mail, Contacts, Calendar, Notes, Journal and folder list in the left panel to show the specific mailbox.
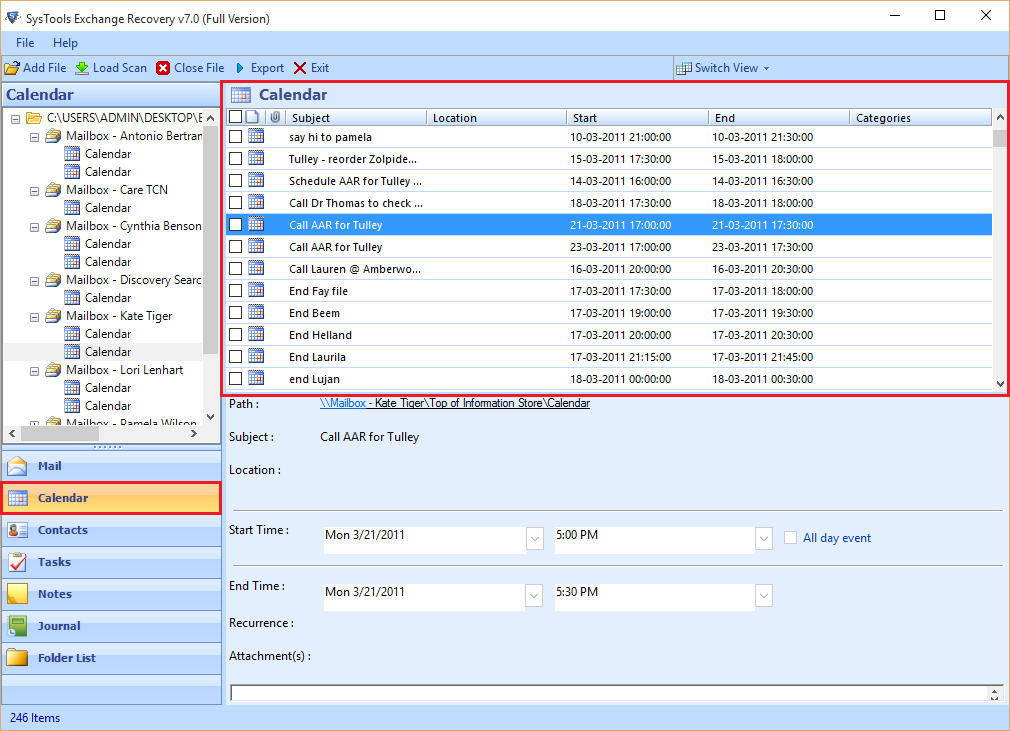
- Click on Calendar tab to view the events from mailbox items.
- Click on Contacts tab to view the address book.
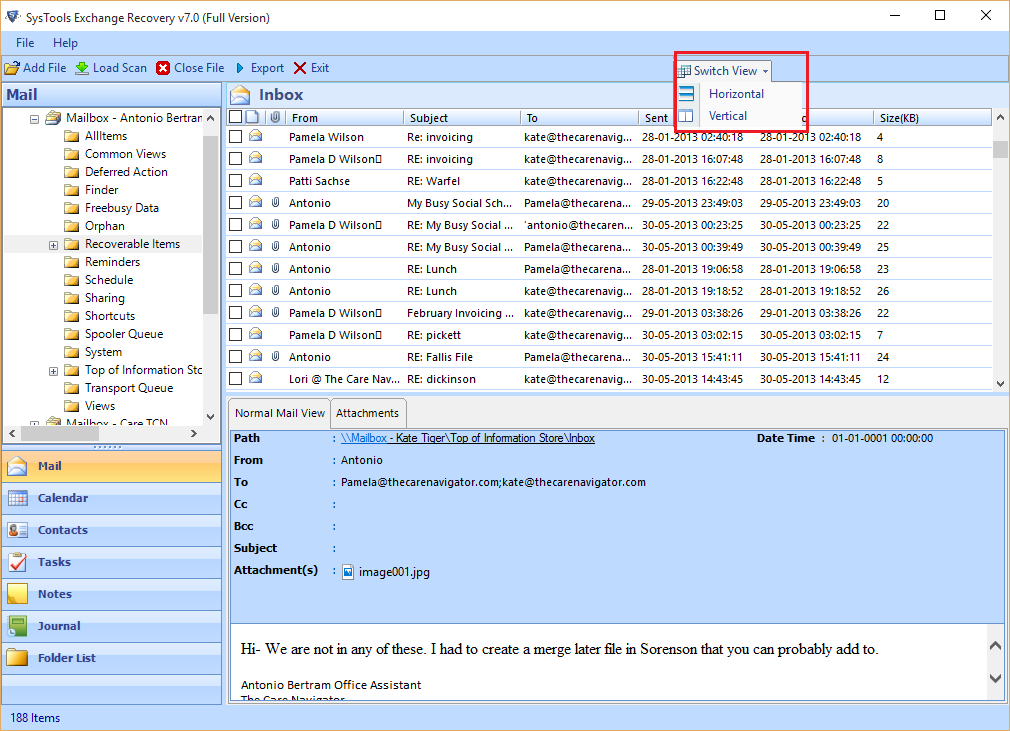
- Now you can switch the display pane view of the email deatils such as horizontal & vertical view. By default select horizontal view.
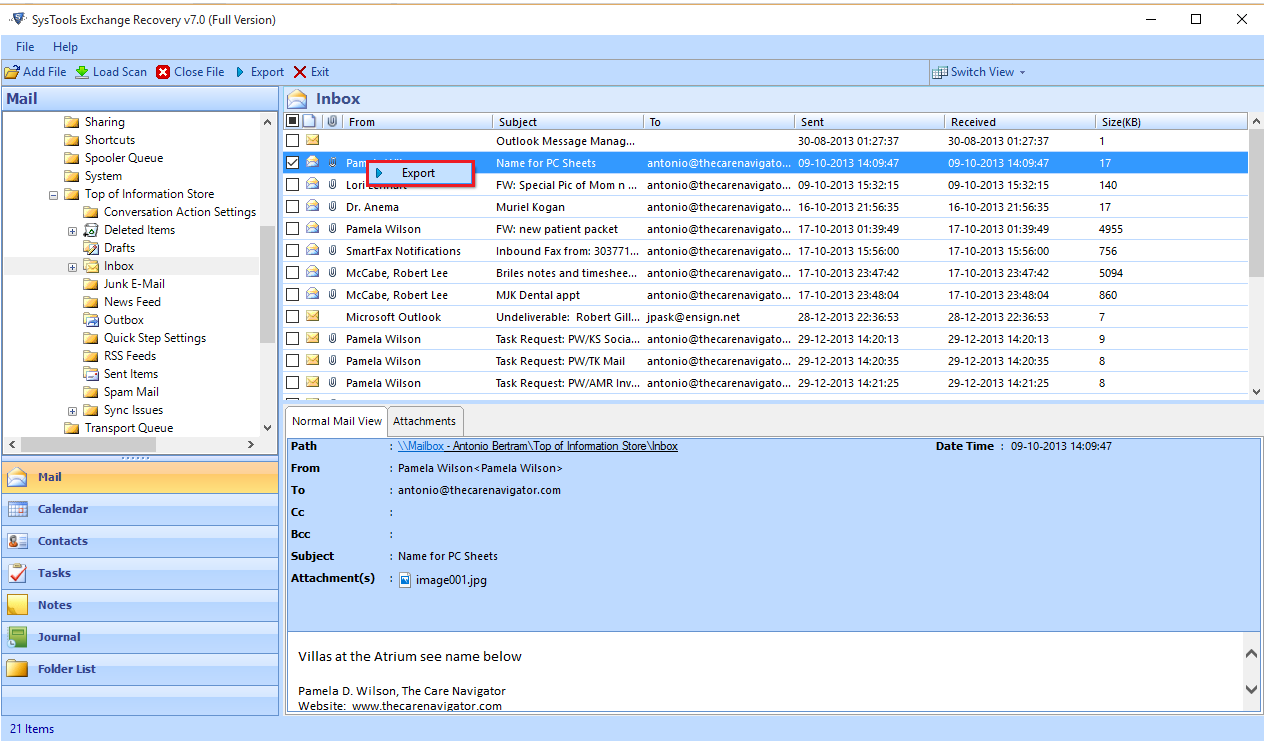
- Click on Export Button
.png)
- Choose the desire email, then right click & click on Export option
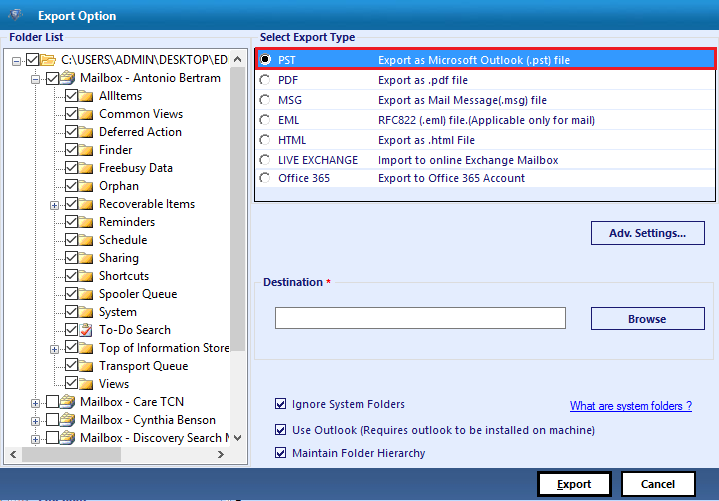
- Now select the PST option and given the mail filter date if you want to provide the option. If you need to split resultant PST file which provide the required size. Now required to provide the destination location then Click on Export option.
- After that Exporting Process begin if you want to abort this process click on Stop button

- Now this process will completed successfully click on OK Button to proceed furter
- To save Export report click on save button.
- Now browse the location to saved the CSV file
- Open the PST file format to add the PST file.
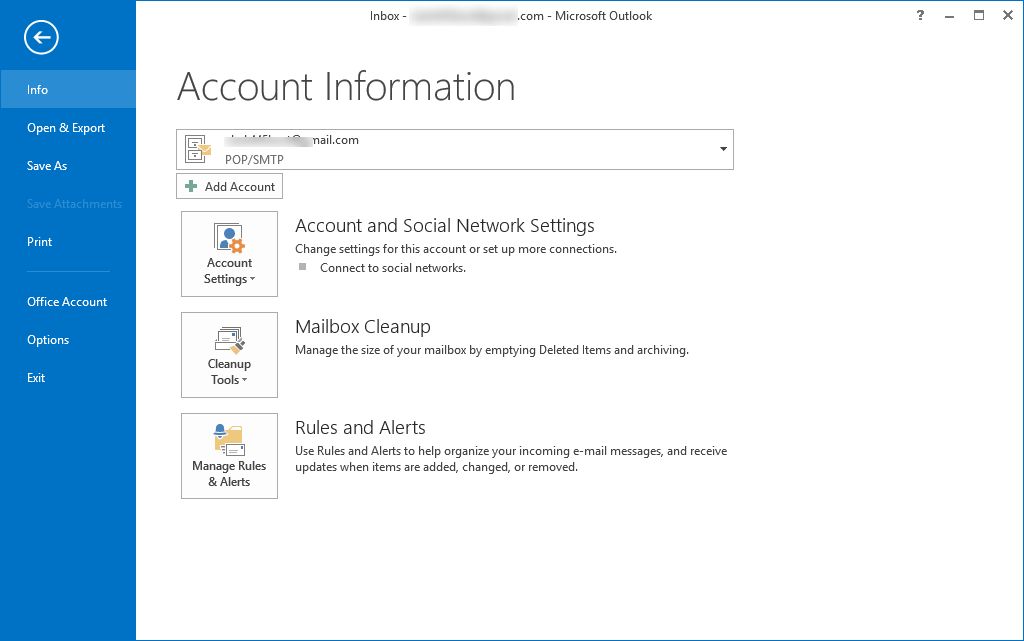
- Add Outlook data file option to add mailbox data in Outlook
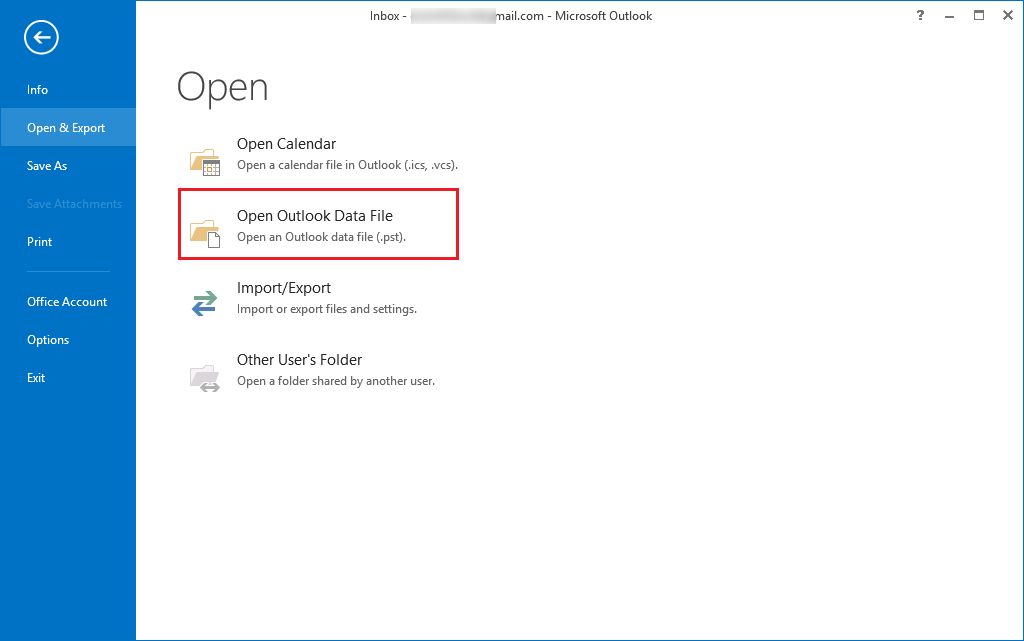
- Browse the location where you saved the converted OST file and click on OK button.
- At the end you can view the added mailbox data.
Note: If you choose priv.stm or pub.stm on the same location, then the software will select automatically .stm file.