Working ScreenShots of Product
Entire working process of Software is explained by using the simple screenshots of product. Follow all the simple instructions as given below:
- Download, Install and Run the software.

- Choose the Add File option and browse the PST file from your local system.

- The tool has two modes of Adding File:
- Select File: Use "Select File" radio button to browse file within in system
- Search File: Use "Search File" to find PST file within Network

- Software offers Two modes for Scanning
Quick: Used for less damaged file
Advance: Choose if the file is highly corrupted file.
- After successful completion of the scanning process. Click on Yes to save the scan.

- The preview of all emails and attachments and other items will be displayed on the screen. Select the data items from left side to get preview.

- Click on Export button to save the recovered items into files.

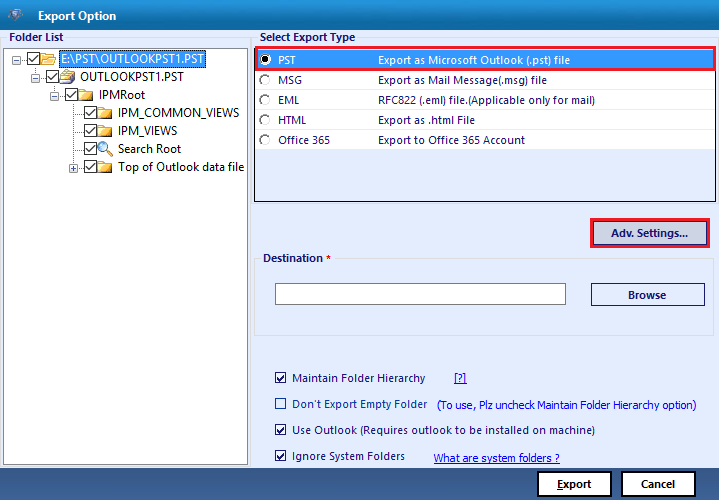
- Select the Export Type from all 4 options. Click on Advance settings for more setting.
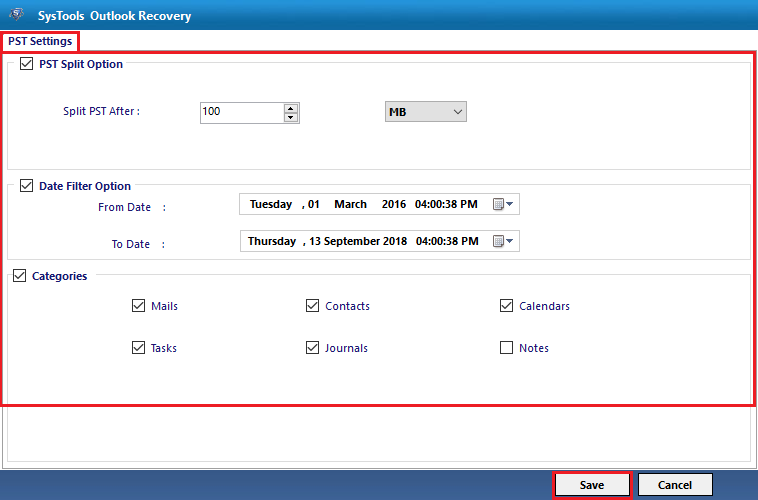
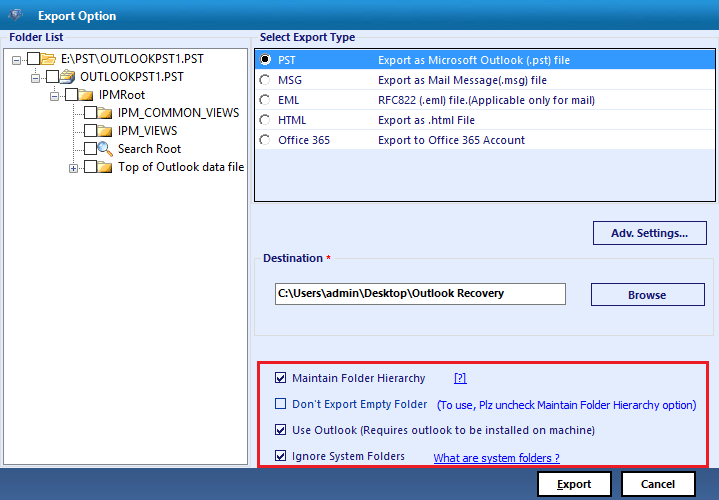
- Do the settings as per the requirement such as set the size of PST file, apply date filter and select the categories. After specifying all settings, click on Save
- A message will be popped up for successfully saving of settings. click OK.
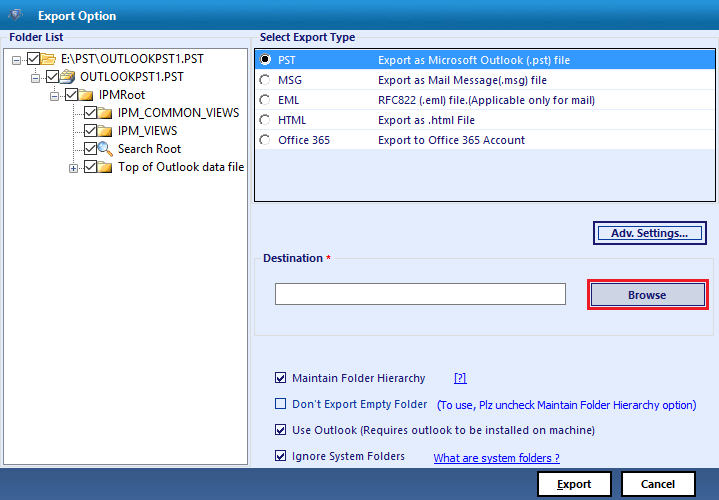
- For saving the file, enter the destination location by browsing into your local system.
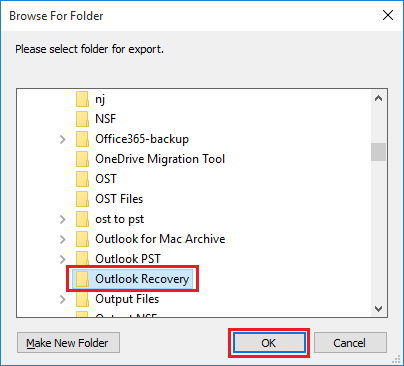
- Go to the destination location and select the folder where you want to save the file. Click OK.
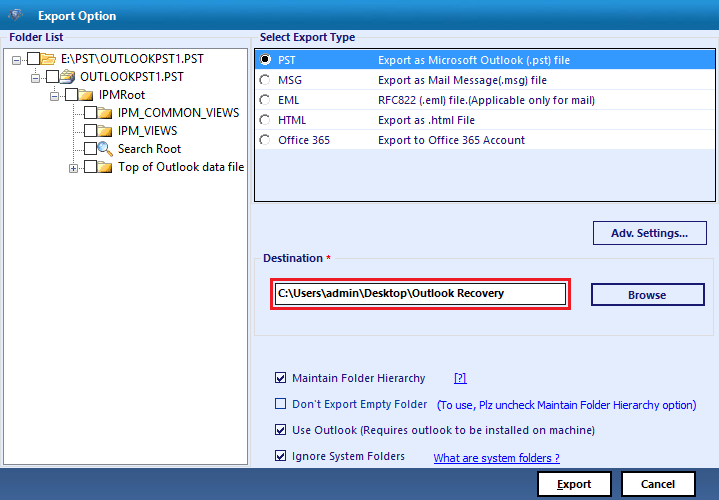
- Click on Export option.
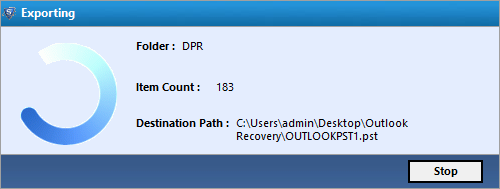
- The Export process will get started showing the folder name, item count and destination path.
- After successful completion of Export process, a message will be displayed. Click OK.

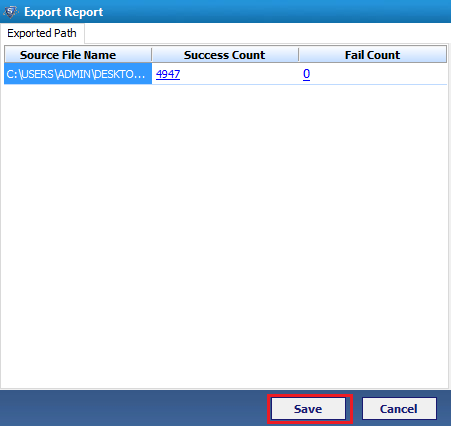
- A Export report will be generated with details like source file name, success count and fail count. Click on Save. It will be saved in the CSV format.
