Conversion Process
Following are the simple steps of complete conversion process that how software works and know the performance and functionality of software
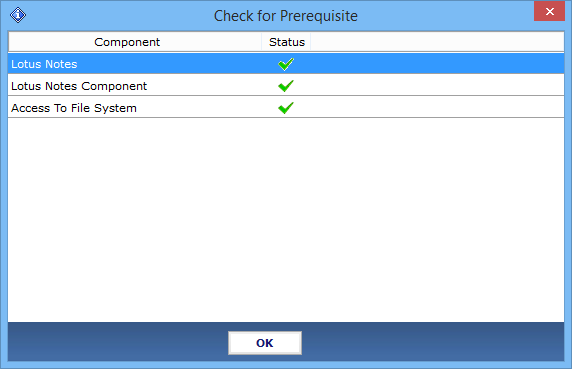
- First of all install the software and Run into your system Click on OK button for further procedure.

- Choose the option to Select NSF file, There are three options provided which are:
Add file: One by one add NSF file
Add Folder: Add multiple NSF files
Remove File: Remove NSF file from software
.png)
- First of all Add NSF file from software
.png)
- Now Click to browse NSF file and then select the location to export it. Click on Next button
.png)
- Now select the category and choose apply filter option
.png)
- Go to Setting option
.png)
- Select the date filter option. In date filter you can include email of particular interval for exporting.
.png)
- Then click on Apply Button.
.png)
- Go to the Apply Advance setting option for applying the Advance settings:
.png)
- Choose the advance setting for successful Lotus Notes migration:
HTML Formatting: In this option maintain the HTML formatting of emails during conversion
Remove Encryption: Allows to remove the encryption of emails
All Documents: All documents view the migrated mail items
Doc Links: Maintains all Doclink of mails
Maintain Folder Hierarchy: In this option software maintain the folder hierarchy
.png)
- To Convert the CN value that you have defined in NSF, into the Outlook SMTP format, select the required naming convention option.
.png)
- Put the domain name for the SMTP translation with the canonical name.
.png)
- You can also add .CSV file.
.png)
- Then go to custom folder mapping option you can easily map Lotus Notes default generated folder with your outlook default name.
.png)
- Click on Save Button option you will find the successfully map message.
.png)
- Now browse the destination location where you want to save the converted files and click on Export Button.
.png)
- Now software will show the message Export process successfully completed Click on OK Button.
.png)
- Next, If you want to save the Exported report then click on Export Report Option.
.png)
- At the end select the desired location where save the converted NSF file.
.png)