Important Screenshots of Software
- First of all, Install the Software and then Run into your system.

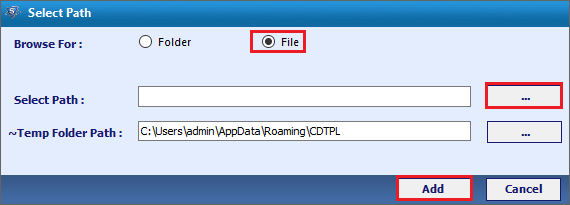
- After that click on Add Button and Browse the file and select on specific files from the folder path. Now you have to provide with the software of two options Like this:-
Add File:- This Option allows users to Export single DMG file consisting of OLK File
Add folder:- This Option gives you to browse the folder with the desired location
Advanced Scan:-With Advance Scan Option used to export individual OLK File without any identity Folder. After this Scan, no attachments will display by the software
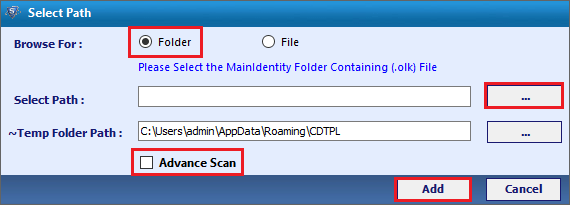
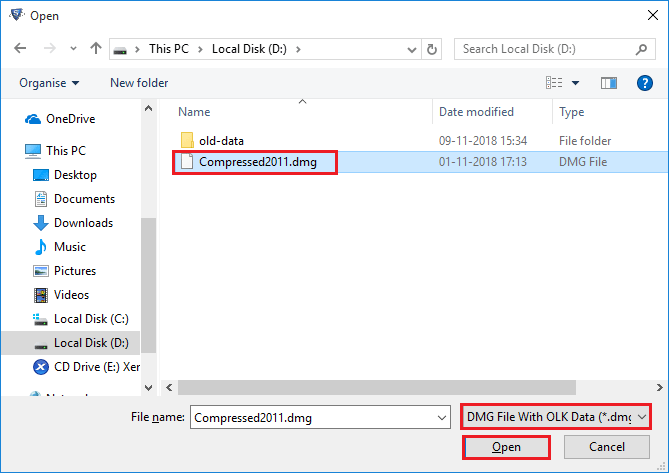
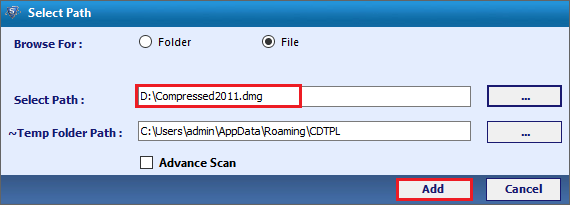
- Browse the files from local system and click on ... button to browse the dmg file with selection of specific file/folder
- Now Select the file which you want to export & choose the file to be converted. Then Click on Open Button
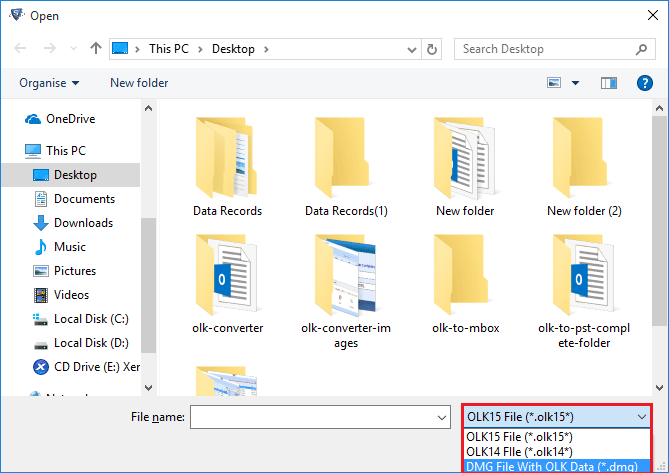
- Now select the file address from the location and added into it.
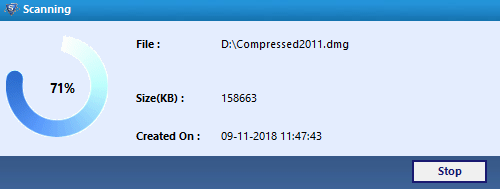
- The Software will scan the file that is imported within the software
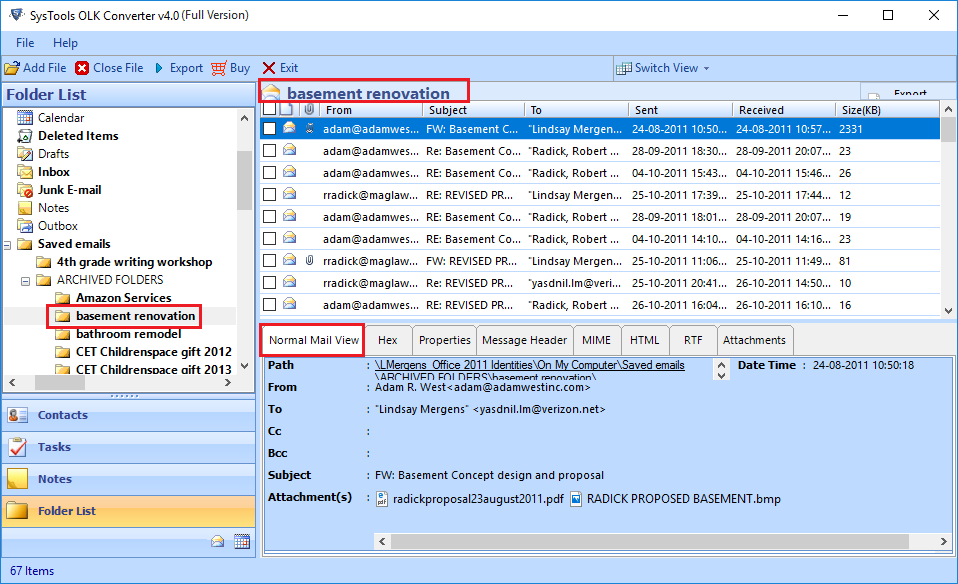
- Now Software displays Folder and File stored in OLK File in Structure way.
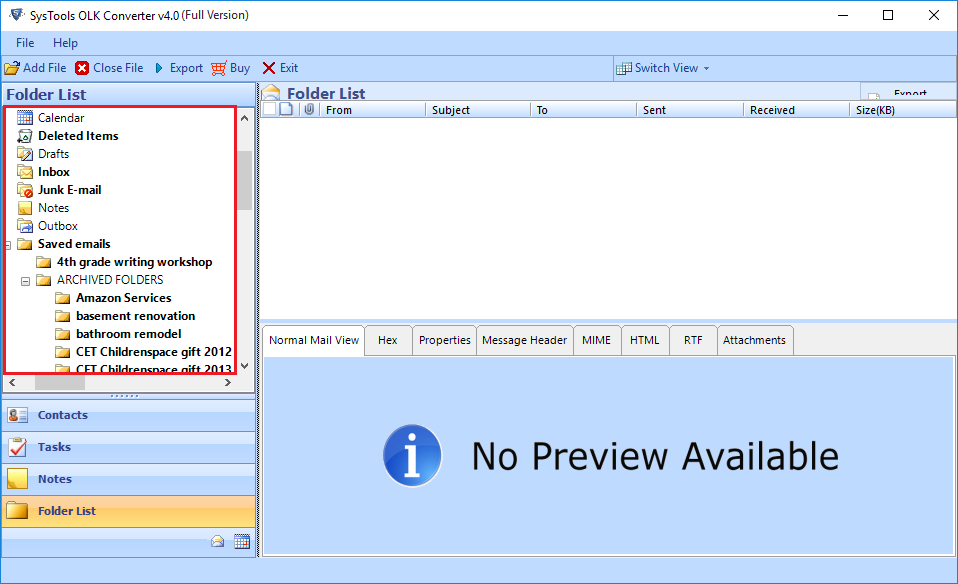
- Now Preview Attachments Details in "Attachments" Section

- Select Folder Section to view Specific Mailbox Section [Calendar, Contacts, Tasks, Notes] Separately

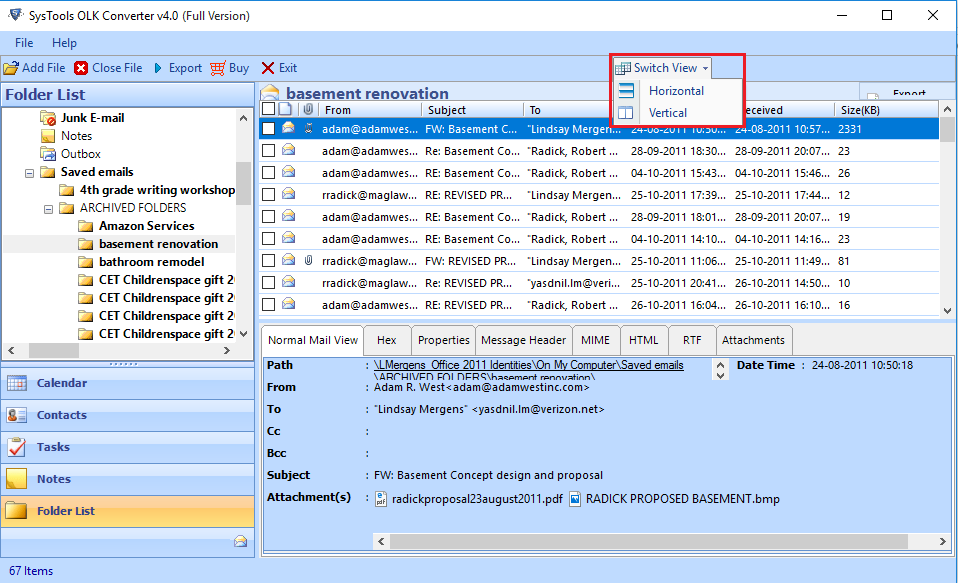
- Now the software will provide two options
Horizontal — in this the files are managed in the horizontal manner
Vertical — This is to arrange the file as vertical manner
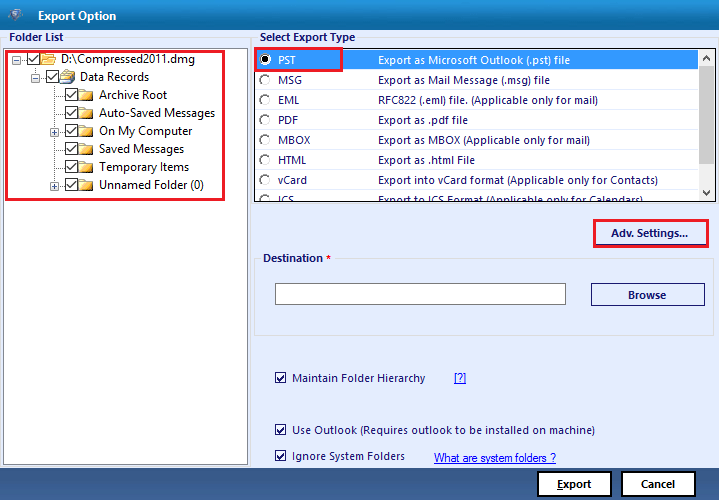
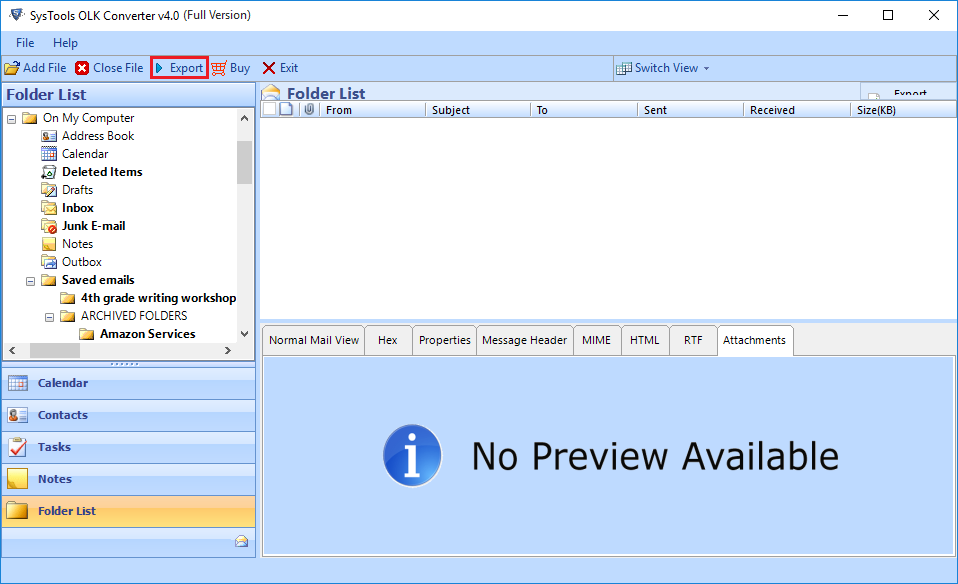
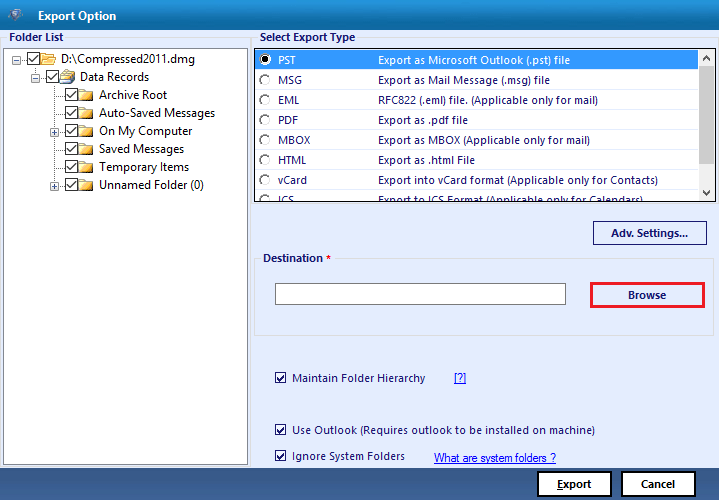
- Now the Software provides the export option to export OLK files to the specific file folder
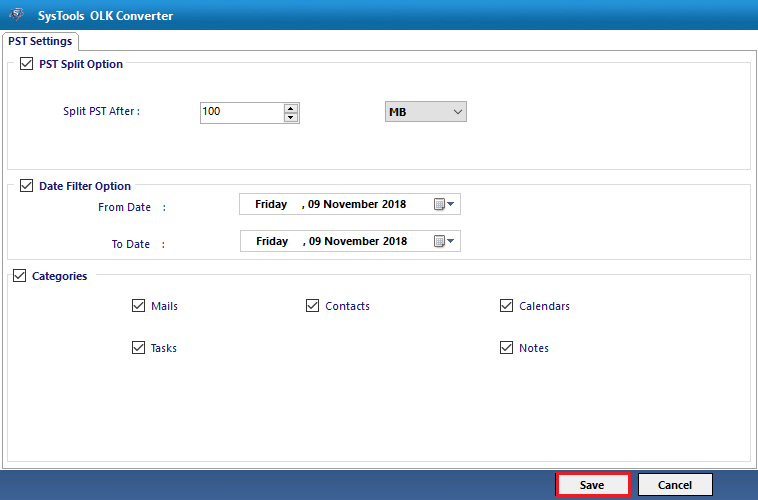
- Now the advanced setting option provide some additional features of the software during the conversion program
Exporting PST file, option provides additional functionalities like PST split option, data filter option & categories
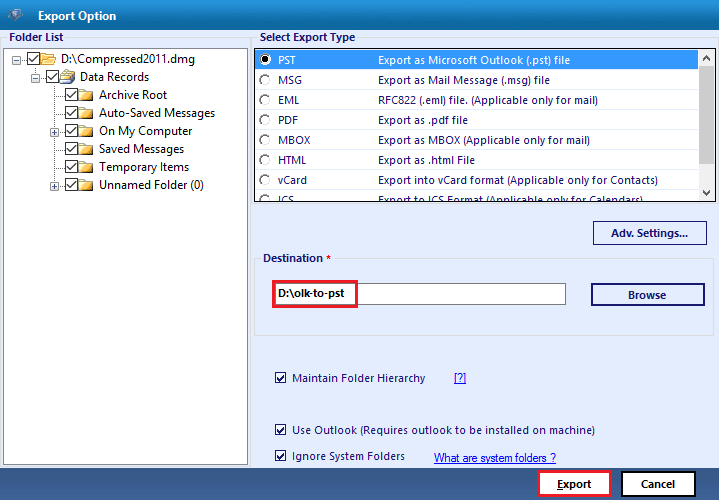
- Now Browse Location to Save the Resulted PST File.
After providing the Desired Destination, Click on "Export" option to start the migration process.
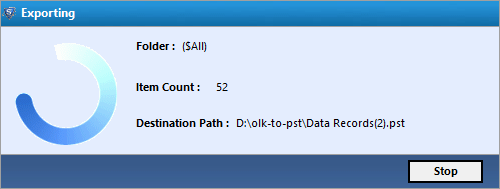
View export progress details and wait till it process completed.
- When Export Process complete, a Pop with message "Export Process Complete successfully" appears.
-
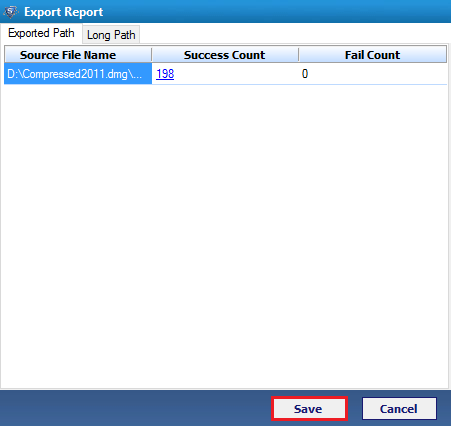
Now save the complete export Report Data in CSV File format.
Once the scan process is complete software will show a window with message “scanning completed successfully".
Now Preview Mails Details in "Normal Mail View" Section
Now select the specific File Formats [PST, MSG, PDF, MBOX, HTML, vCard (Contact), ICS (Calendar)] which you want to convert