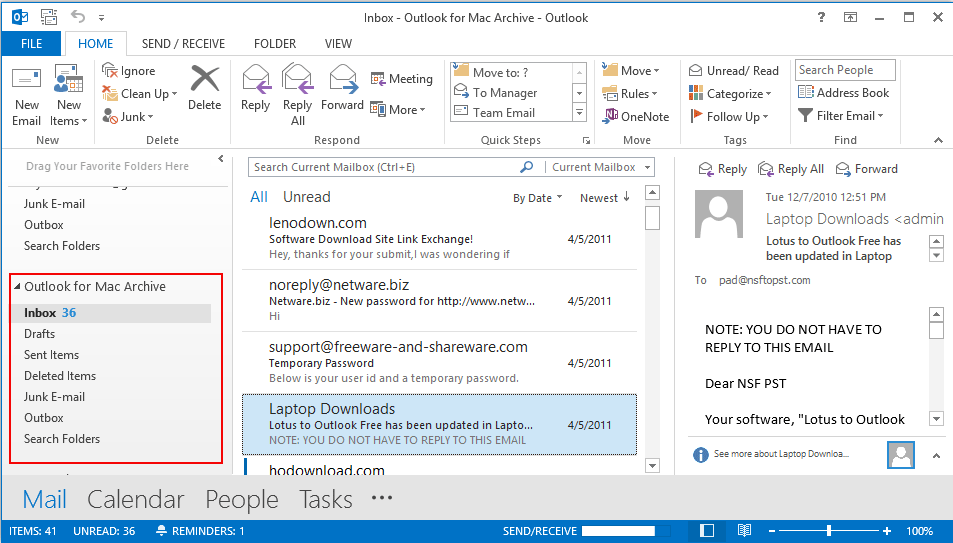
Sequential Method of Conversion
Following are the simple steps of complete conversion process that how software works and know the performance and functionality of software
- Installed the program and launch the software from start menu button.
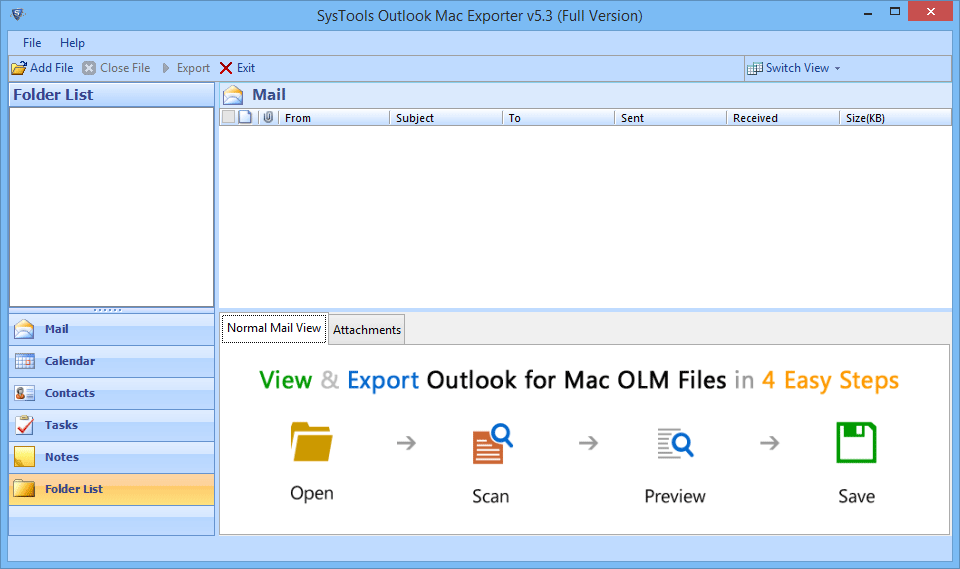
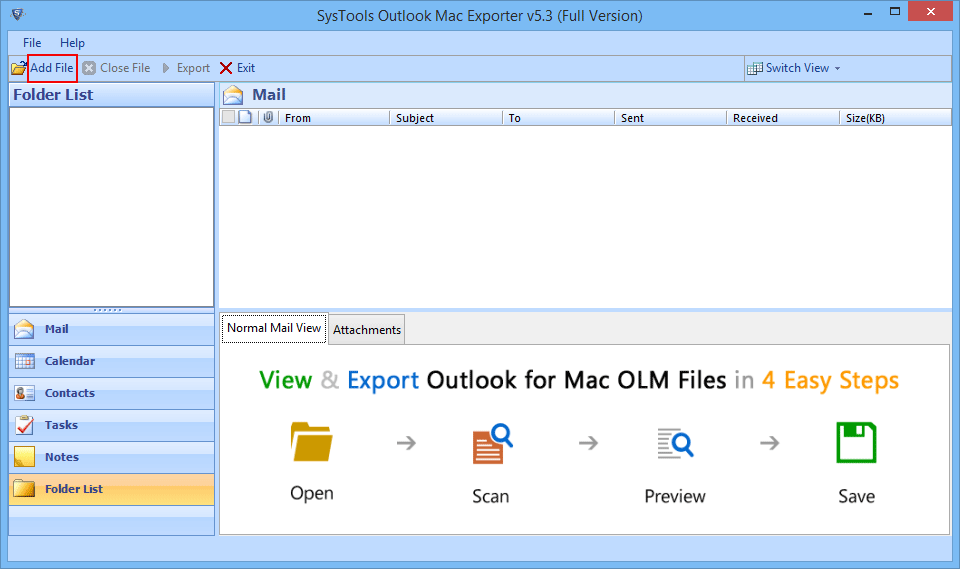
- Click on Add file button to load the OLM file into software for conversion.
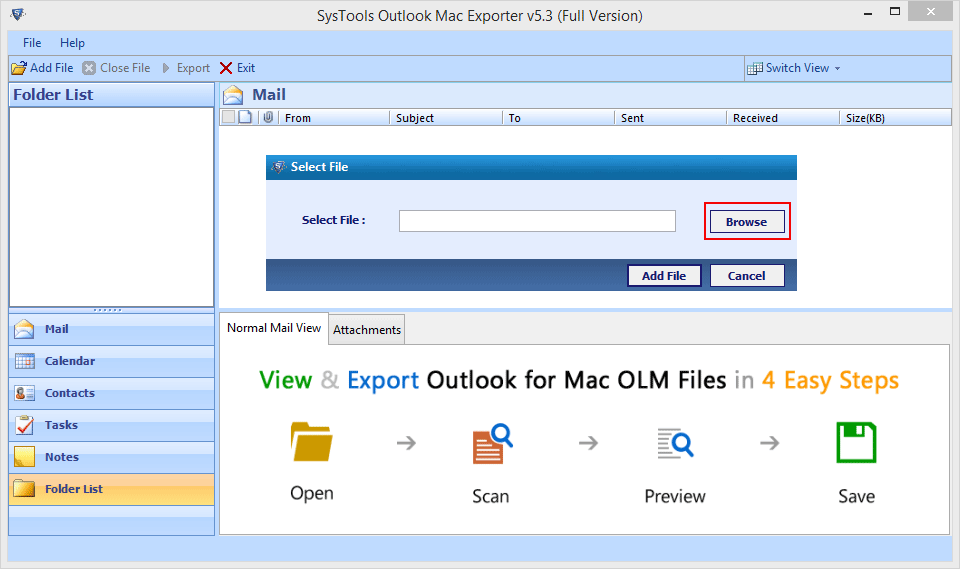
- Browse the destination file location of saved OLM file after clicking on Browse Button.
- Browse OLM files into source location and then click on Open Button.
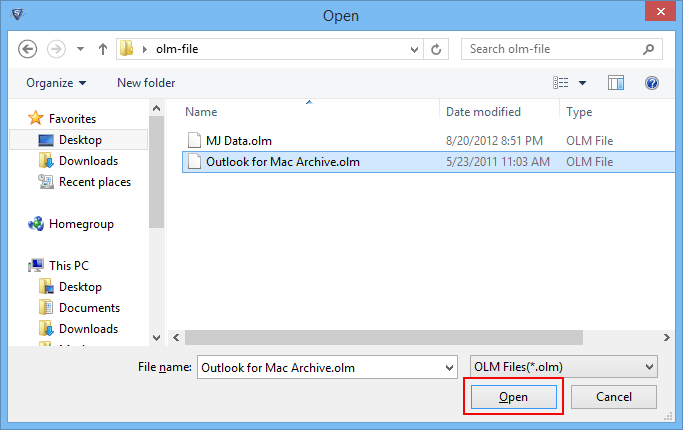
- Click on Add file button in dailog box
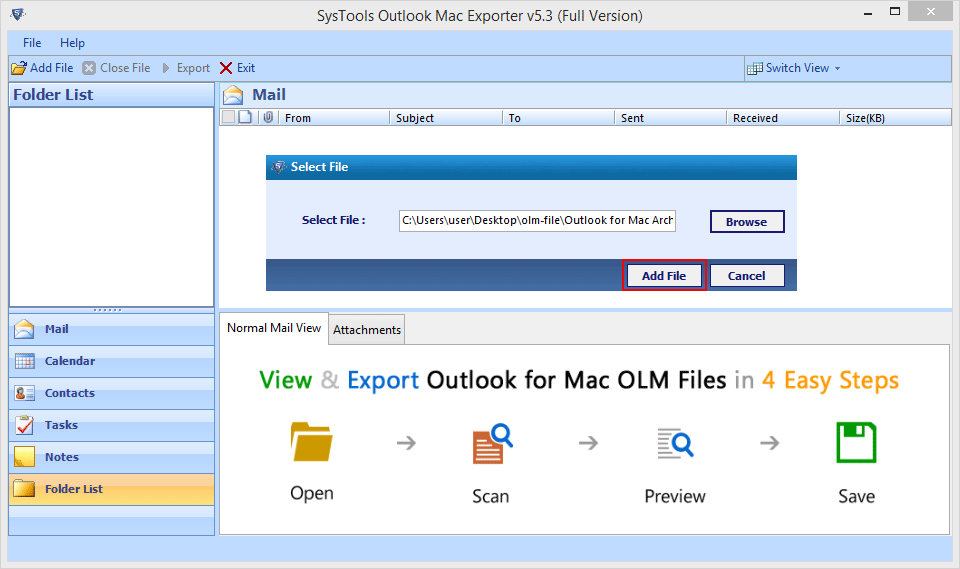
- After locating the OLM file software start scanning the data items available in selected file and shown the current detail related to the file.
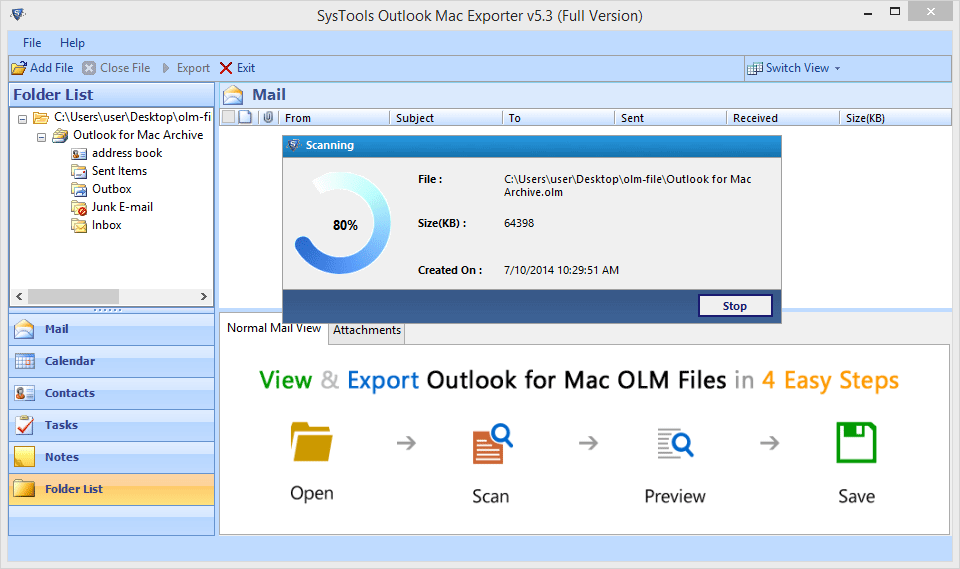
- If you wants to save scanned results then click on Yes
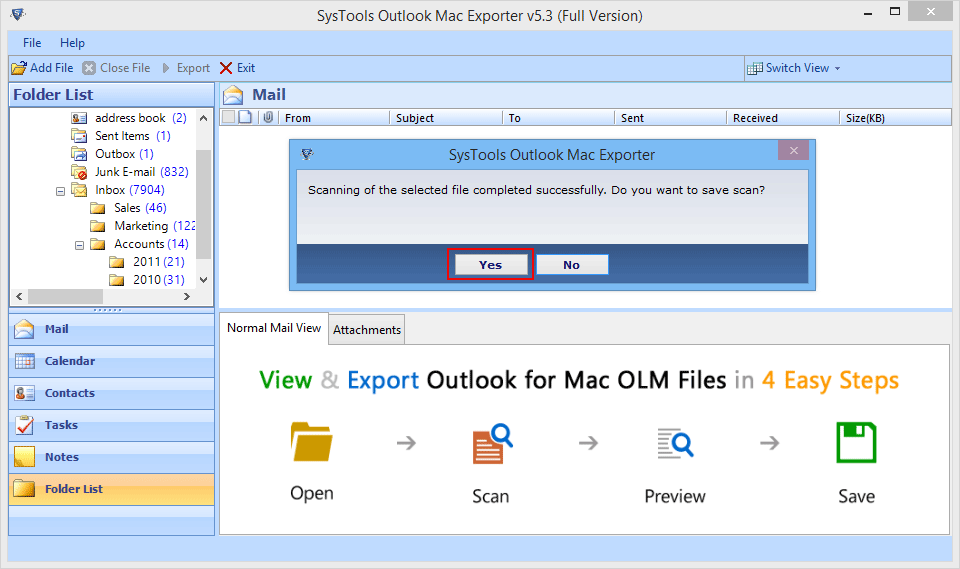
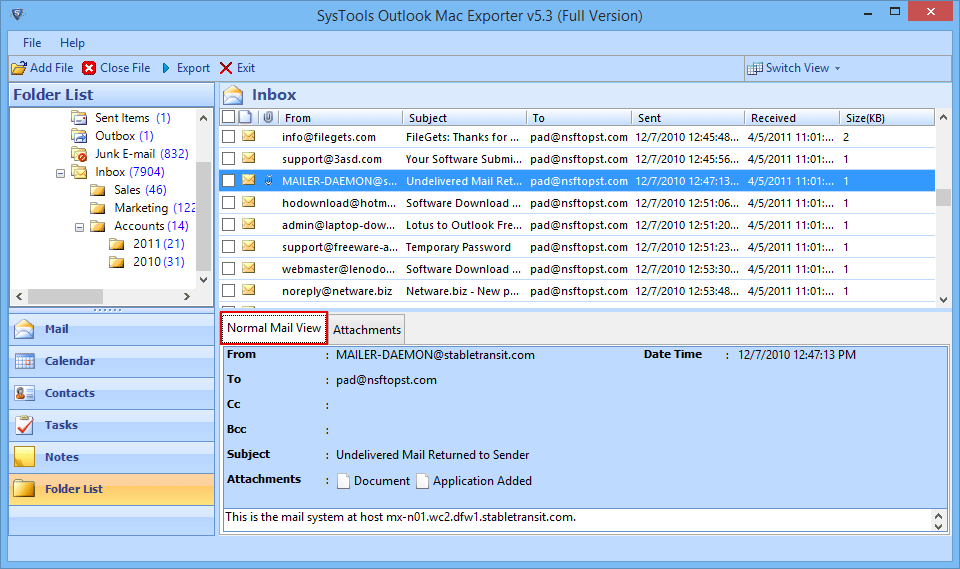
- After the completion of scanning process you can show preview emails in the normal mail view tab.
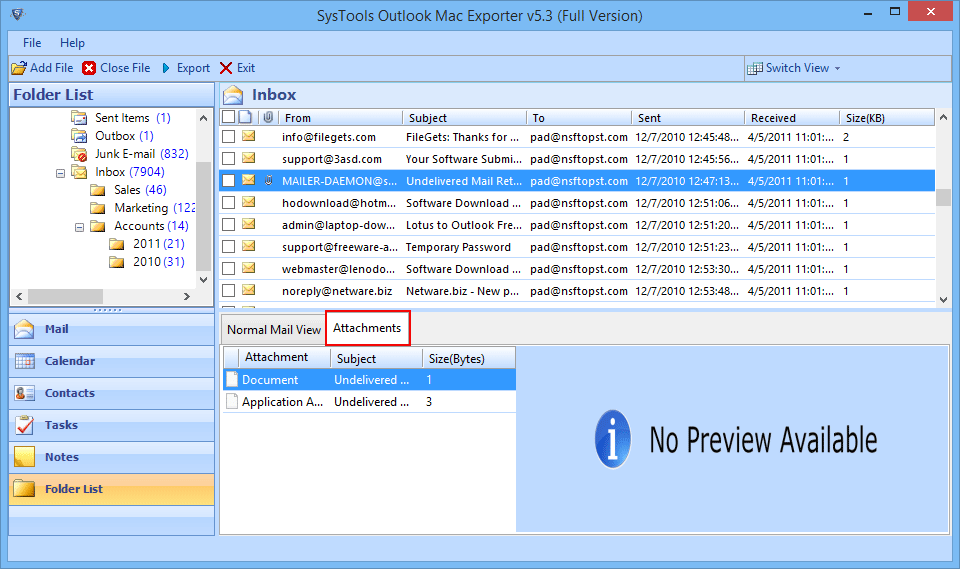
- By clicking on Attachment tab you can preview the attached emails.
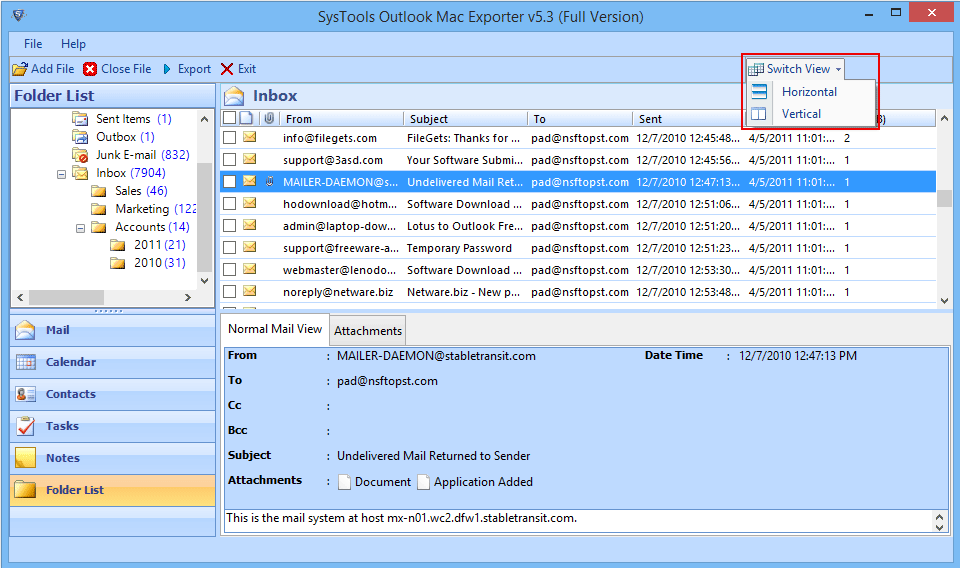
- you can switch screen from horizontal view to vertical view.
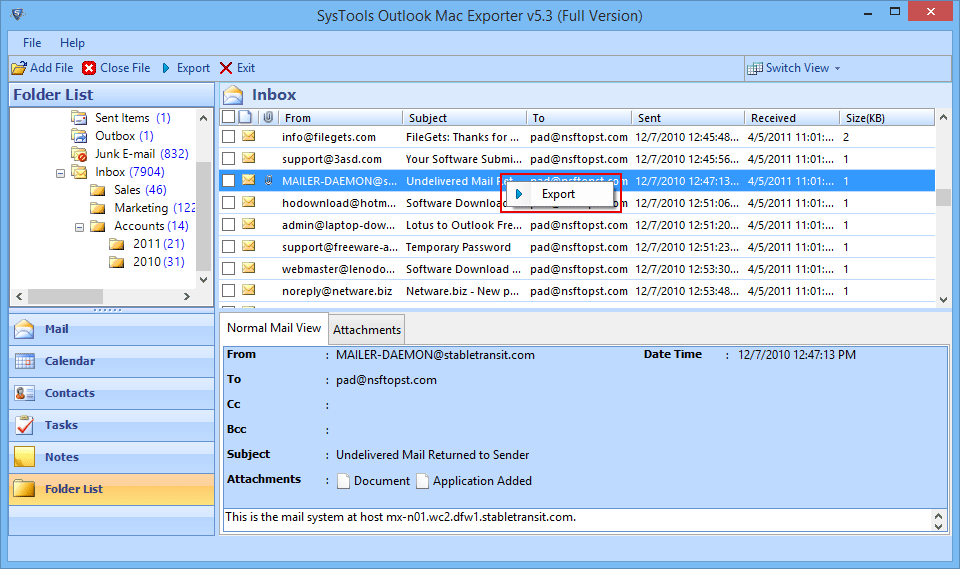
- In next step select the desired mail for conversion and click on export button.
- If you have large sized OLM file then software offers different export option to split large of file into small PST.
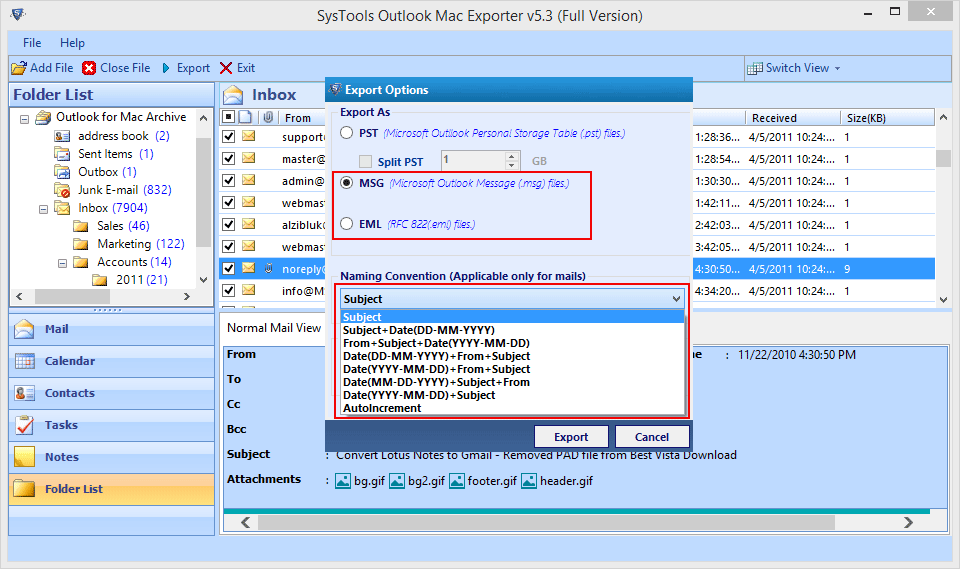
- If you want to export EML or MSG files then you can apply Naming Convention option to name the output files as possible.
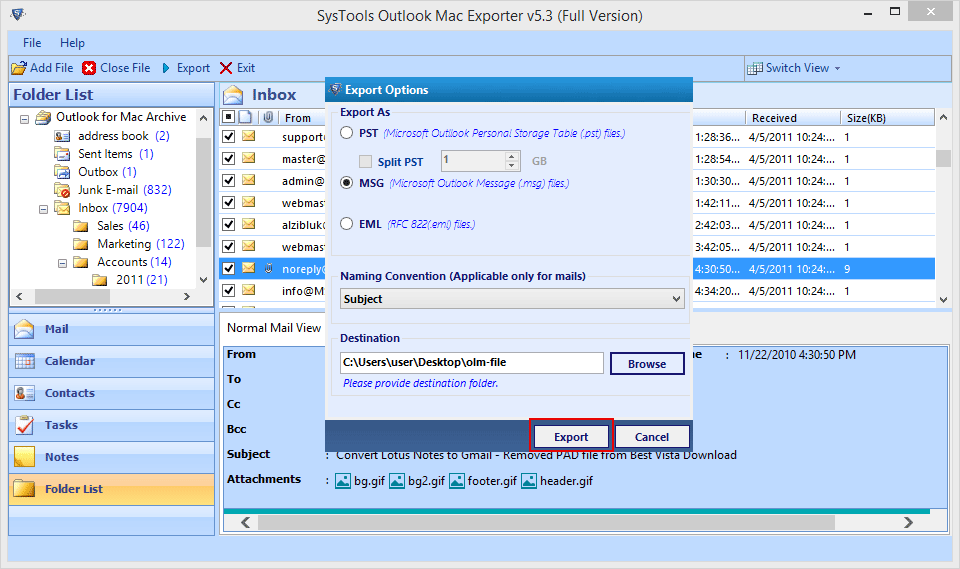
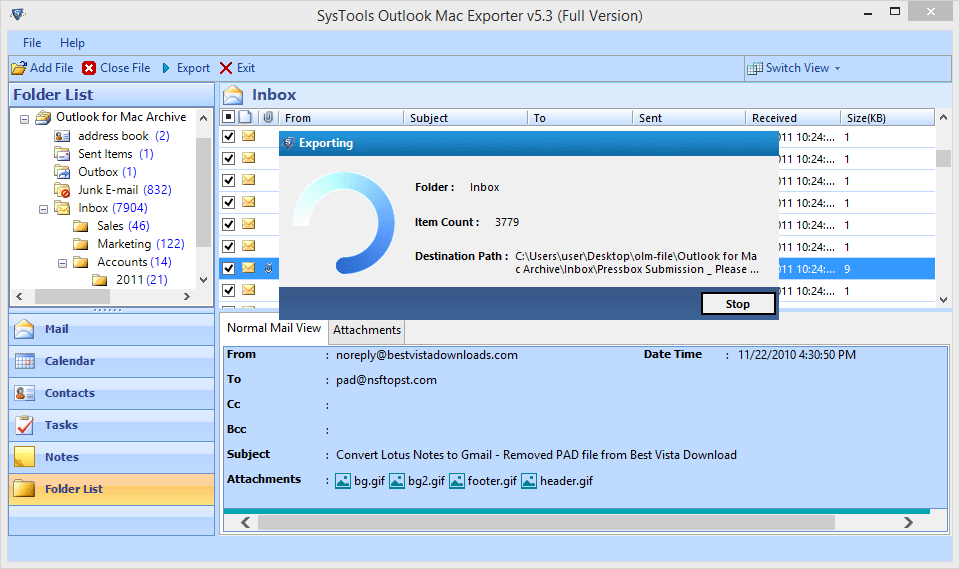
- Select the destination location and click on Export Button to start the conversion process.
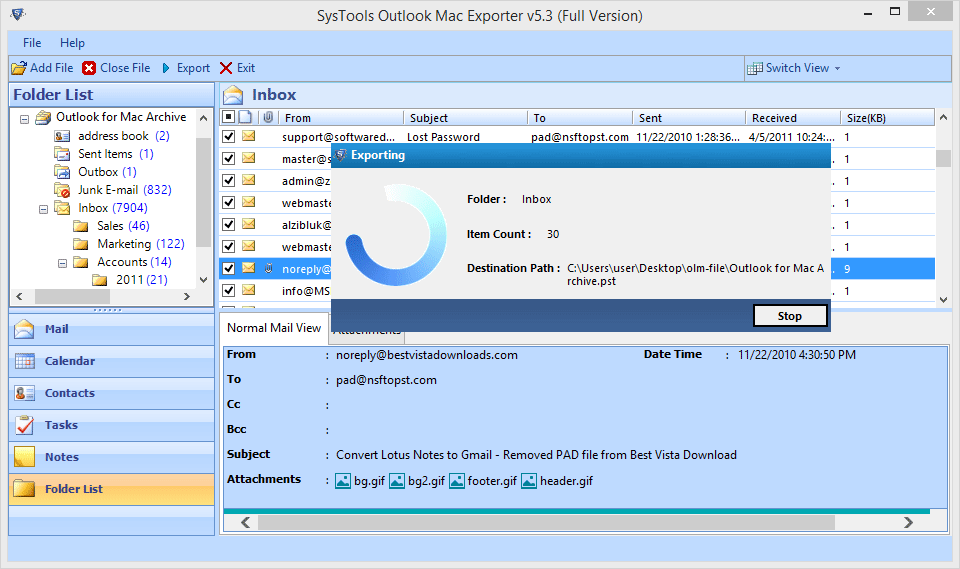
- Now report will be generate including all the details as folder, item count and destination folder details.
- A message box will be pop up with the process of successfully completion. Click on OK to continue process.

- After the completion of export process user can save export report by clicking on save button. which displayed on screen.
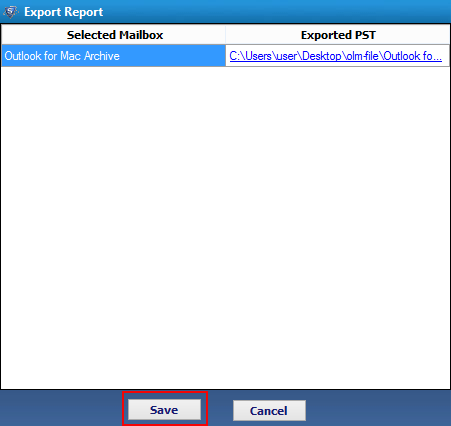
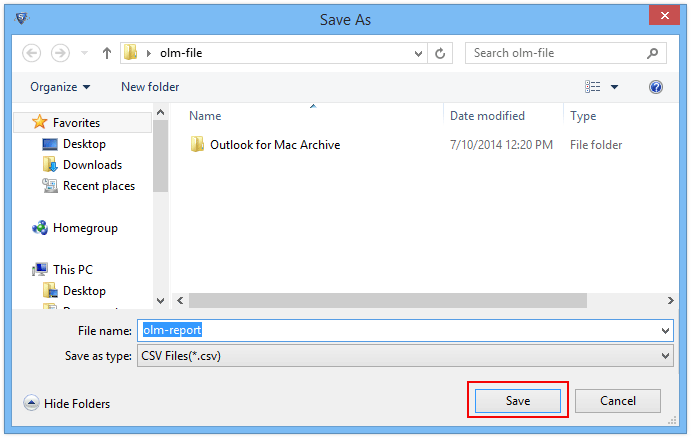
- To save the export report click the name of file and then save it.
- Export report destination is displayed on the screen then click on OK button for further process.

- If you wish to export selected folder then click on Export option from the navigation bar.
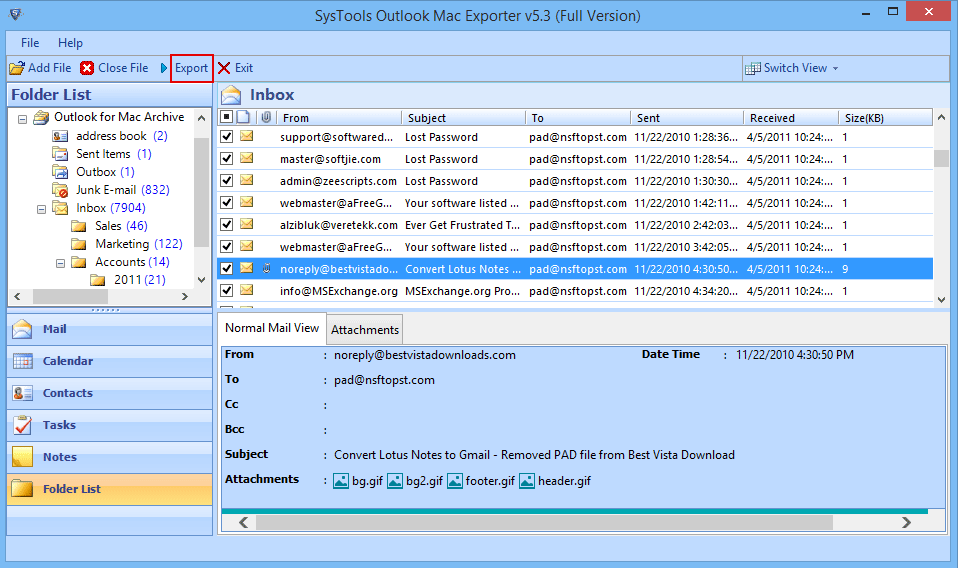
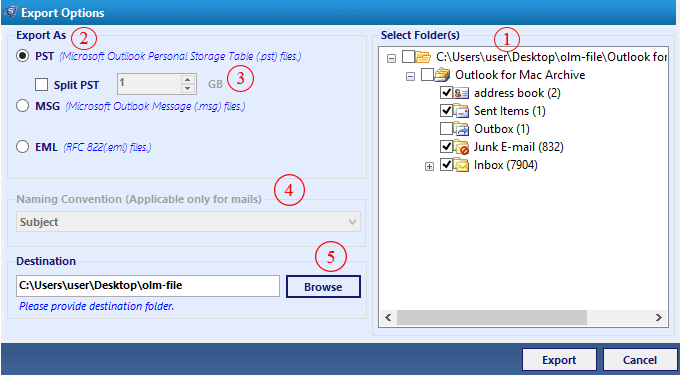
- Now the given below screen follow all these steps:
Select folder: first step is select folder that you want to exported
Export As: Choose the option to export from PST, EML, MSG format
Split PST file: To reduce the PST file size by applying this option
Naming Convention: For the emails to be exported apply naming convention option
Browse Destination location: To save Exported files browse the destination location

- In this screen shows the file size of the option to be exported.
- Now save the export report into CSV format by clicking on save button.
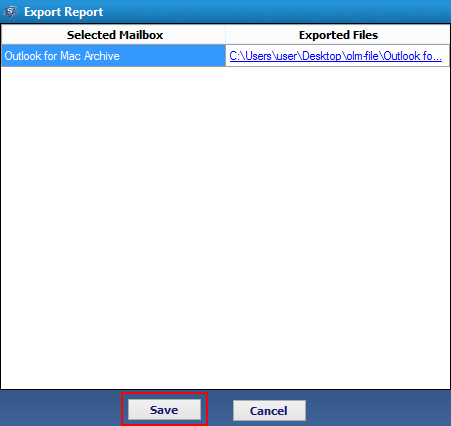
- Now the location of export report is displayed on the system and then click on OK button.

- Save the PST files into desired location. So that you can open PST files in MS Outlook.
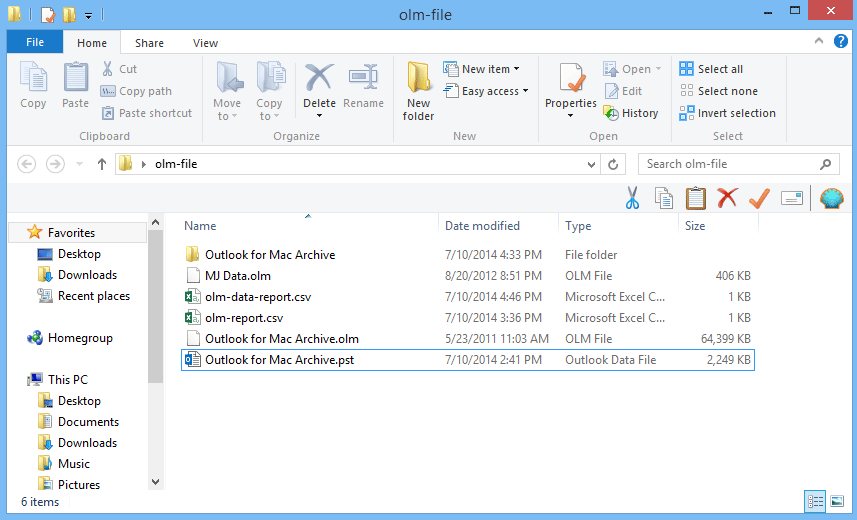
- Now select the location where you wants to save PST files and also verify all the exported Outlook file.
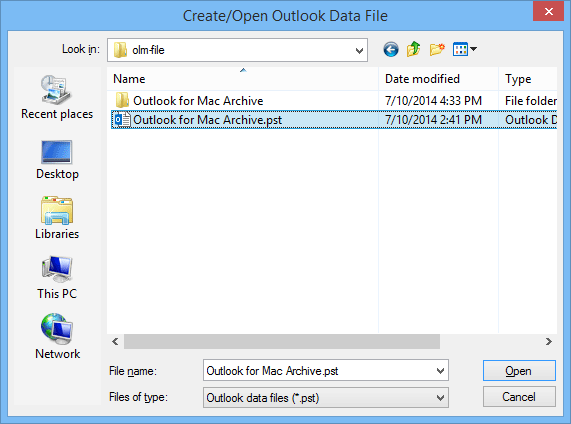
- At the end preview the selected PST file data in Outlook.
