Follow the Steps of Conversion with screenshots
- Run the Software and install it into your system.
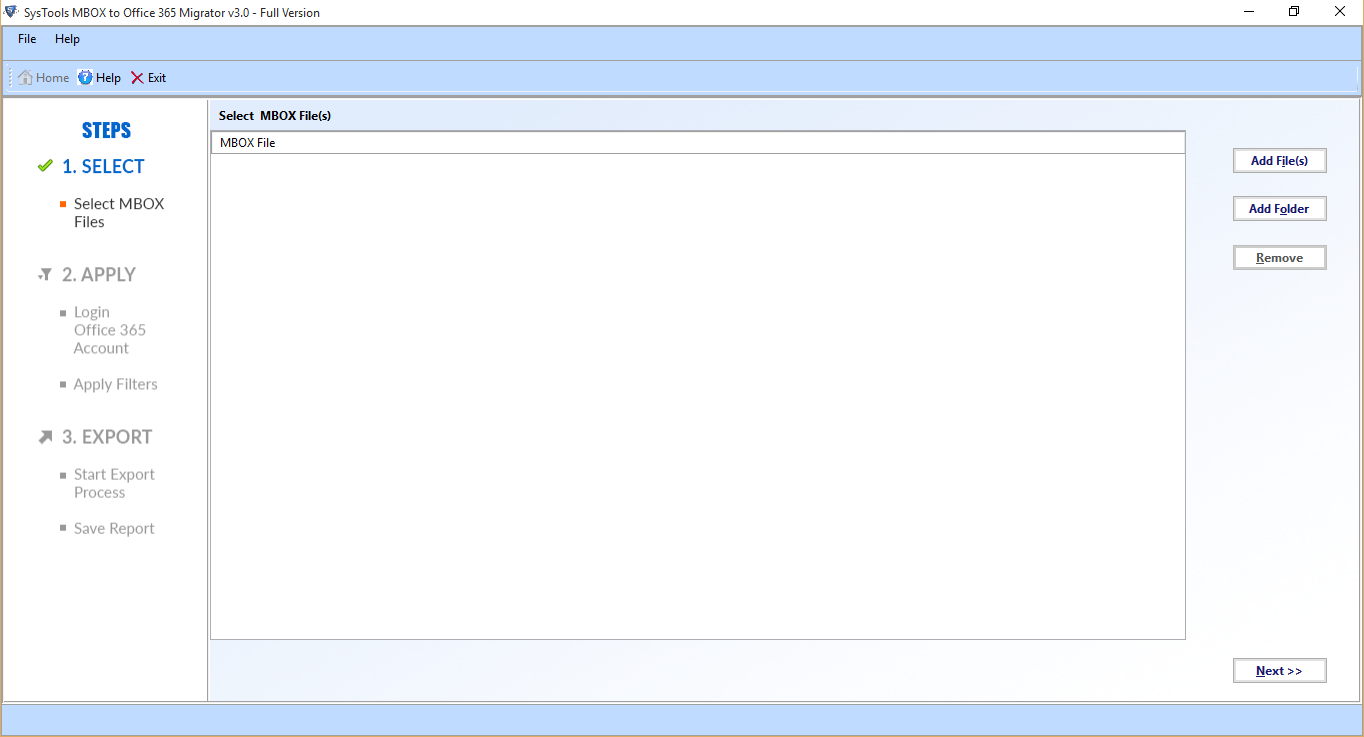
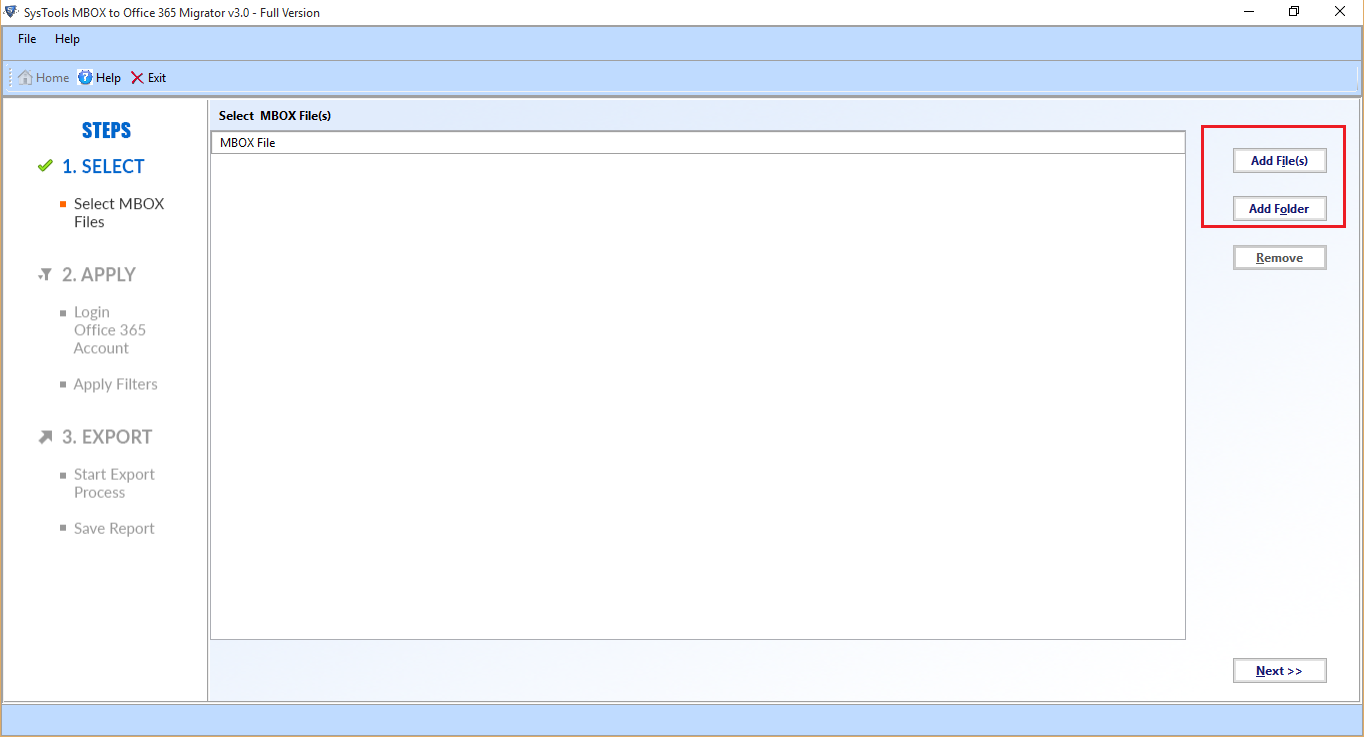
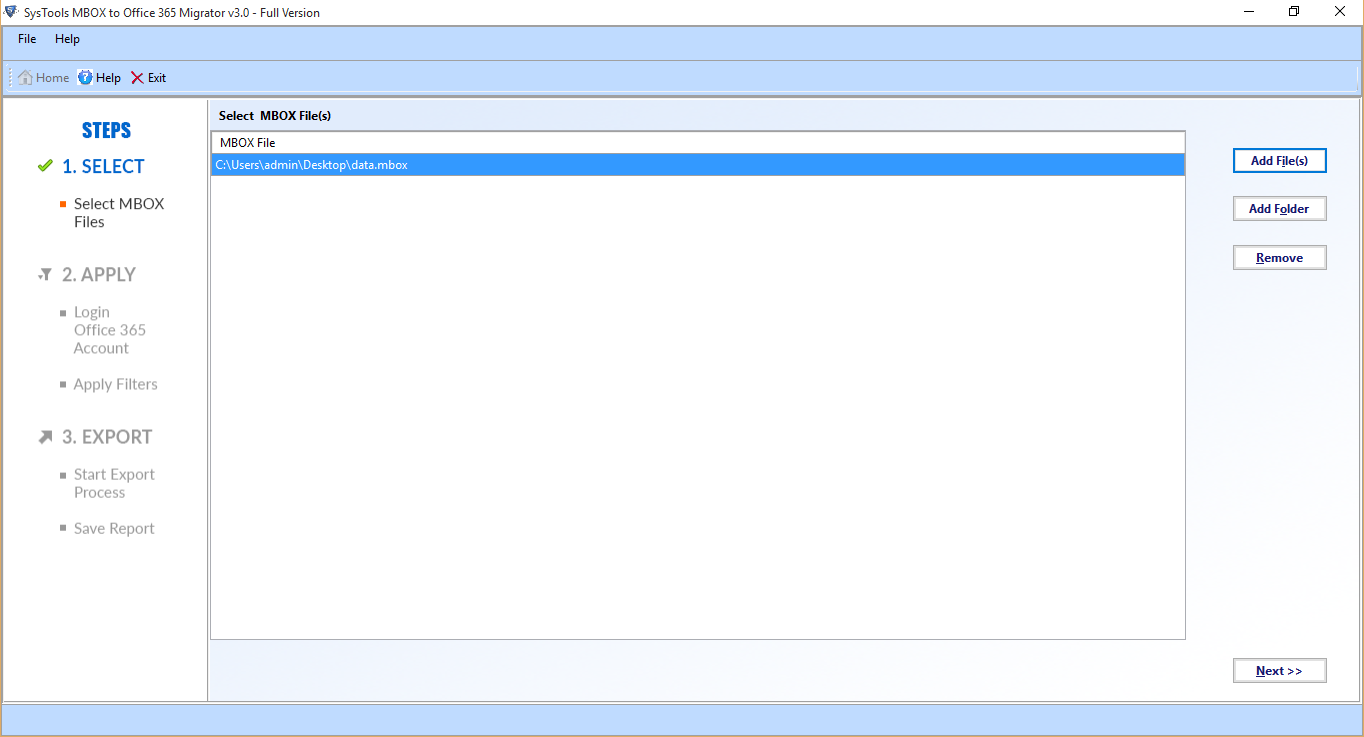
- Now Click on the Add file or Add Folder Button.
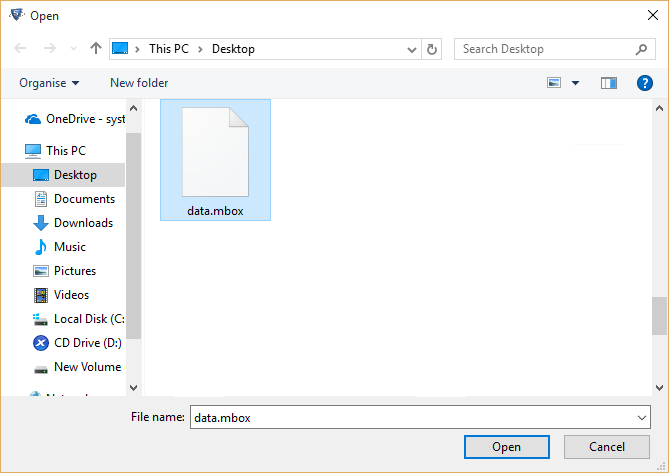
- Click on Open Button to navigate the required file.
- Once File has been added, will show the MBOX file that you imported within software click on Next Button.
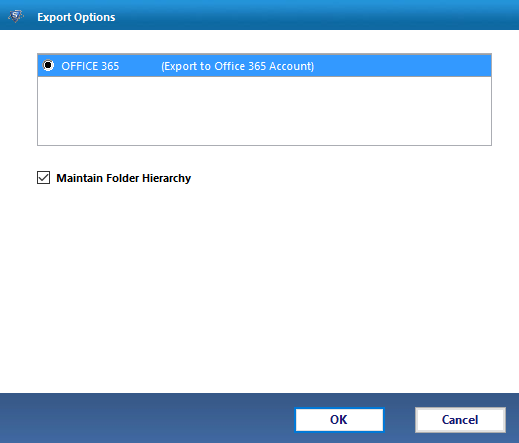
- In the Next screen you can show the office 365 radio button which is automatically selected.
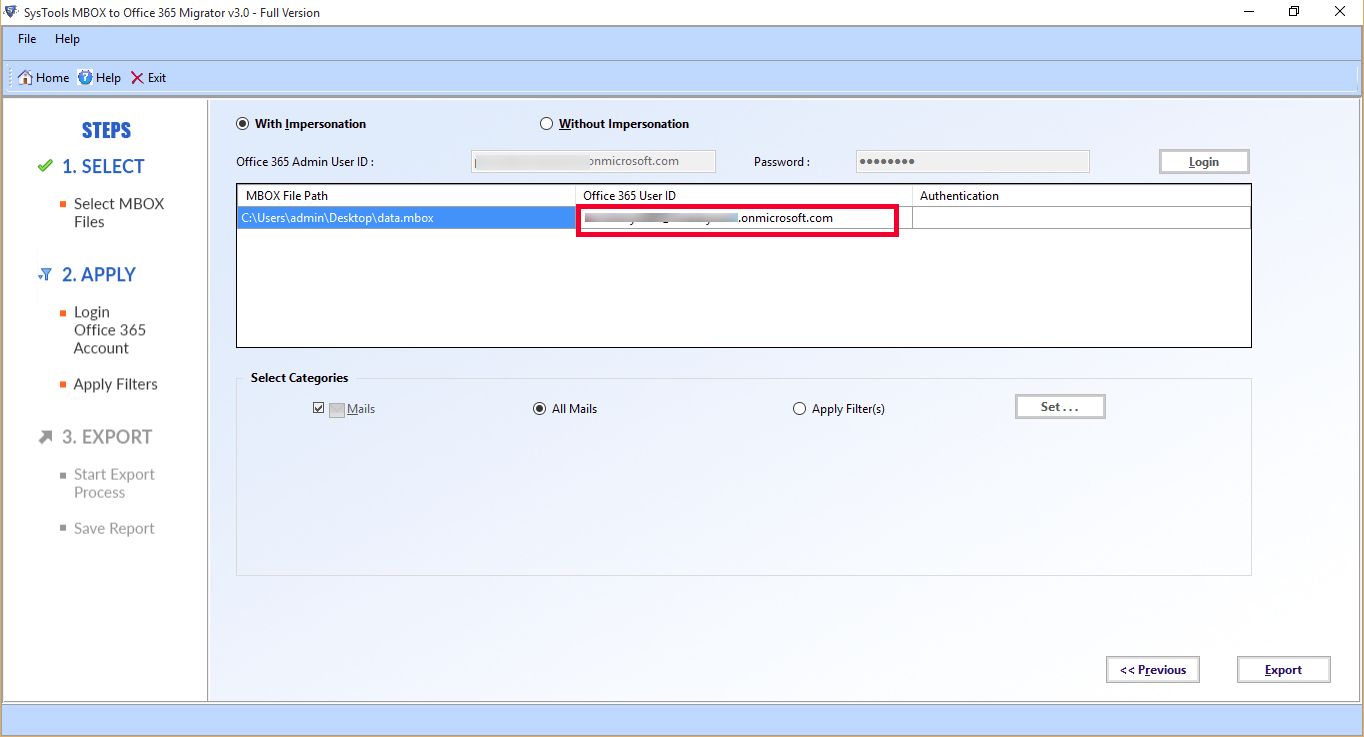
- Now Select the Radio Button With impersonation and also fill the credentials, click on login button
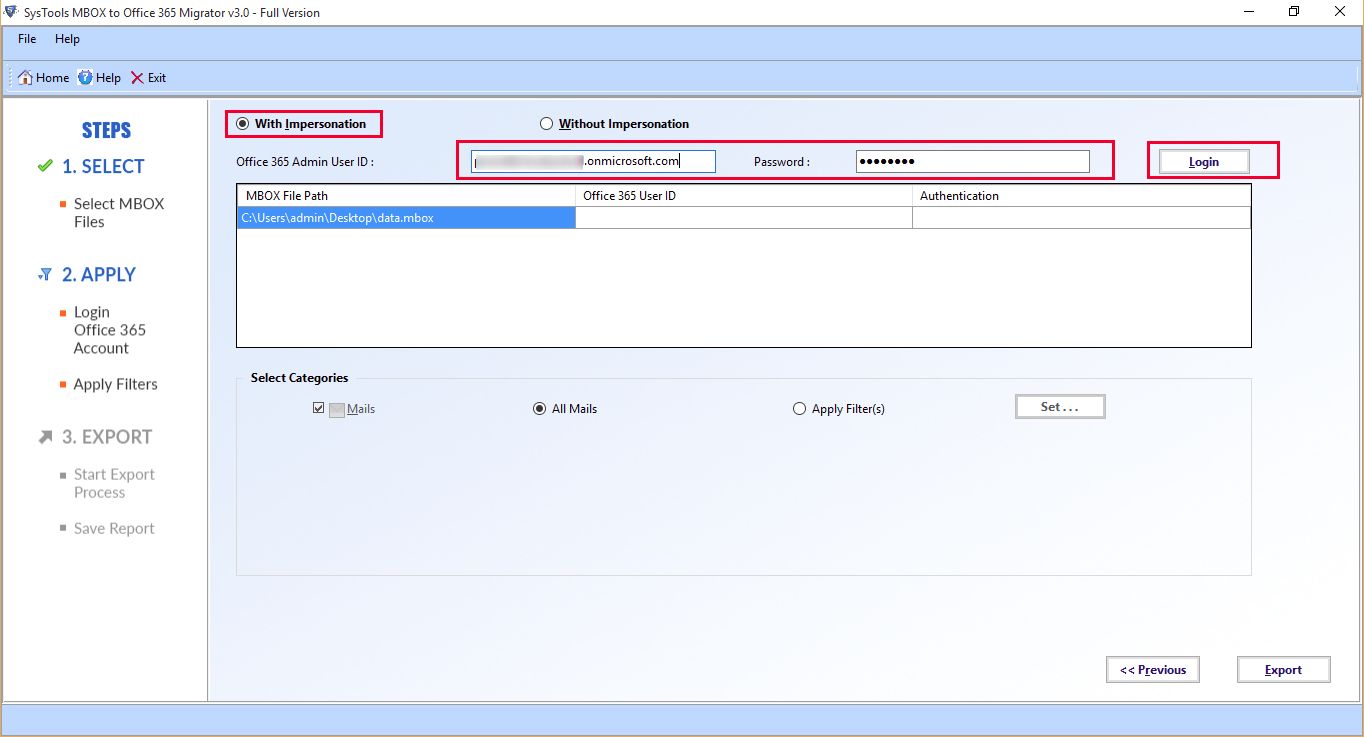
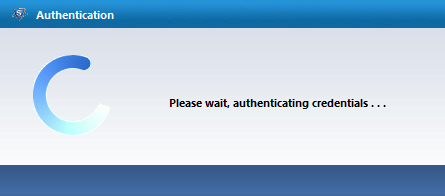
- Validate the admin account.
- Once admin account validate, provide mailbox id as given below.
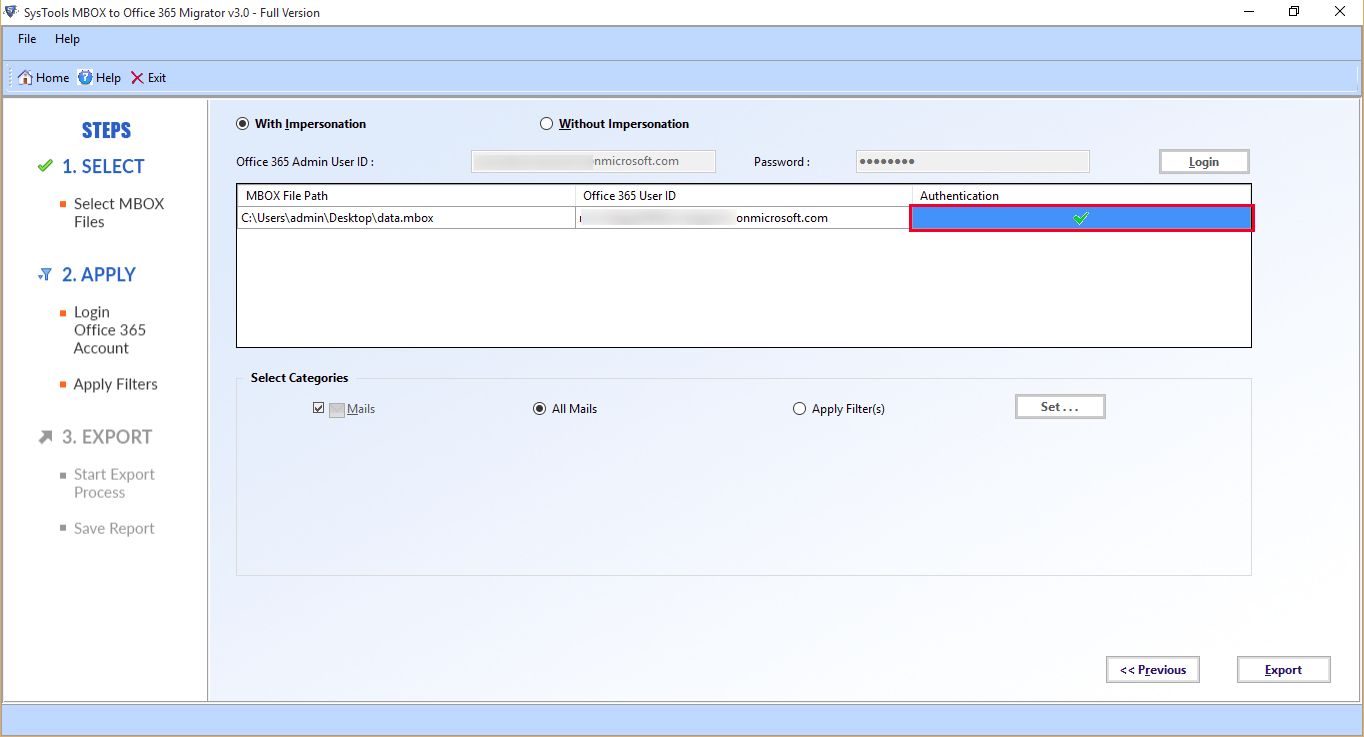
- Now validate mailbox id as shown below.
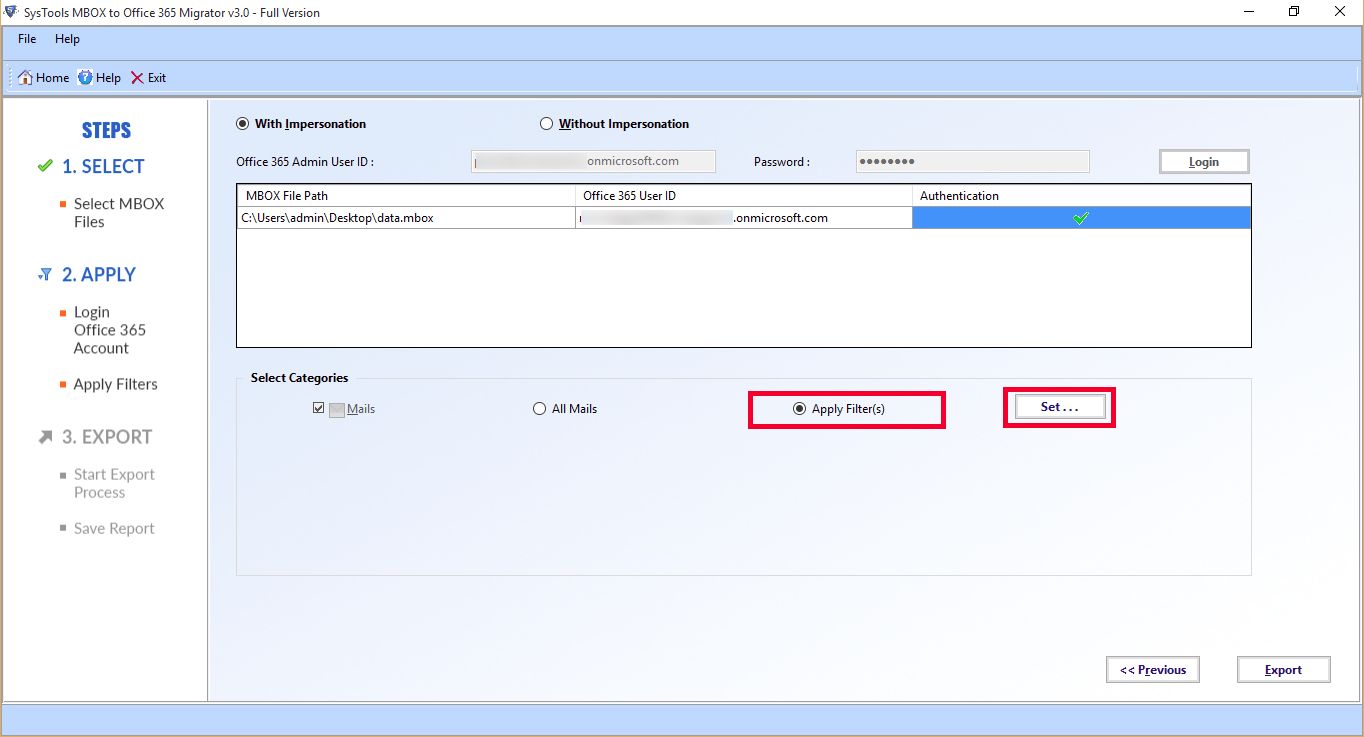
- Now you have the option to specify the filter for importing data to click on Apply Filter button and also click on Set button
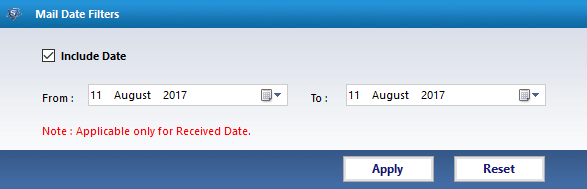
- Select on date filter acoording to data is to be imported.
- Click on Export Button to get started the export process

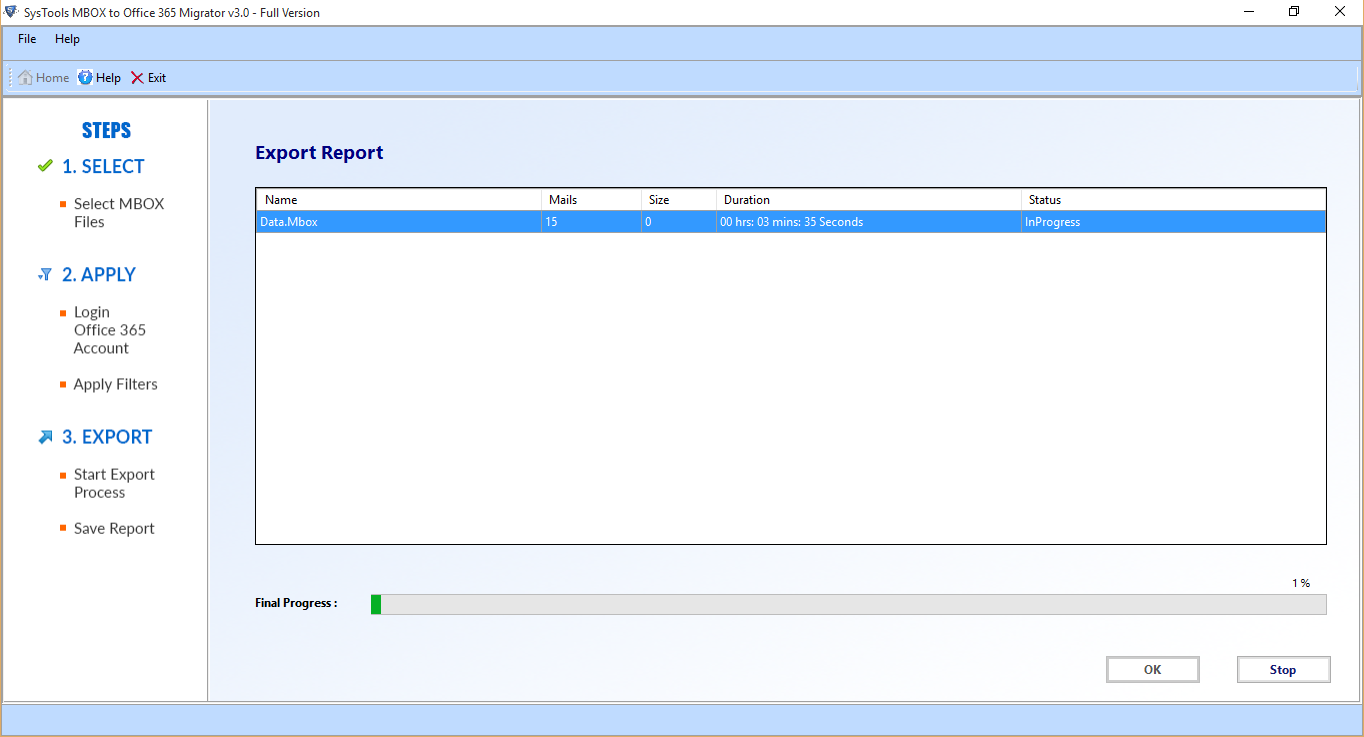
- Software will start to export MBOX file as shown below .
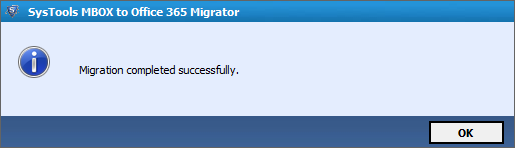
- Now Migration process complete successfully.
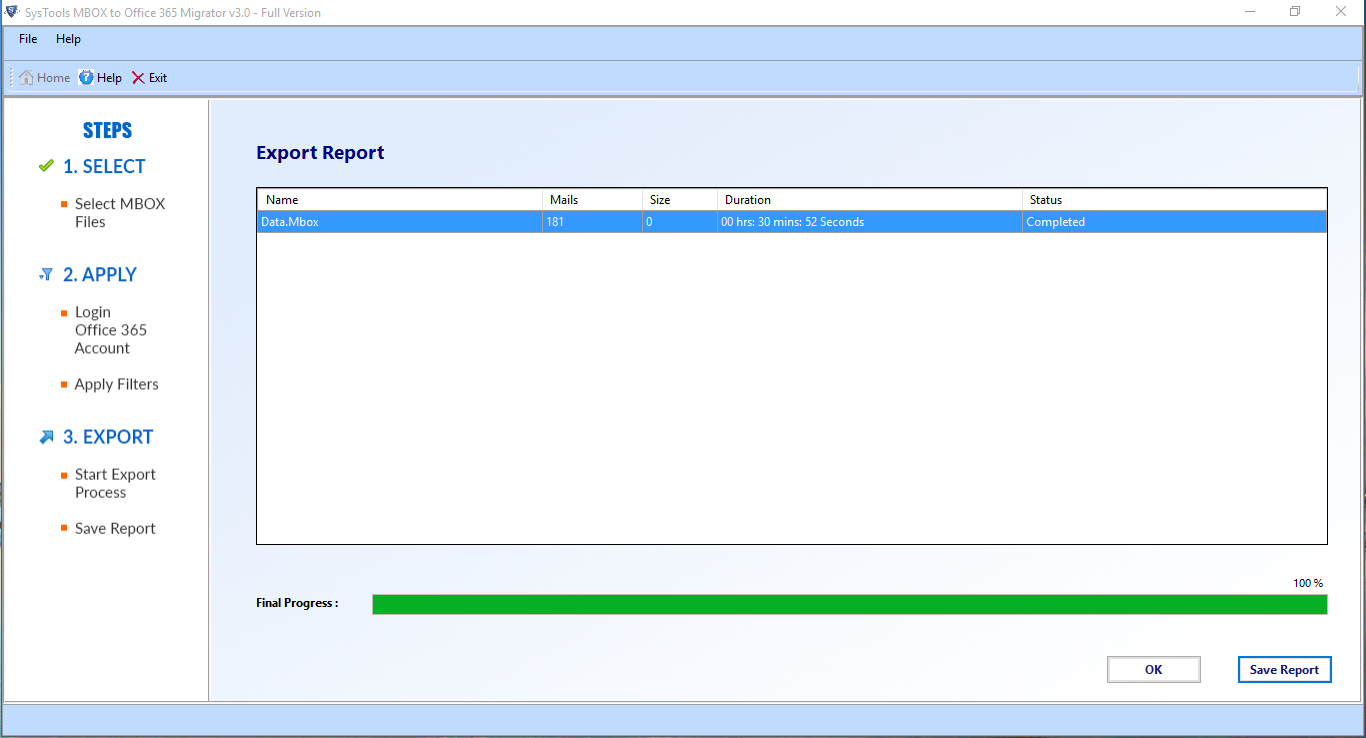
- Once the import process complete you can easily save the report which contain the information: Number of information and size duration & status. Click on save report option.
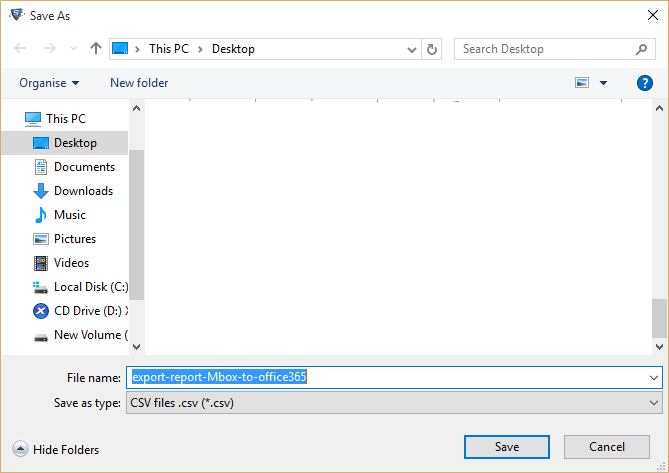
- Now select the location where you want to save the export report.
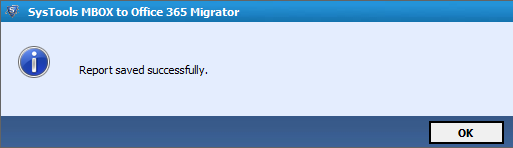
- Export report will be saved successfully as following screen.
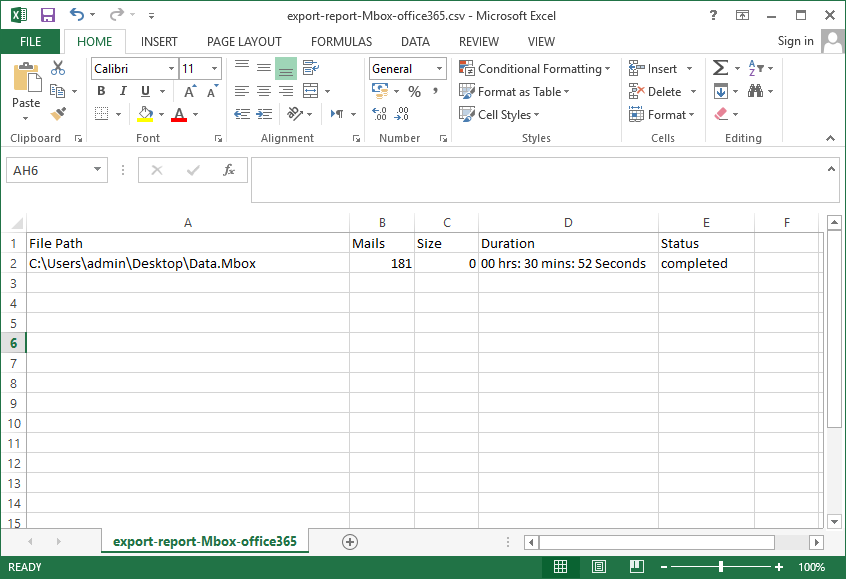
- Open the CSV to view the export report as shown beow:
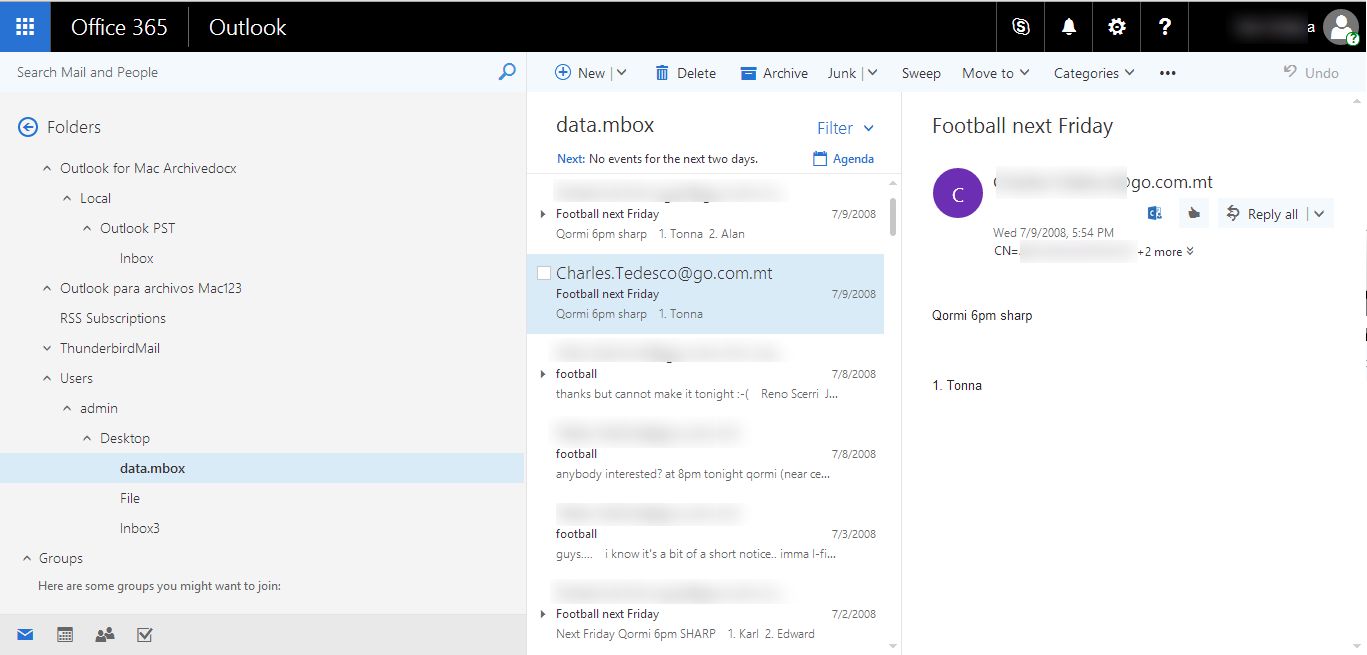
- Finally you can view the imported data.