Stepwise Follow Product Working Guide
Follow these steps sequentially and read the given instructions to know about the functionality of product
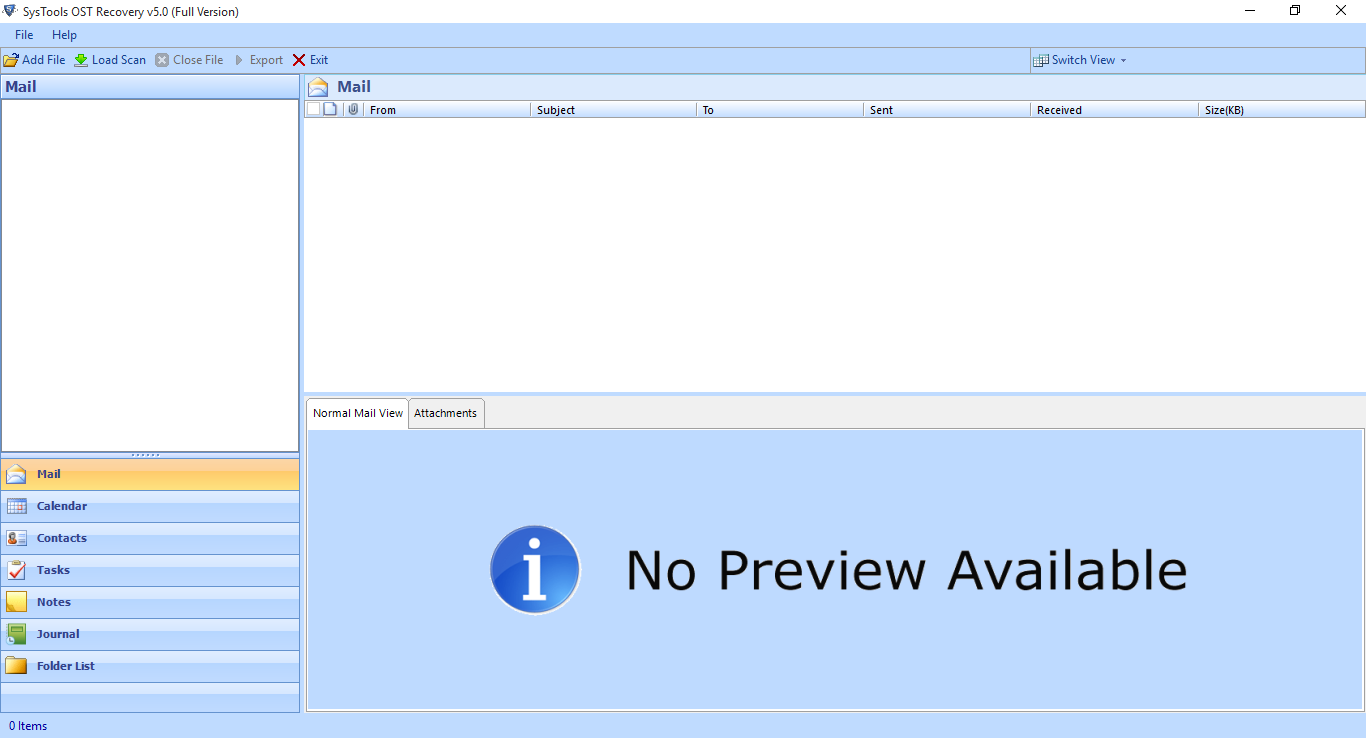
- Launch this application into your system.
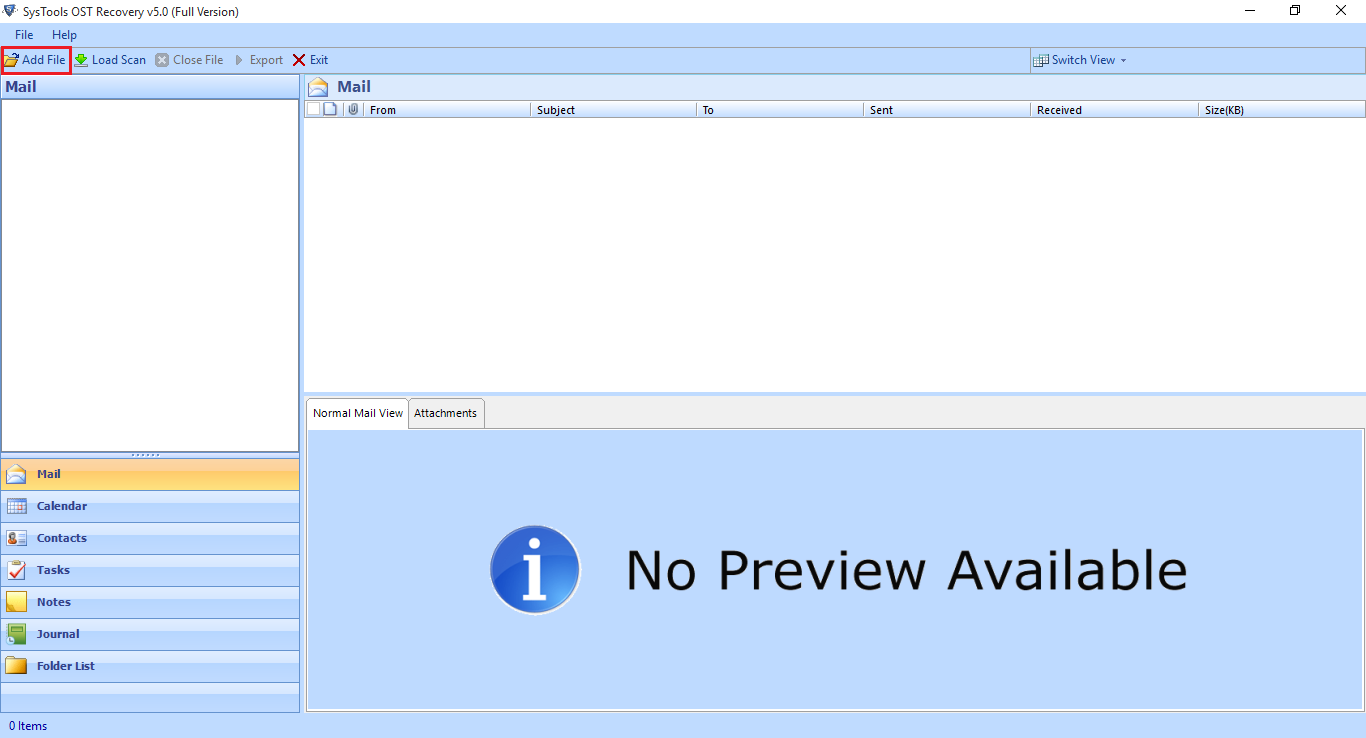
- Click on Add file button to add file
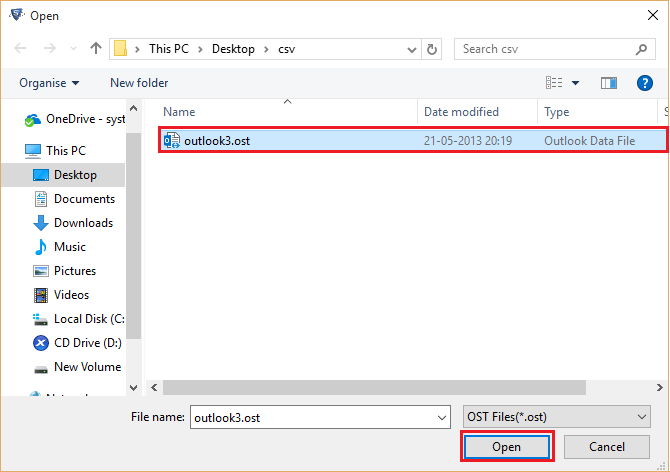
- Click on "_" option to browse ost file. you can also change the recovered location.

- Browse & select the location to save file. Click on Open Tab.
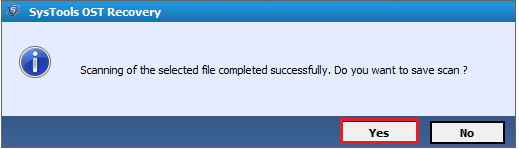
- Click on Add file button to proceed further. click on yes button to start the scan process.
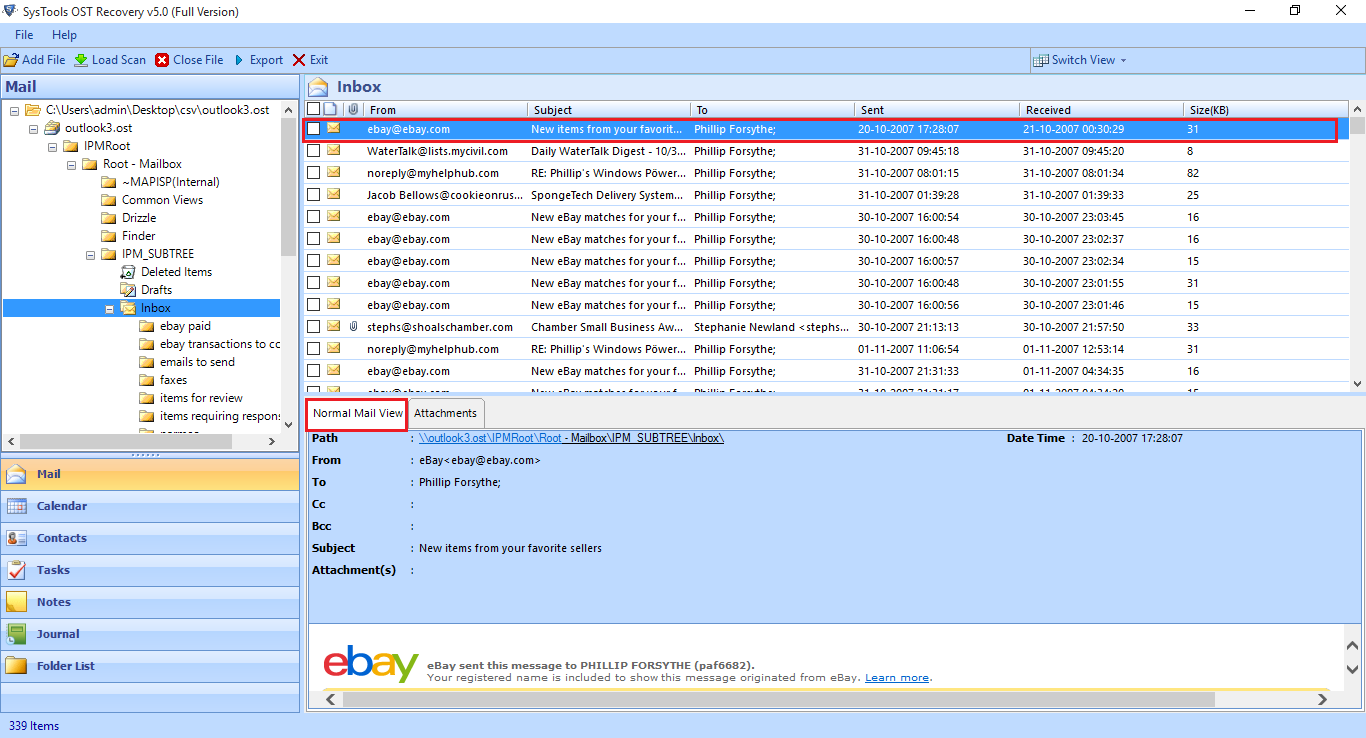
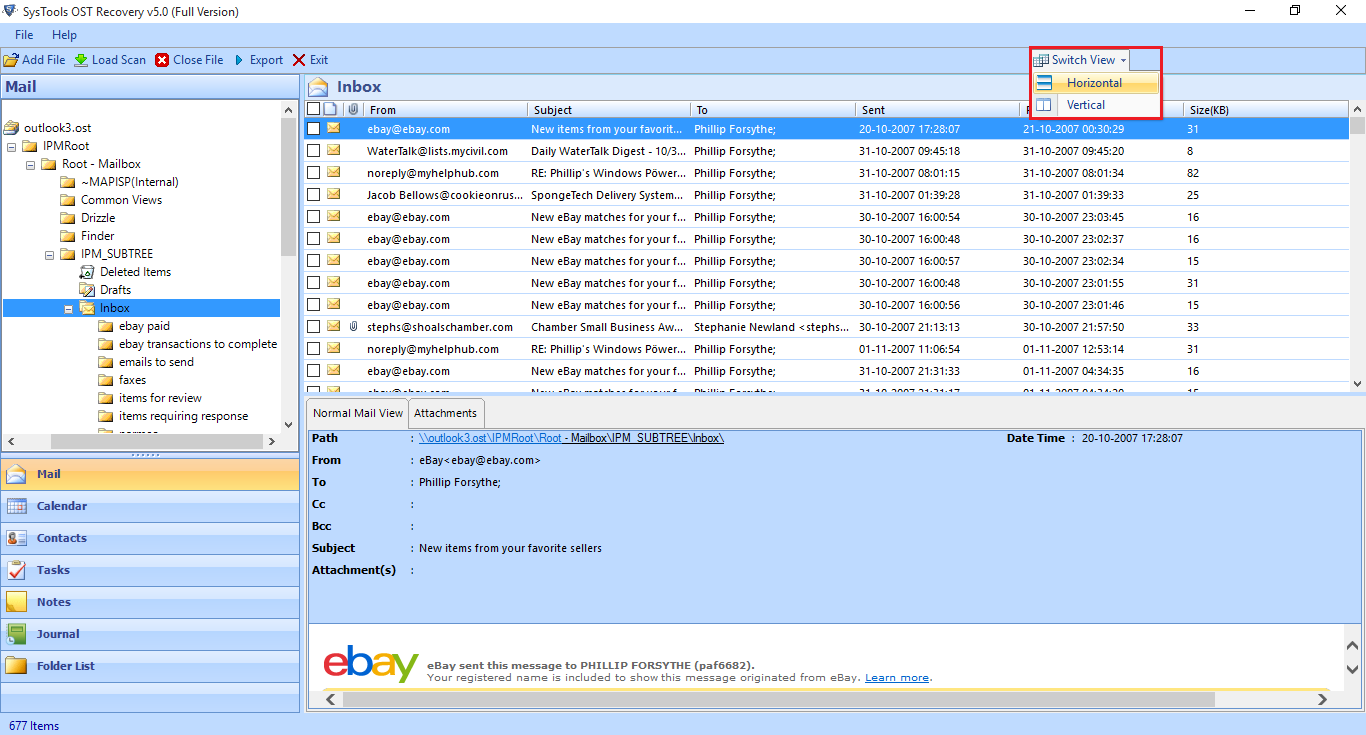
- Click to view normal mail view files
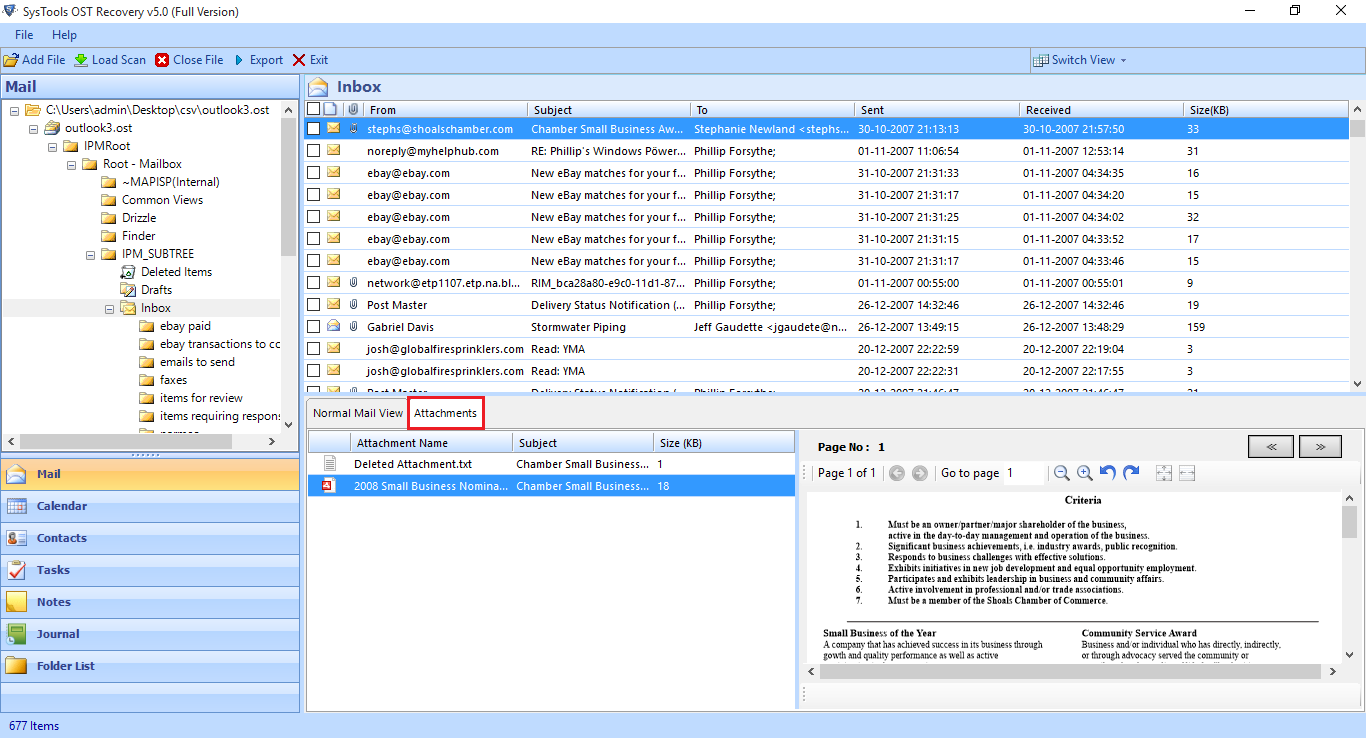
- Click on attachment tab
- Next to view the mails, click on Mail
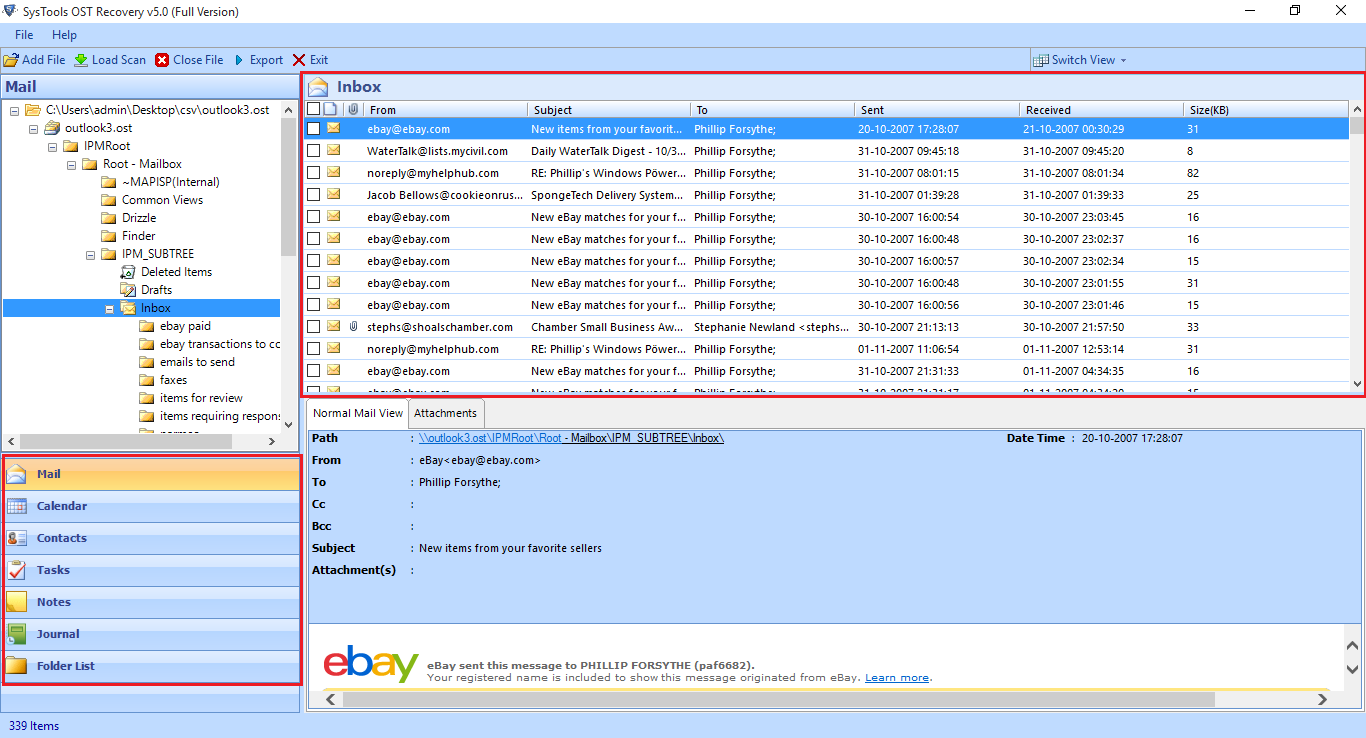
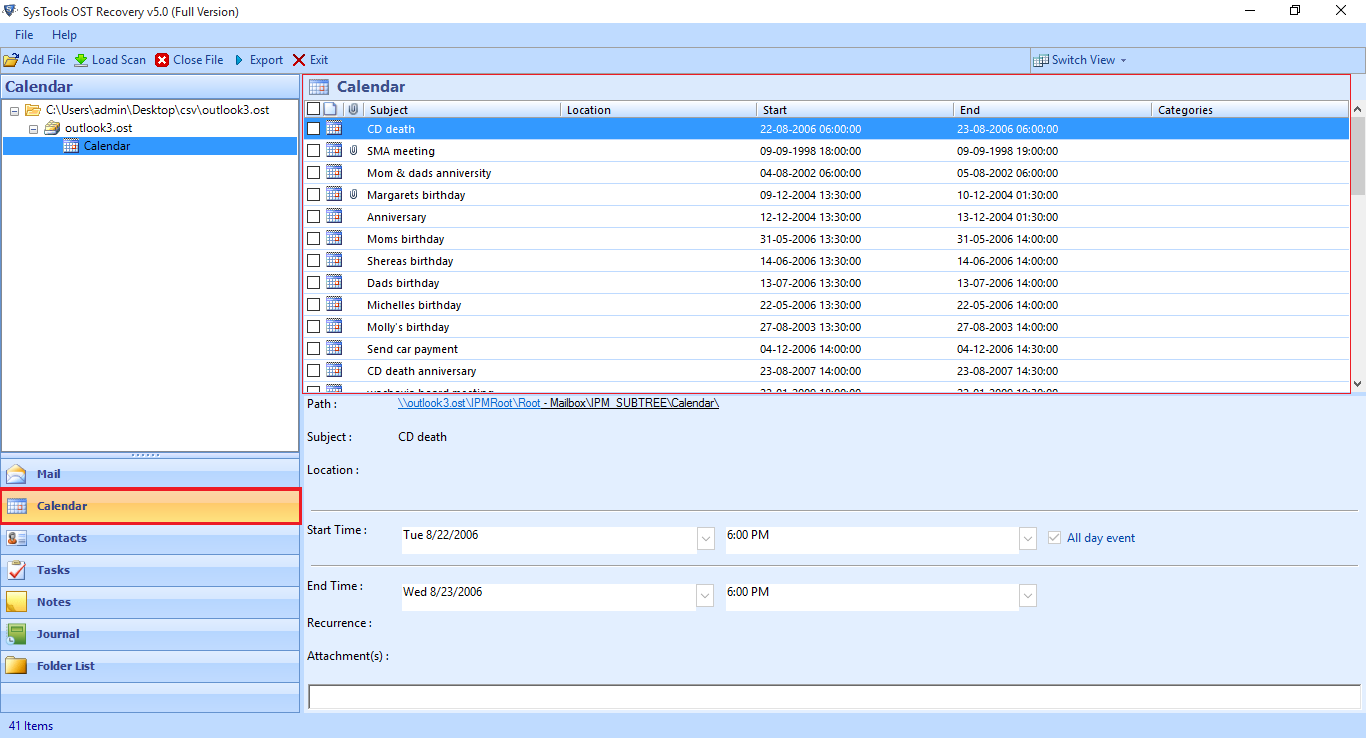
- View Calendars, click on Calendar tab
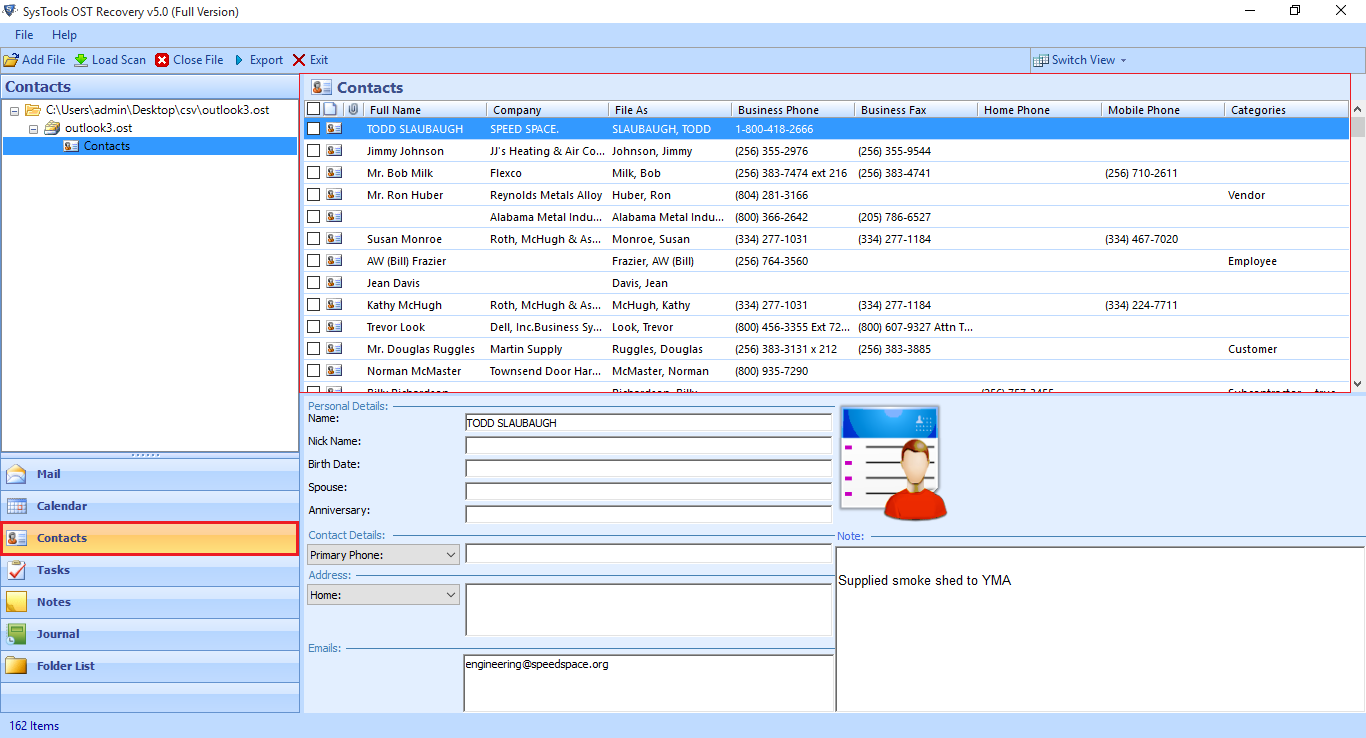
- View Contacts, click on Contacts view
- Click on MSG radio button to export OST file. Then click on Advance setting option.
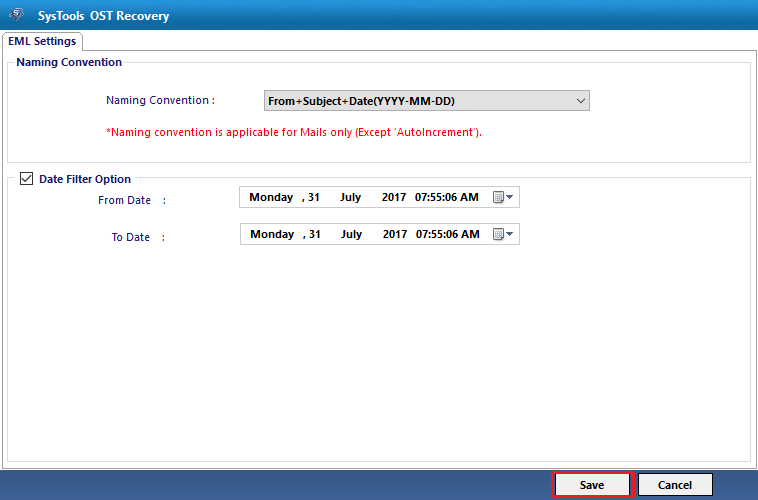
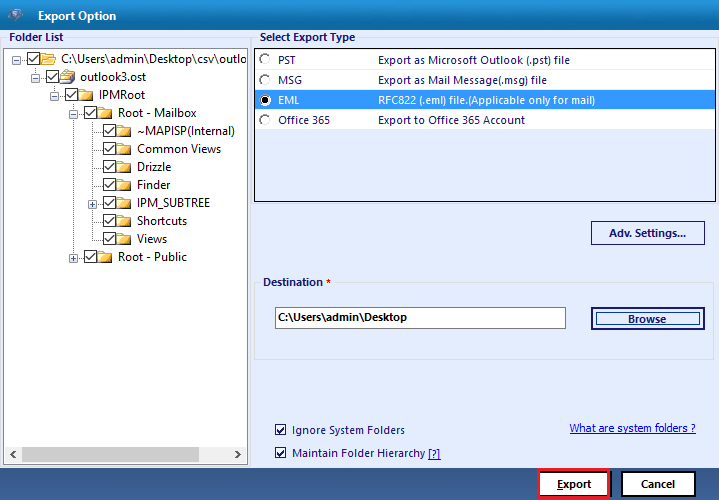
- Click on EML Radio Button to Export OST file
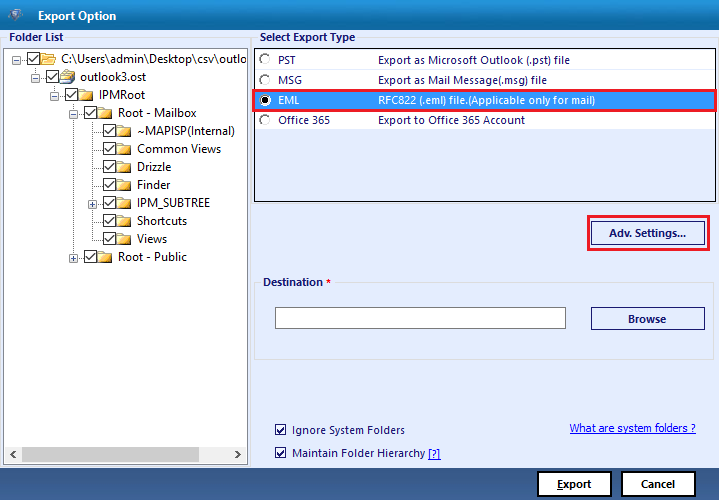
- Configure MSG settings
naming Convention: this option allow users to sort emails according to different convention
Date & Time Filter option: This feature allow users to apply date & time filter to set specific duration of time & date
Categories: you can choose the category according to user need items such as mails, contacts, calendars, task, journal & notes.
Click on save button to save settings
- A dialog box will appear click on OK button
- Click on Browse button.

- Choose the specific location. Click on “Make New Folder” to save exported file. Click on OK button.

- You can also see the destination file. Click on Export button.
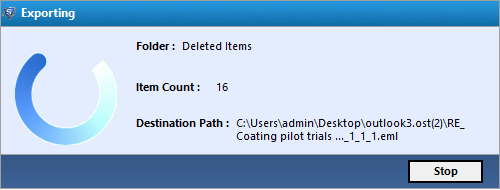
- Now Export process will start and it will show loading files.
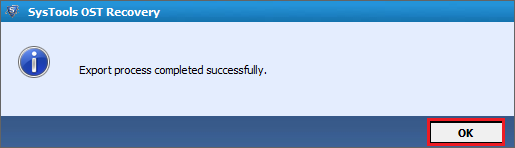
- Now a notification showing the successful completion. Click on OK Button.
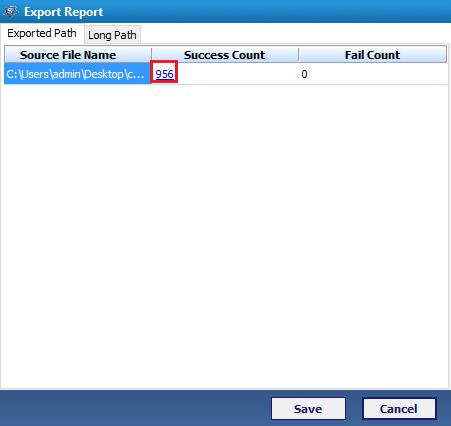
- In the Next Screen showing the file name, success count, fail count. Click on save button.
- Now you can view the destination of saved file.
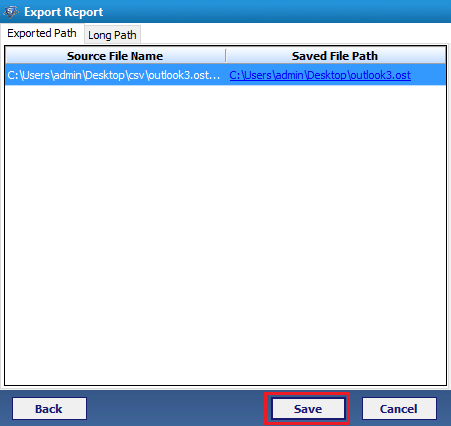
- Click on the Long path to view the relocated file. Click on save button to save export report.

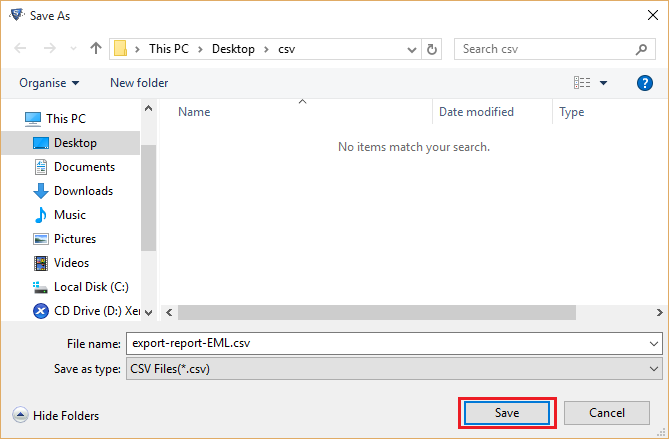
- Next to browse location where you want to save the file as file format. Click on save button.
- Next screen will show the file path then click on OK tab.
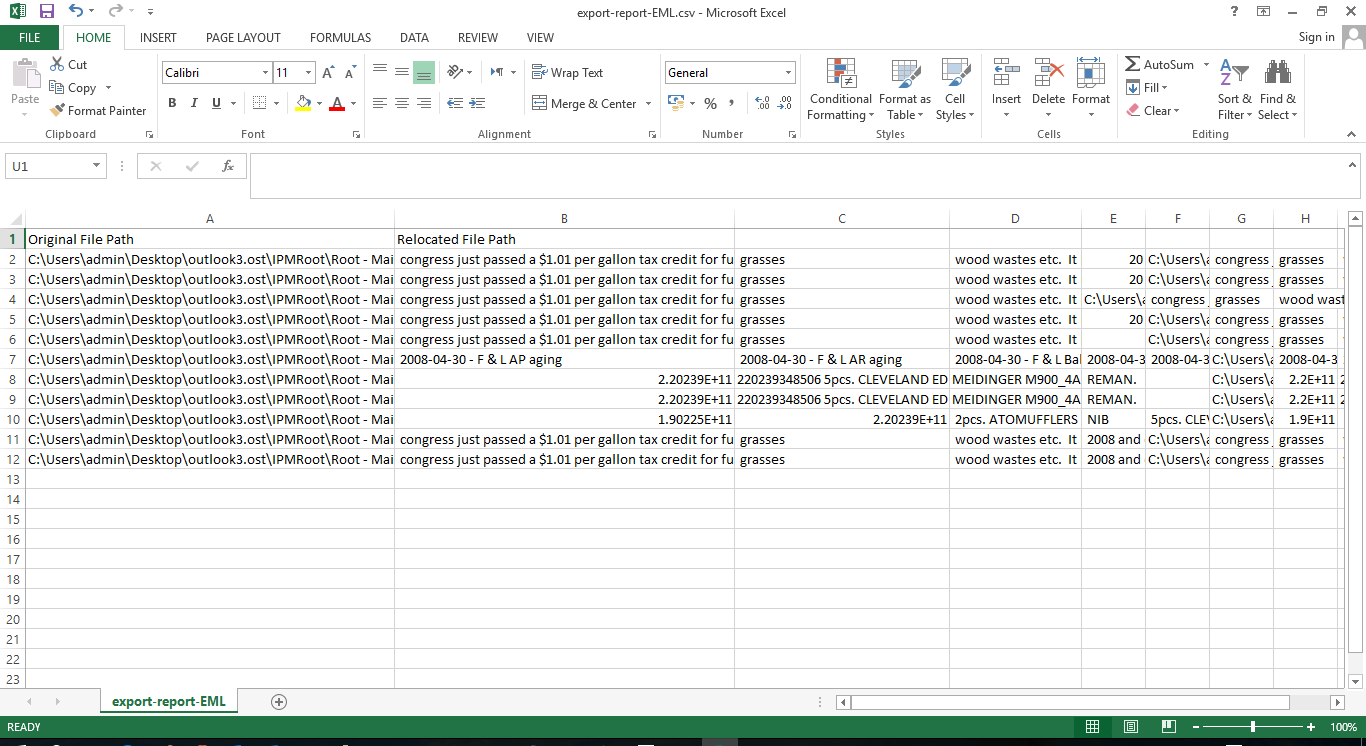
- Now you can open the export report csv file in MS Excel and view the complete details.
- You can view all the MSG file.
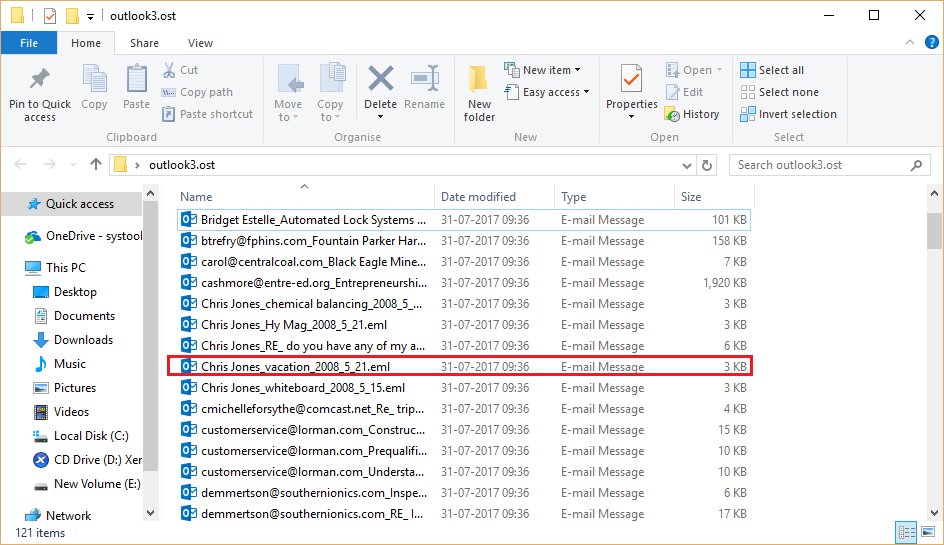
- Open single EML file to view the single file.